You’ve made your quilt top. You’ve made it through basting. You’ve got it quilted. It looks great. And now for the binding. I love it when every detail of a quilt points to a unified concept and the binding is the icing on the cake.
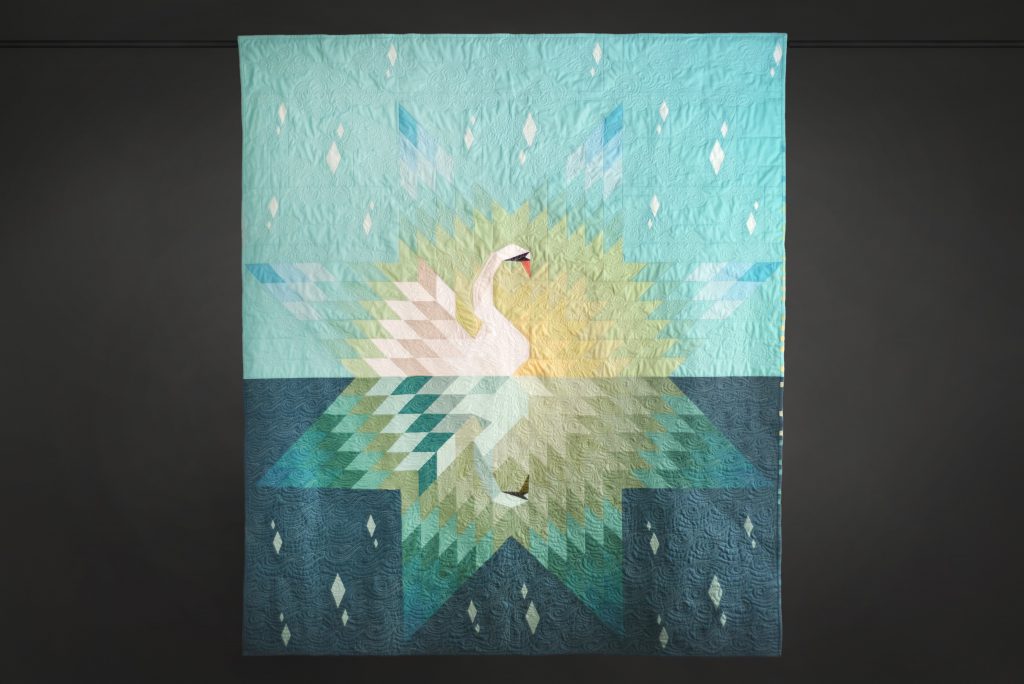
For Our Song, Your Reflection, the binding adds a visual interpretation of the music that goes with Meaghan Smith’s song. For Snow City, the binding really made the quilt. For Everyone’s Got an X, the binding adds serifs to the typographic X. These are bindings that not just protect the edges of the quilt, but extend the design idea right to the edge of the quilt. So how do you make the binding line up with the design of your quilt?

General RULES of THUMB
- However many points have to match is how many separate binding strips you’ll have.
- Join the binding strips where it “doesn’t matter”.
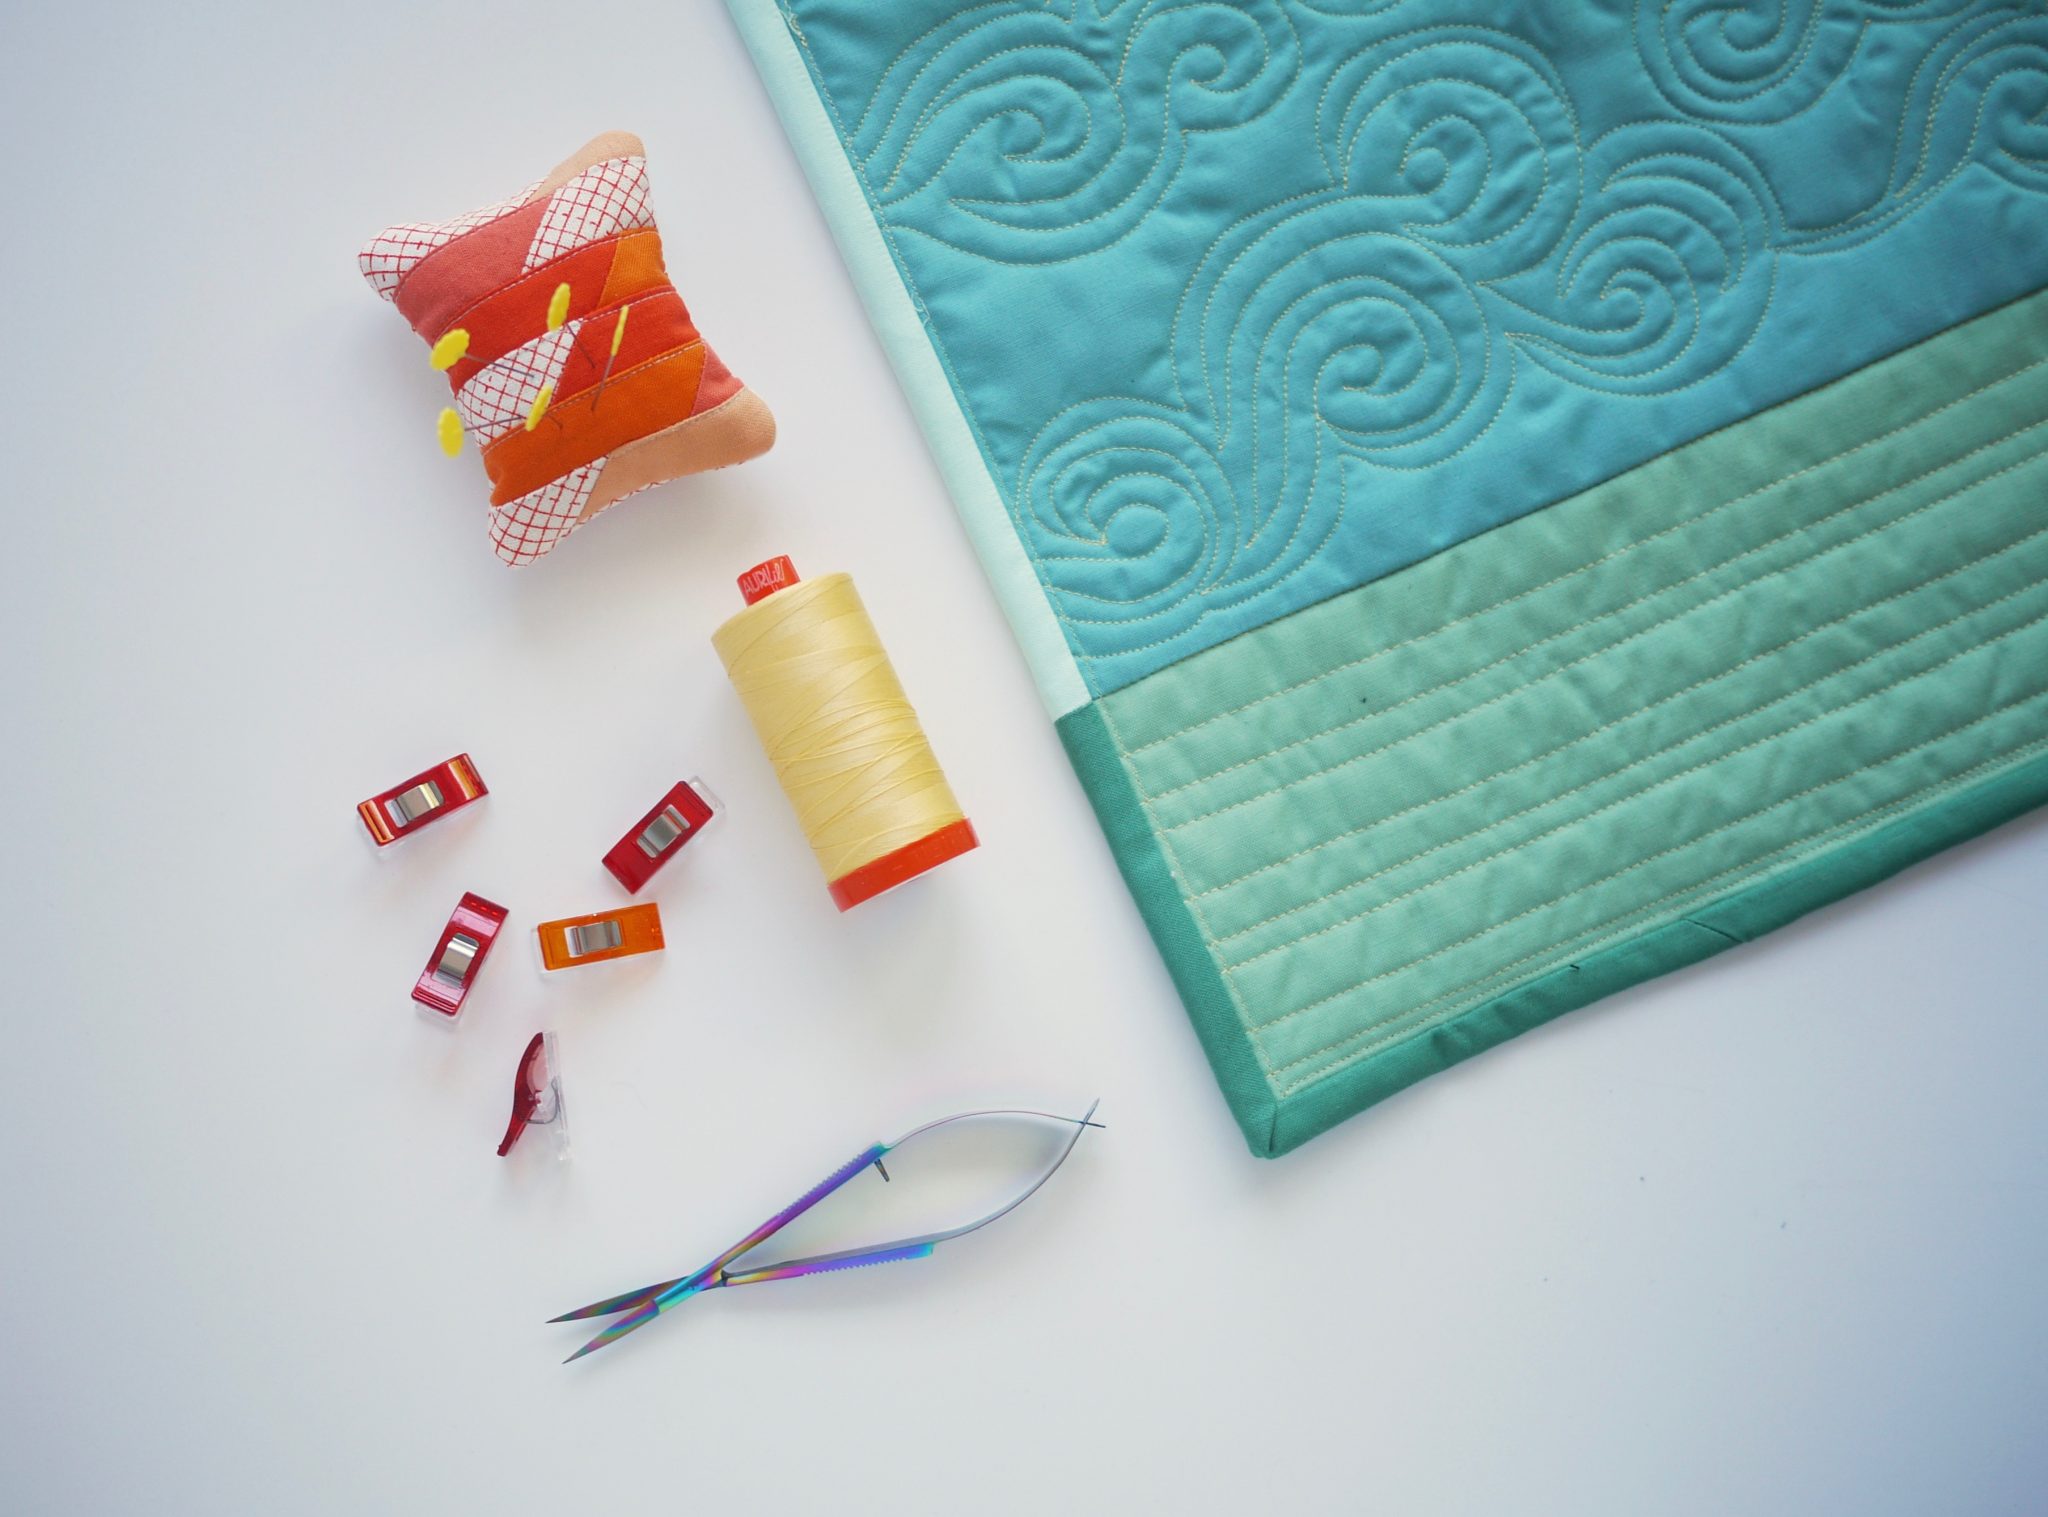
Here’s a mini-landscape that was bound with different binding on the land portion versus the sky.

I needed to match two key points on the quilt, one to the left and one to the right. So I started by making two separate strips of binding that were pieced.

When piecing binding, use a shorter stitch length to prevent your thread from showing. Press your seam open (I never press my seams open unless I’m piecing binding!). This will be give you a less bulky seam than if you press to one side.


Line up the raw edges with the edge of the quilt and aligning that matched point where the land meets the sky. Pin.

Starting in the sky area, attach the binding with a 1/4″ seam allowance. Turn the corner like you normally would. Stop part way along the bottom edge and backstitch.

Next, you will be attaching the binding in the other direction, but “blindly” — with the binding beneath the quilt.

Turn the corner as you normally would.

Remove the quilt from your machine. Flip to the right side of the quilt and prep and fold your corner. Pin.


Attach the binding, again with the wrong side of the quilt facing up and the binding underneath. After a few inches, stop and backstitch. Remove the quilt from your machine.

Repeat with the other strip of binding

Now you can join the same colour strips with a 45-degree seam, just as you would when finishing a “normal” quilt.

Finish by hand or by machine. Voilà! Don’t forget to admire your handiwork!


Nice – thanks!
No problem, Andee! Hope you give it a try!
I will be using use this for sure . You have made it so clear . I have only done the two colour binding ( (as I did in my Sleeping Fox quilt) because the back and front were so different . This is great
Can’t wait to see it!
Great tutorial, Andrea! I’ve always wondered how matching bindings were done and now I know 🙂
Glad it’s helpful! GIve it a try sometime. It will add a little extra something to your quilts.
I’ve never tried this, but it opens a new line of design for modern pieces. I love it and it looks very reasonable, not too hard. It’s going to come in perfect for something soon. It’s going in my important techniques folder on my desktop. Thank you. Illustrations were actually very helpful for me, too.
You’re so welcome!
Thanks Andrea, I can’t wait to try this!
Please send me a pic when you do!