What is an HRT?
HRT stands for Half-Rectangle Triangle. If you’ve been quilting for any amount of time, you’ve probably come across HSTs (half square triangles). The HRT results in an elongated version of the HST. It’s a teeny bit trickier but the results are worth it! Here, you’ll find plenty of diagrams and photos, including some for left-handed sewists.
RATIO
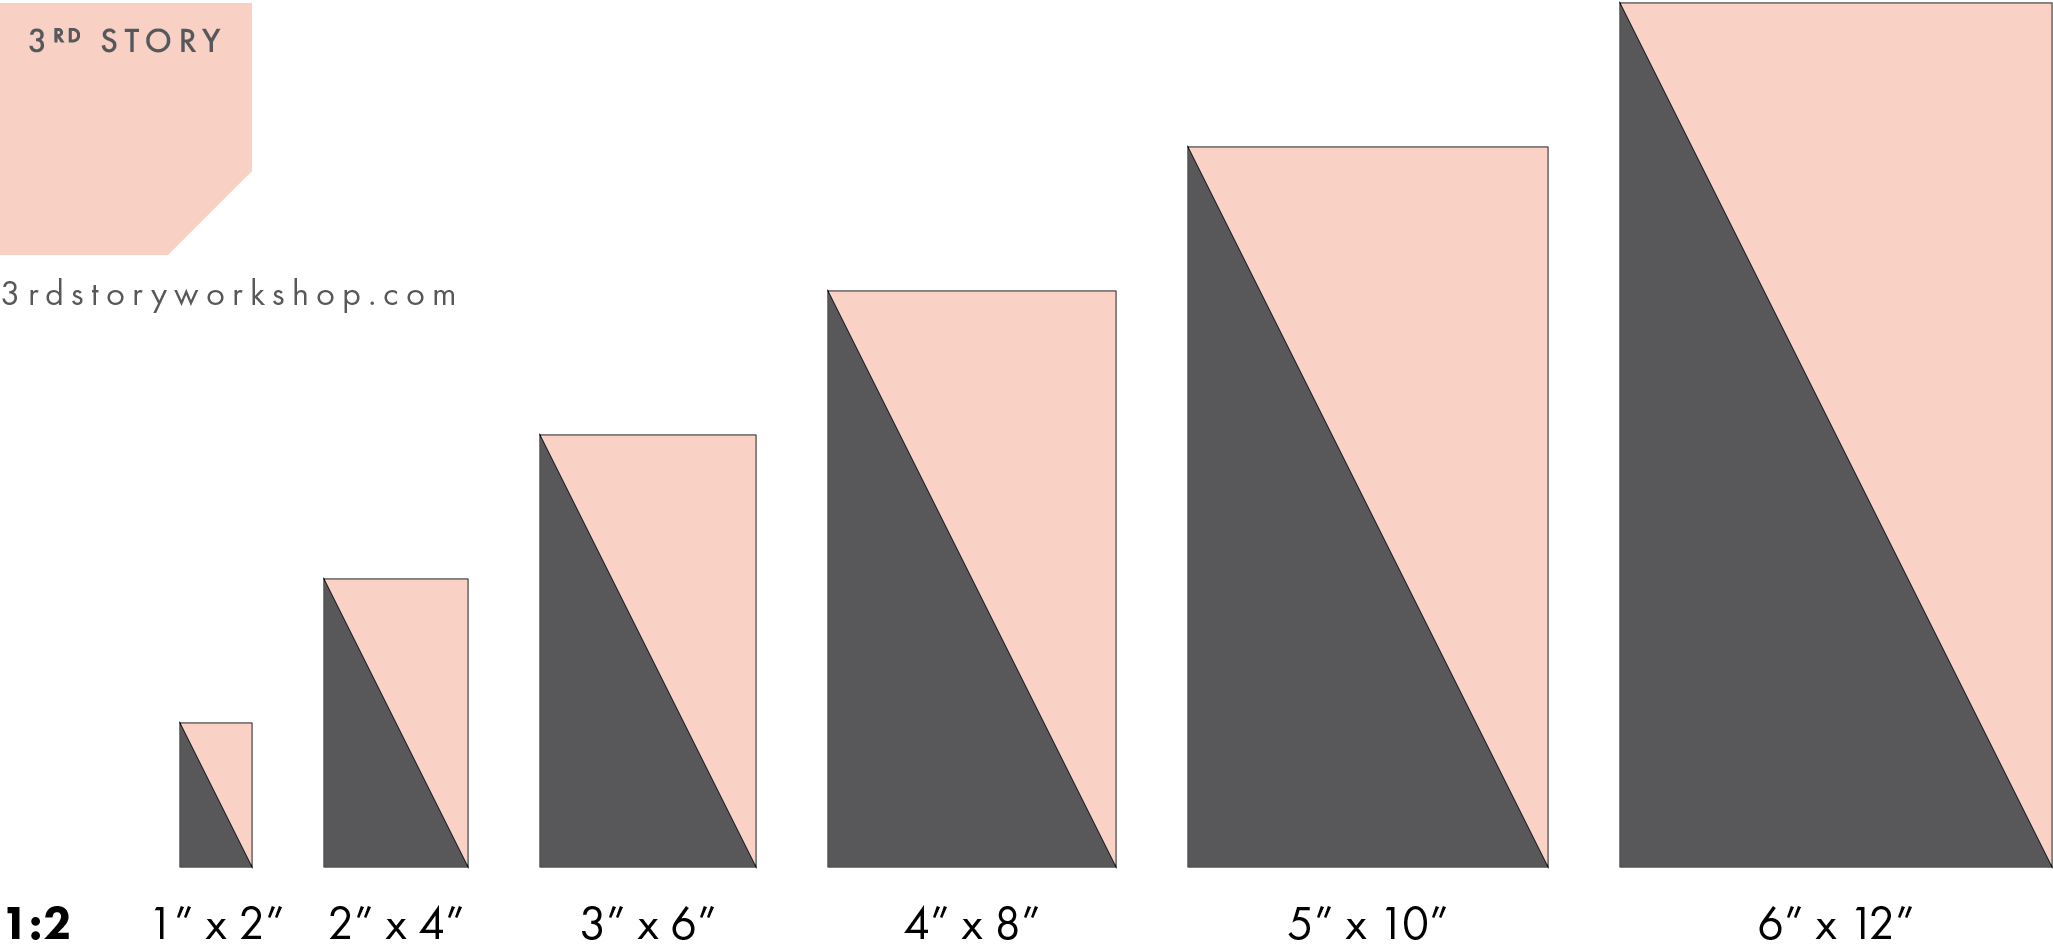
As you can see below, the ratio of width to length affects the angle of the diagonal. The longer your rectangle, the steeper your angle. If you’re into math, we call this the slope of a line.

The most commonly used ratio in quilting is 1:2, so in this post, we will walk through how to construct a 1:2 ratio HRT. In diagram below, you can see a variety of different sizes of 1:2 ratio HRTs. Notice that the slope of the diagonal is the same for all of them.
CUTTING
The initial rectangles are cut an additional 1″ in width and an additional 2″ in length to the finished (sewn) size of the final HRT. Below is a chart to make a variety of sizes. You’ll notice that the ratio (width:length) of these initial cut rectangles is also 1:2.
FINISHED SIZE |
CUT SIZE |
TRIM SIZE |
| 1″ x 2″ | 2″ x 4″ | 1-1/2″ x 2-1/2″ |
| 2″ x 4″ | 3″ x 6″ | 2-1/2″ x 4-1/2″ |
| 3″ x 6″ | 4″ x 8″ | 3-1/2″ x 6-1/2″ |
| 4″ x 8″ | 5″ x 10″ | 4-1/2″ x 8-1/2″ |
| 5″ x 10″ | 6″ x 12″ | 5-1/2″ x 10-1/2″ |
| 6″ x 12″ | 7″ x 14″ | 6-1/2″ x 12-1/2″ |
| 7″ x 14″ | 8″ x 16″ | 7-1/2″ x 14-1/2″ |
| 8″ x 16″ | 9″ x 18″ | 8-1/2″ x 16-1/2″ |
| 9″ x 18″ | 10″ x 20″ | 9-1/2″ x 18-1/2″ |

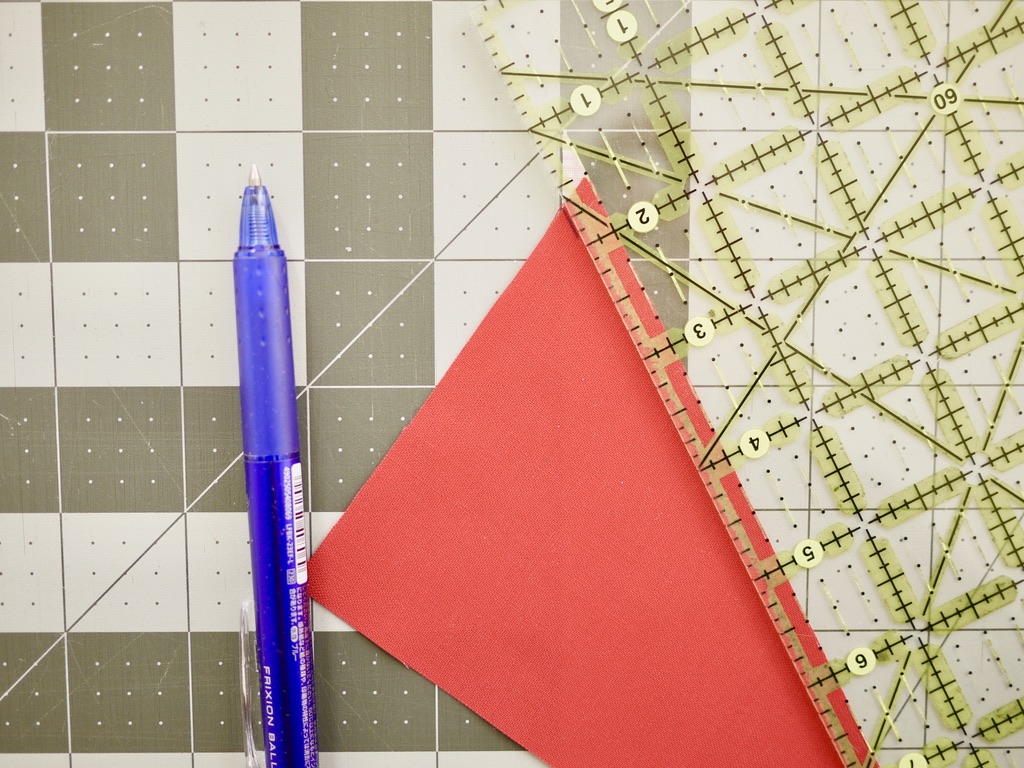
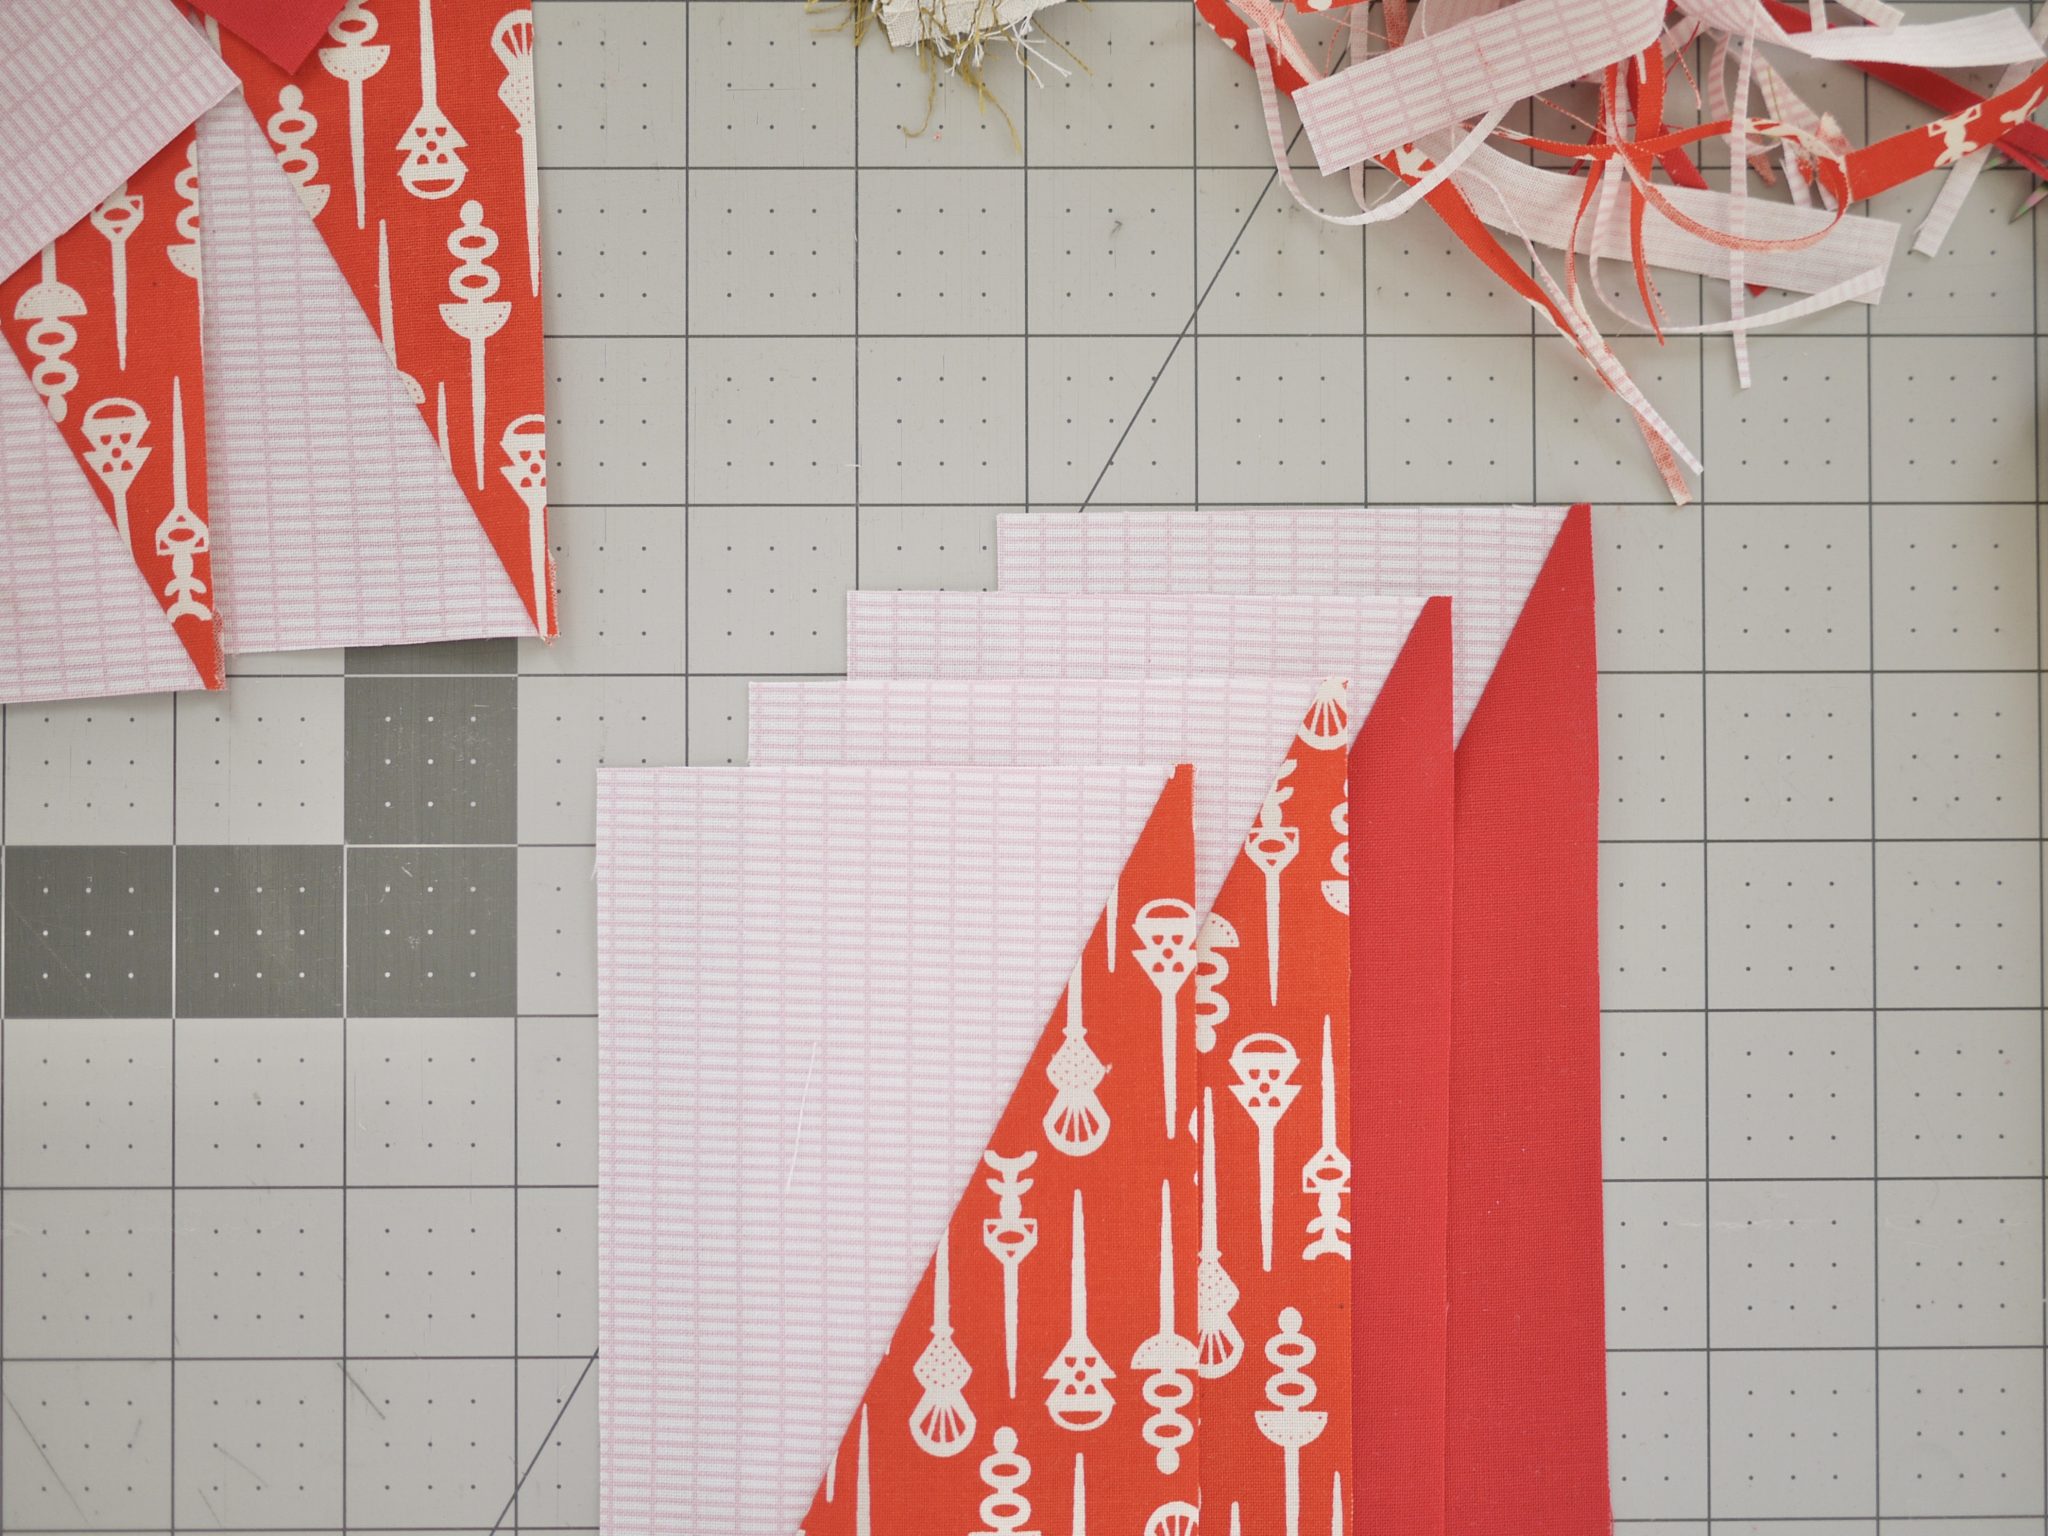
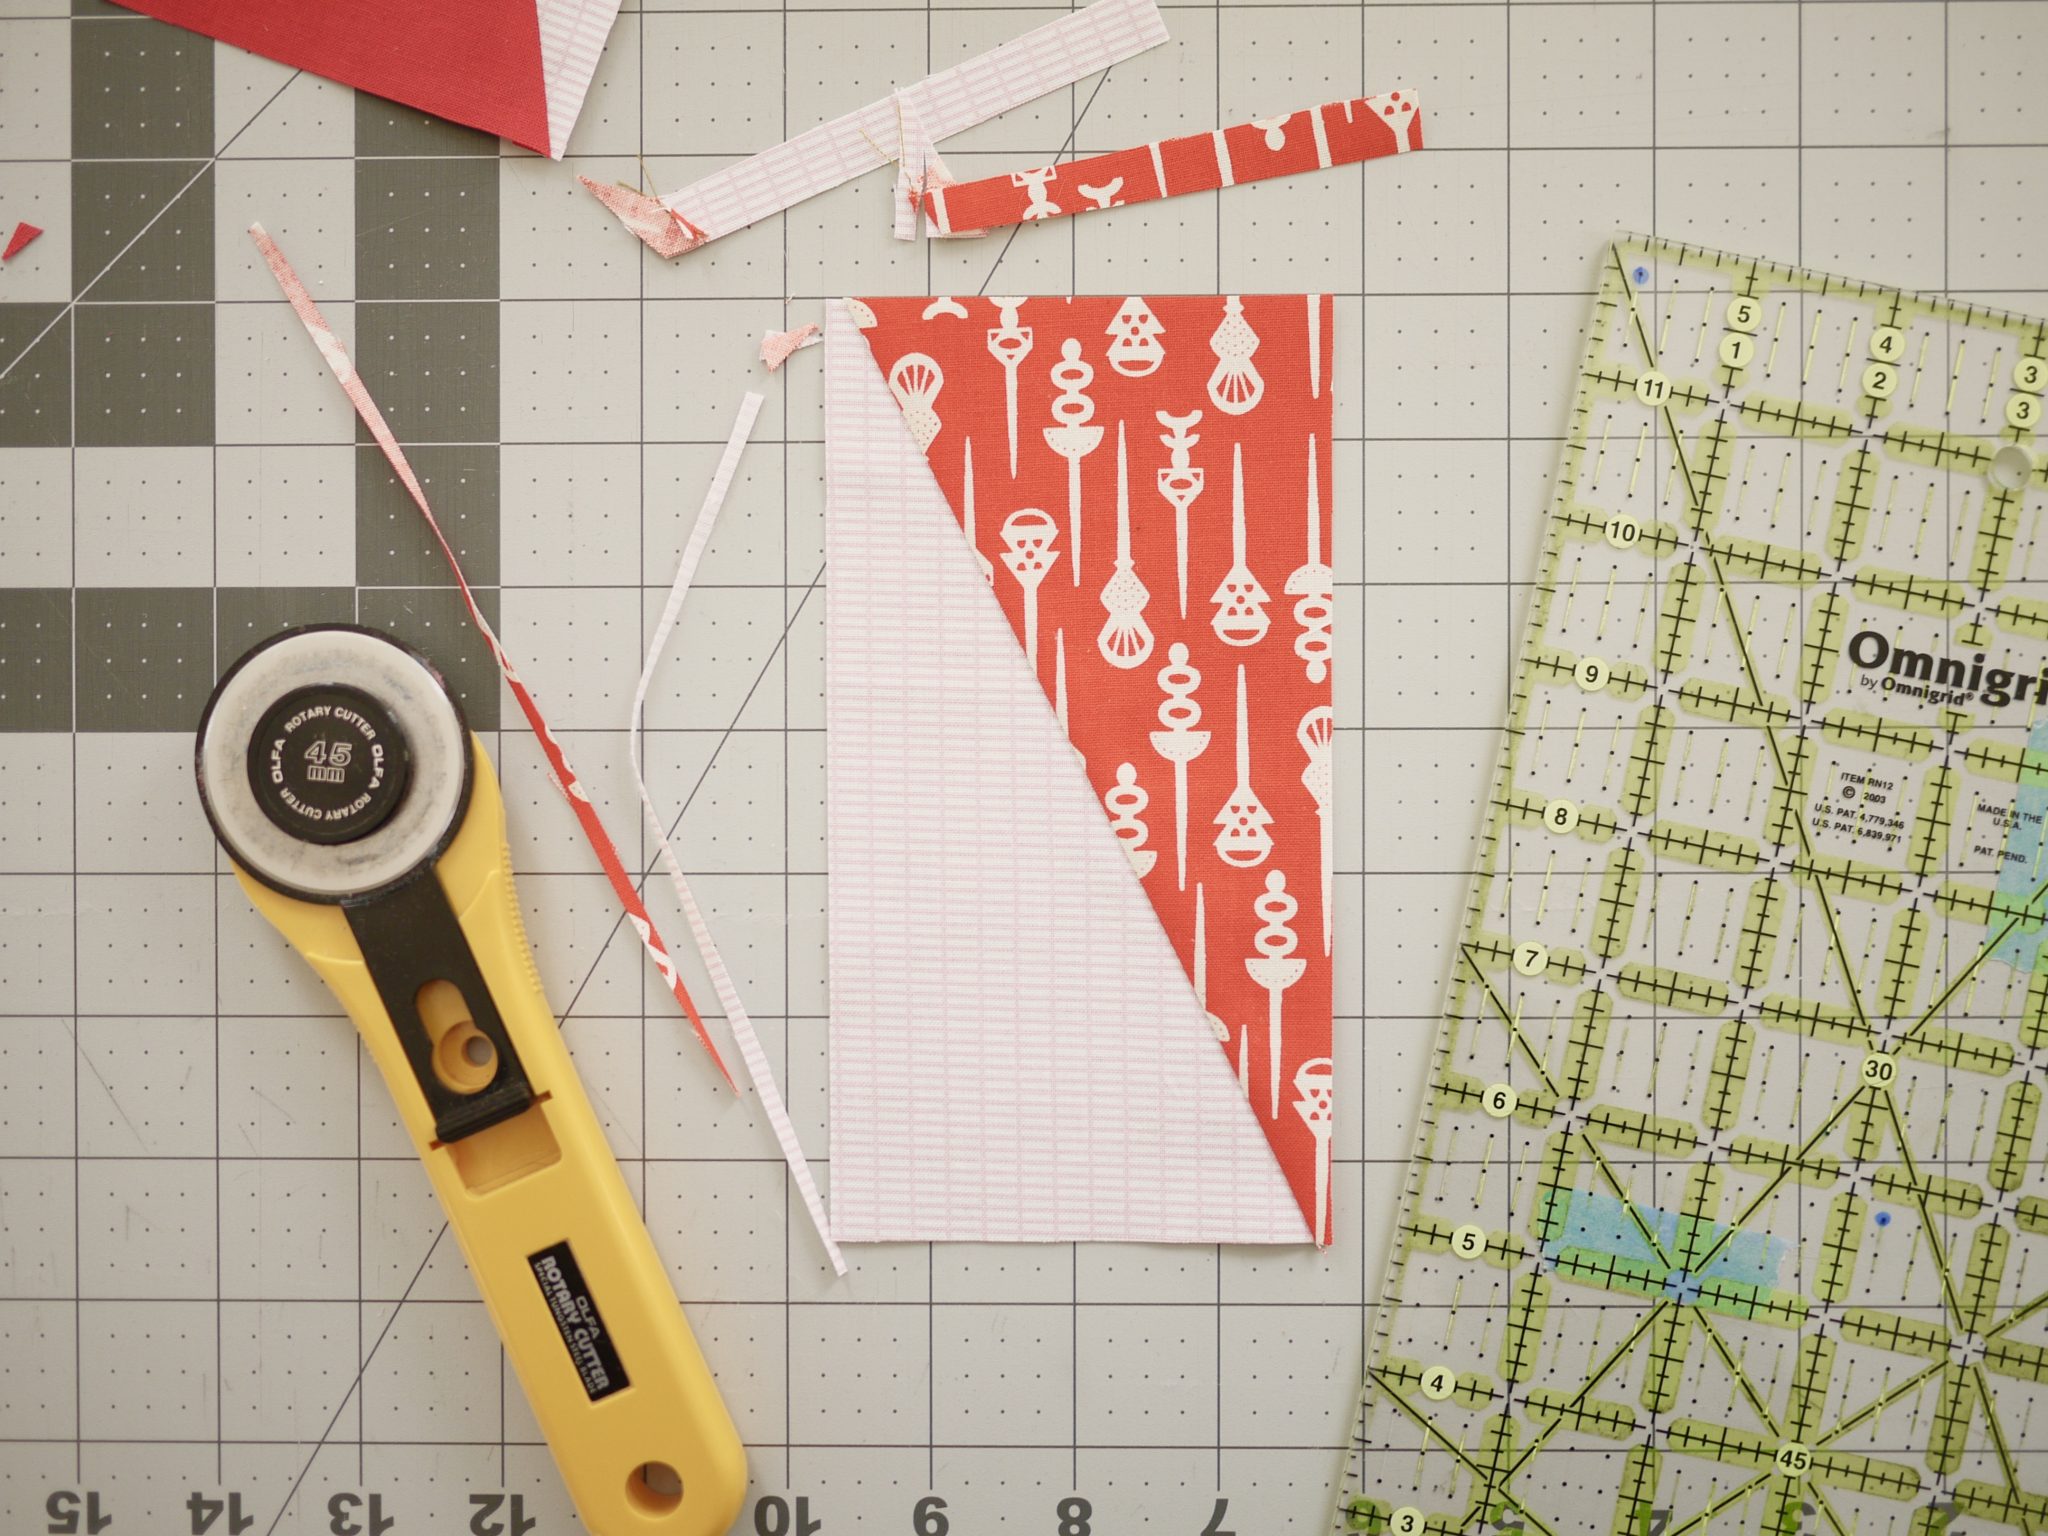
DIAGONAL CUT
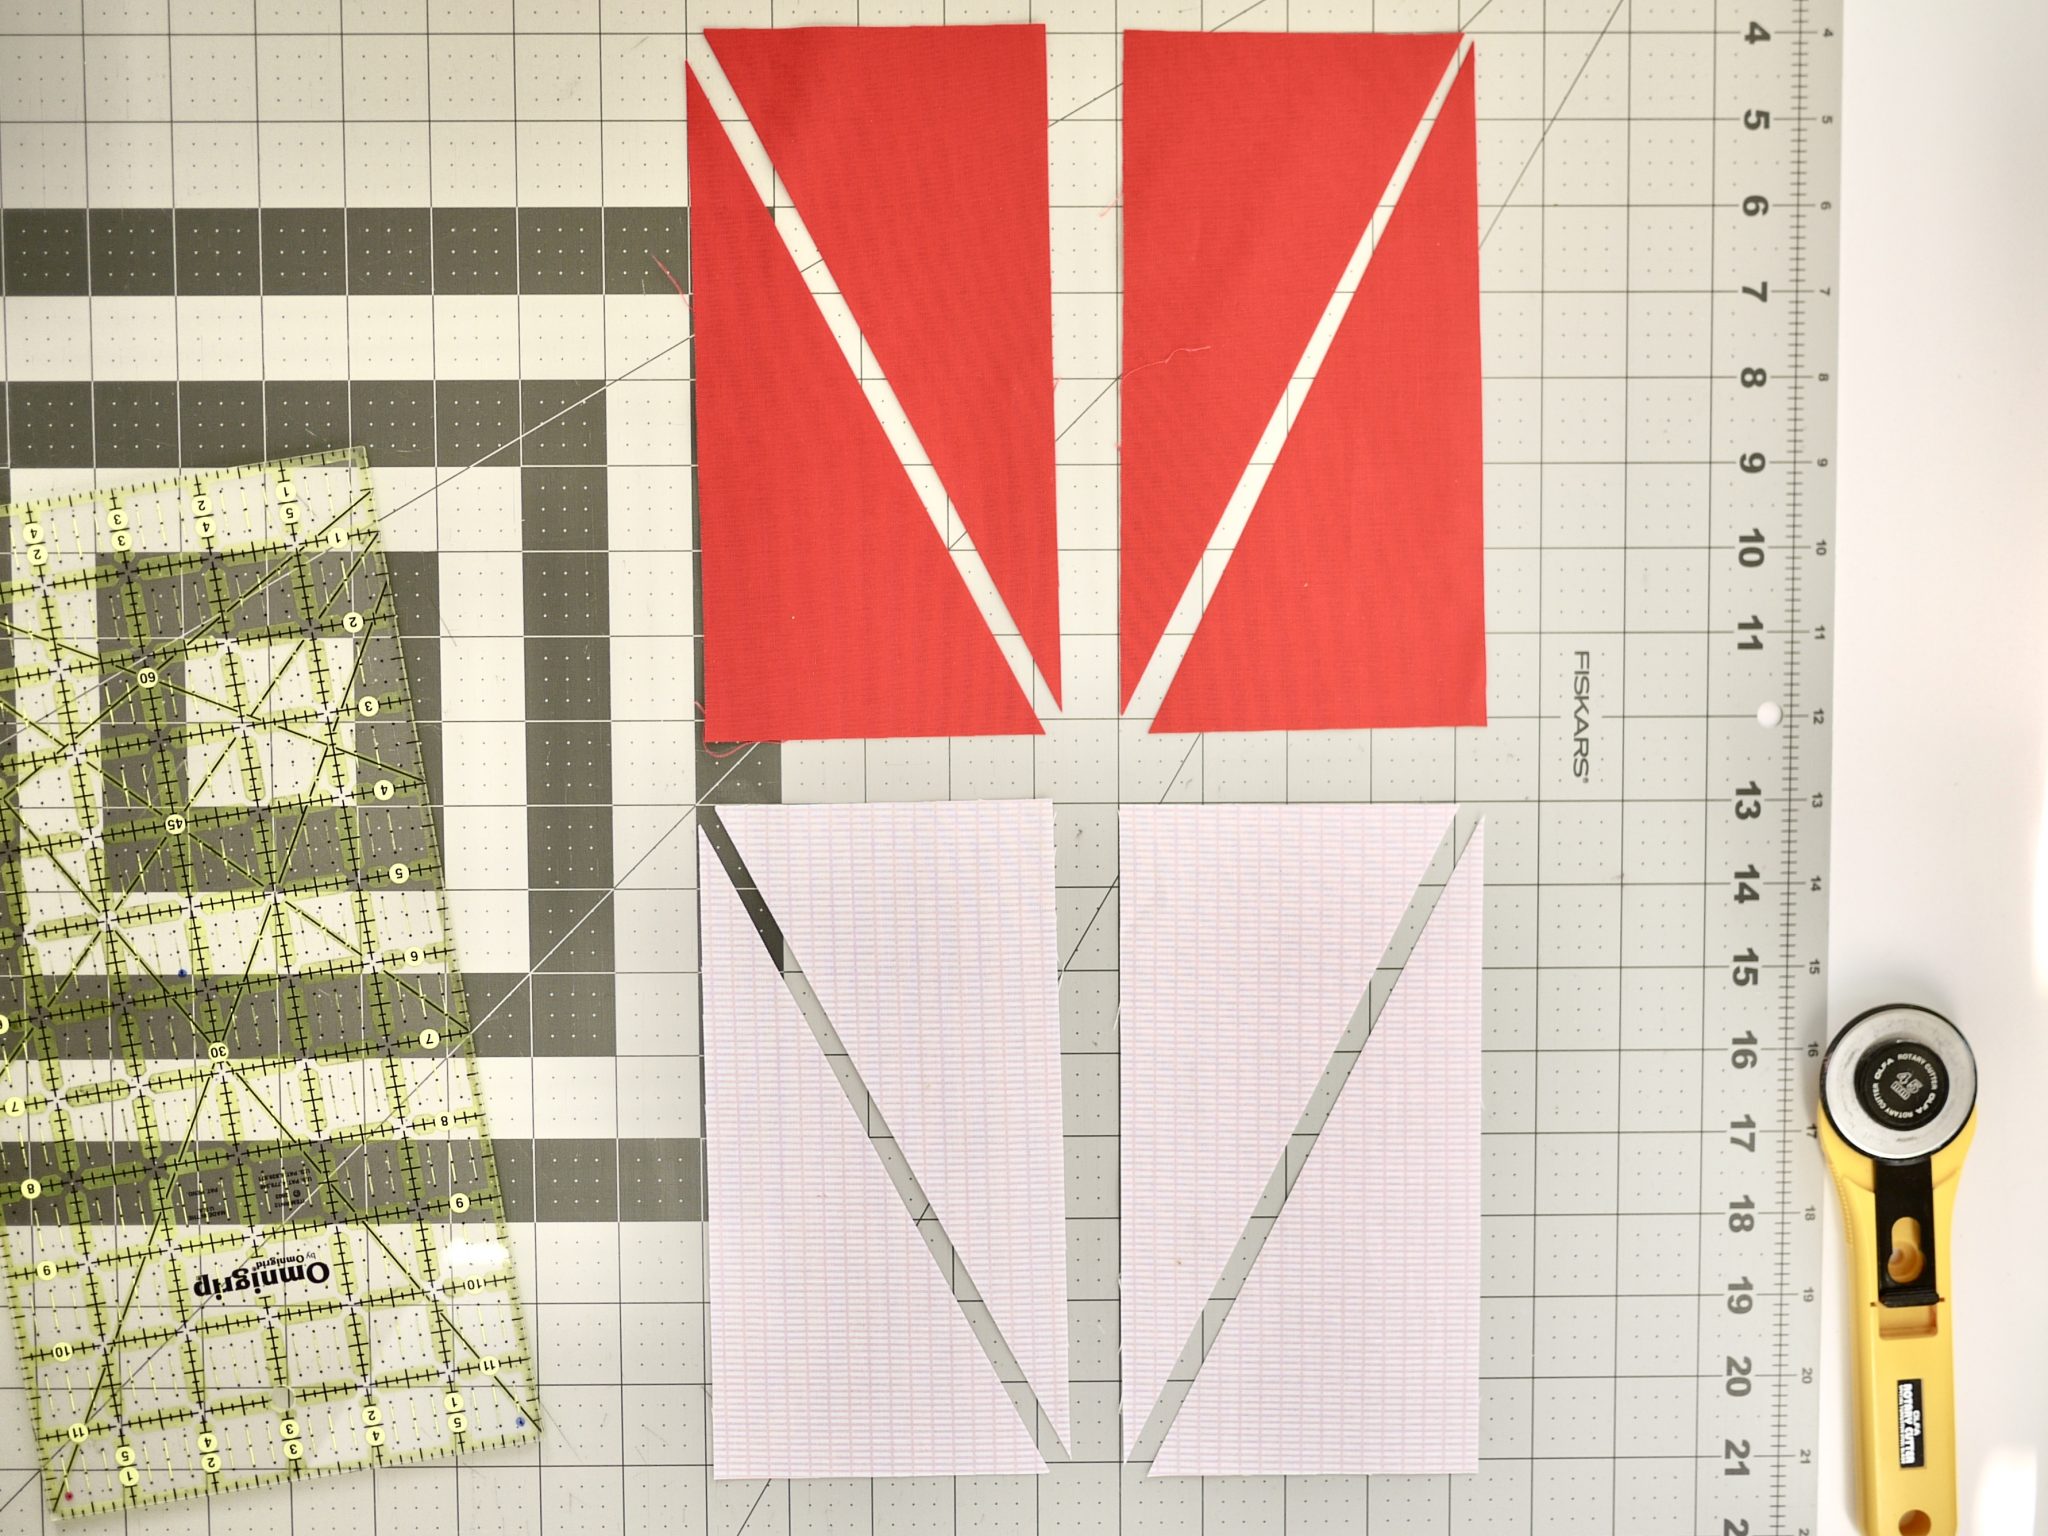
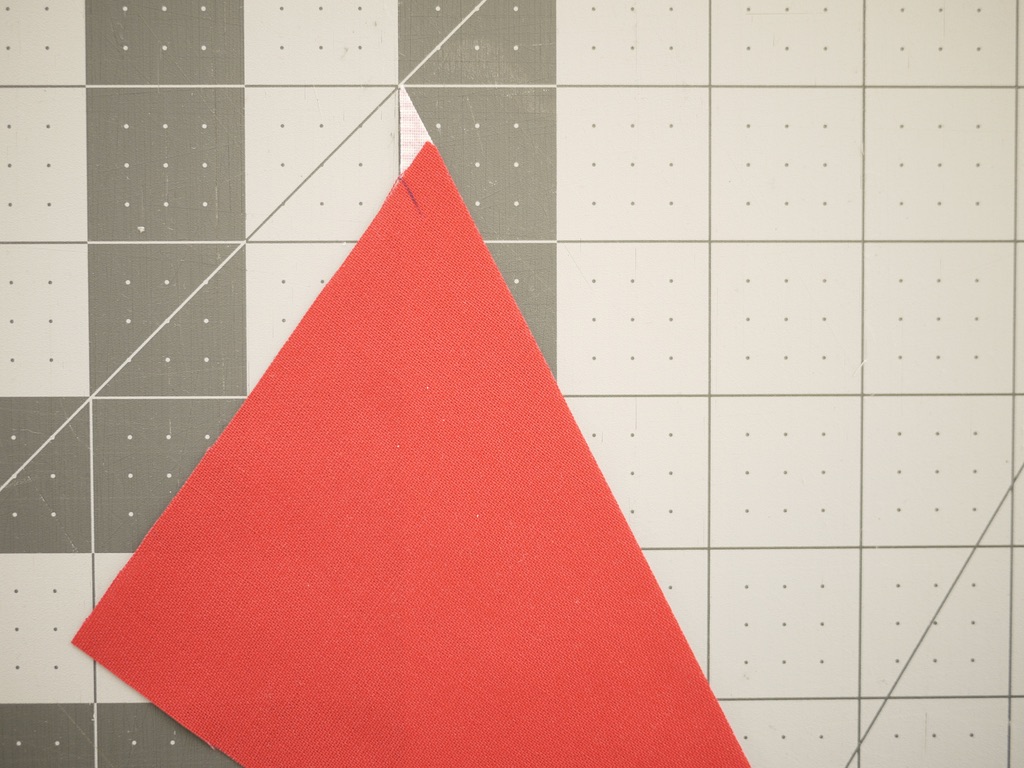
Offset seam
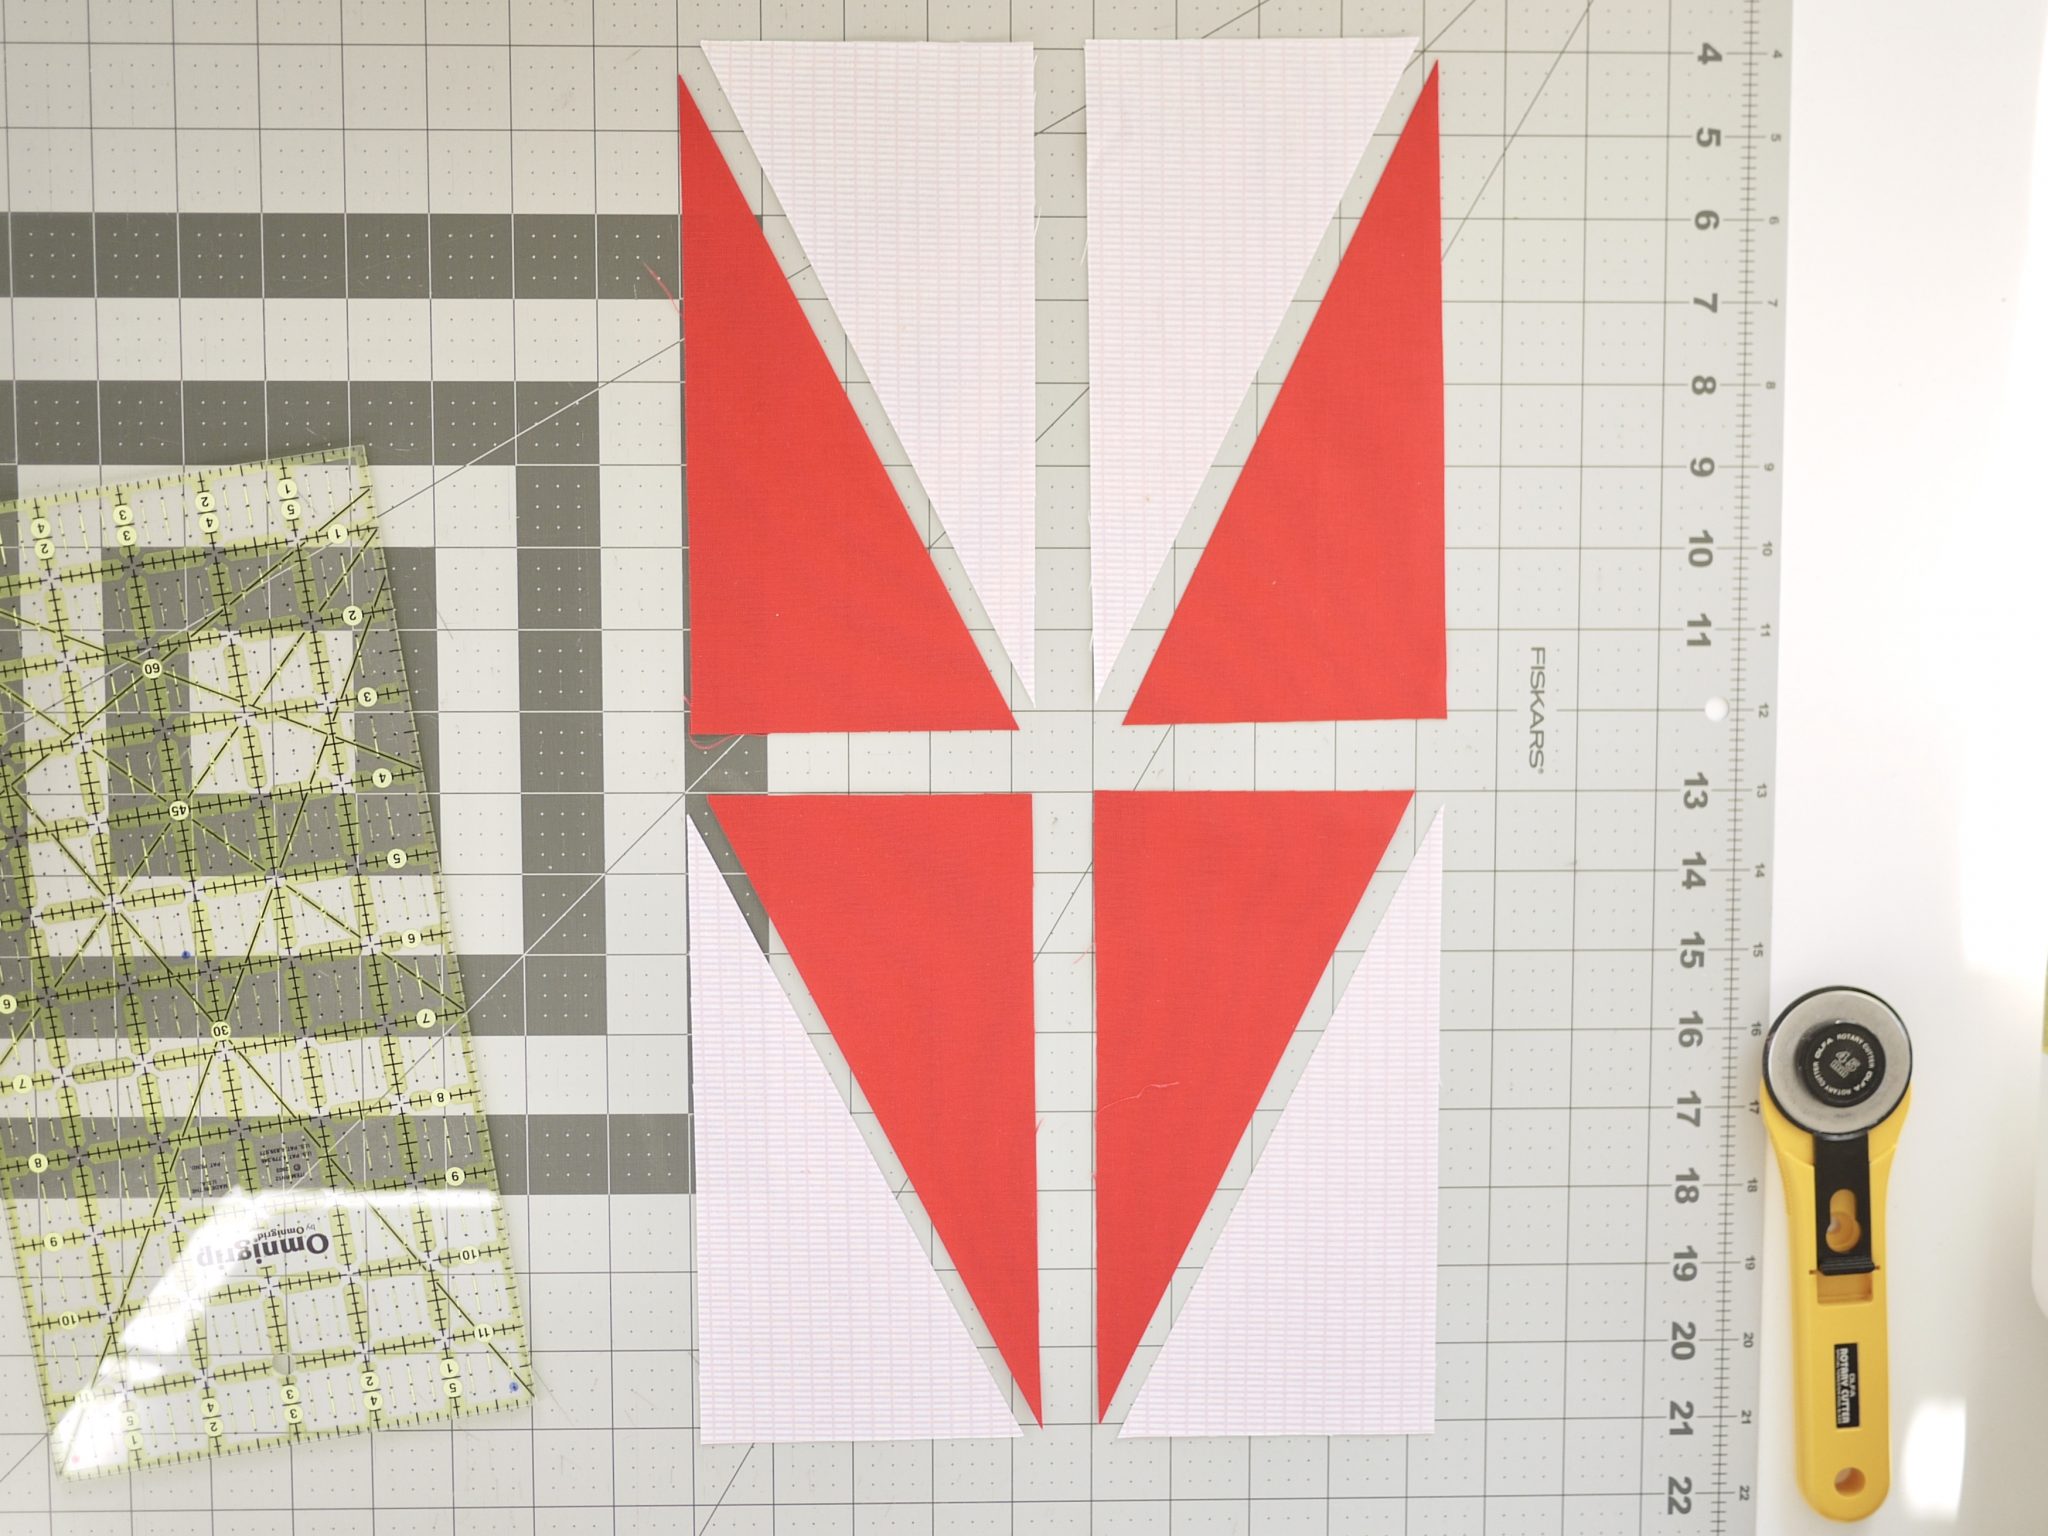
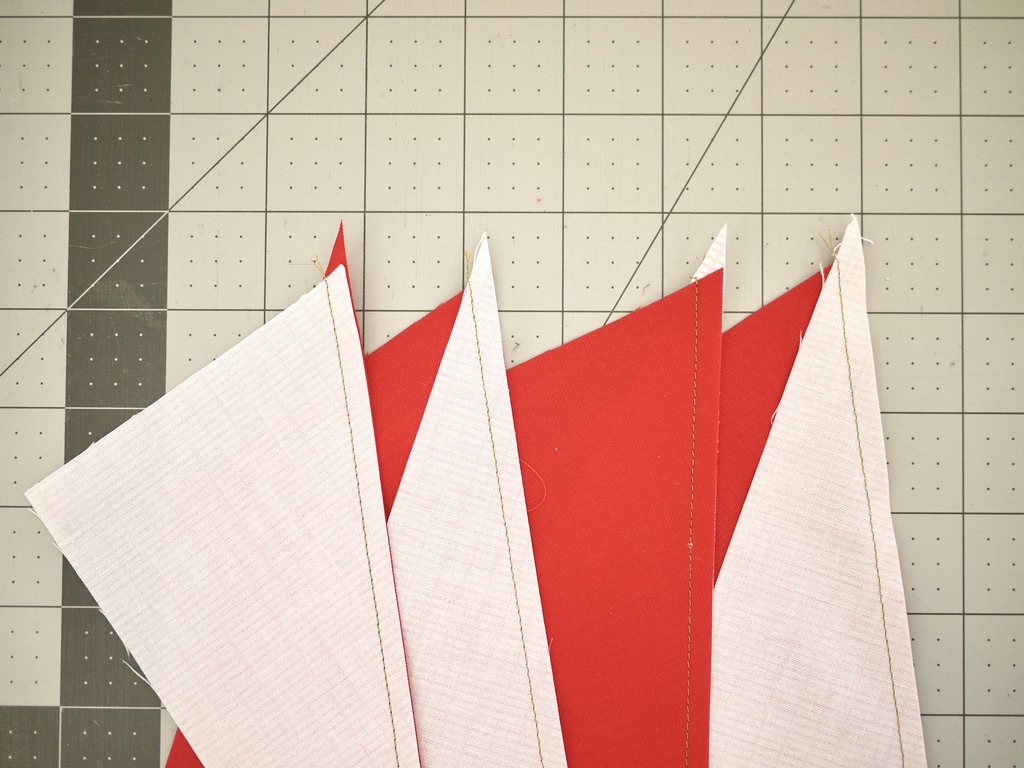
Sew a ¼” seam allowance. Press the seam toward the darker fabric or alternatively, press seam open.
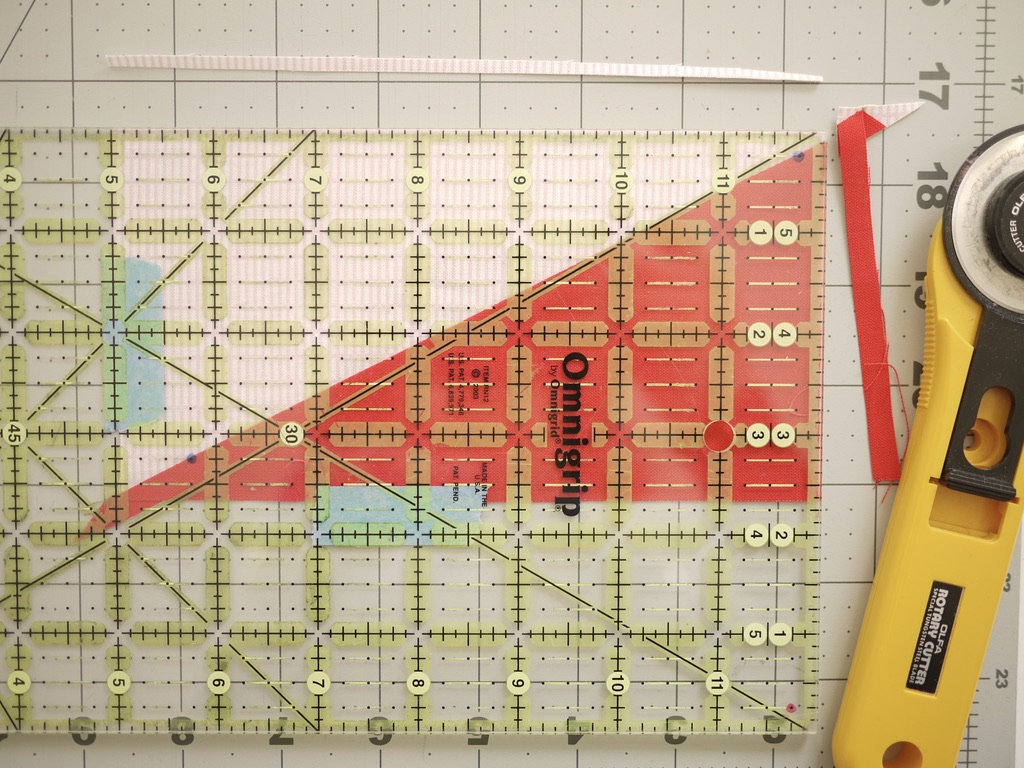
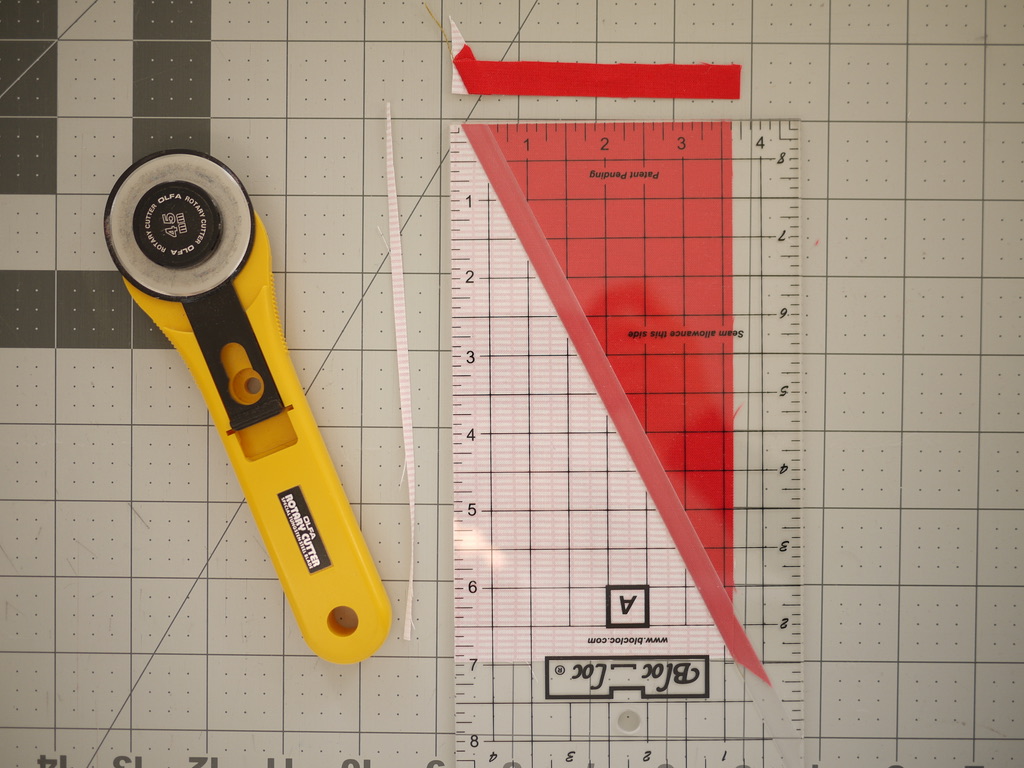
TRIMMING
The diagonal does not meet the corner! This ensure that when we sew our HRTs together, they come together at perfect points.
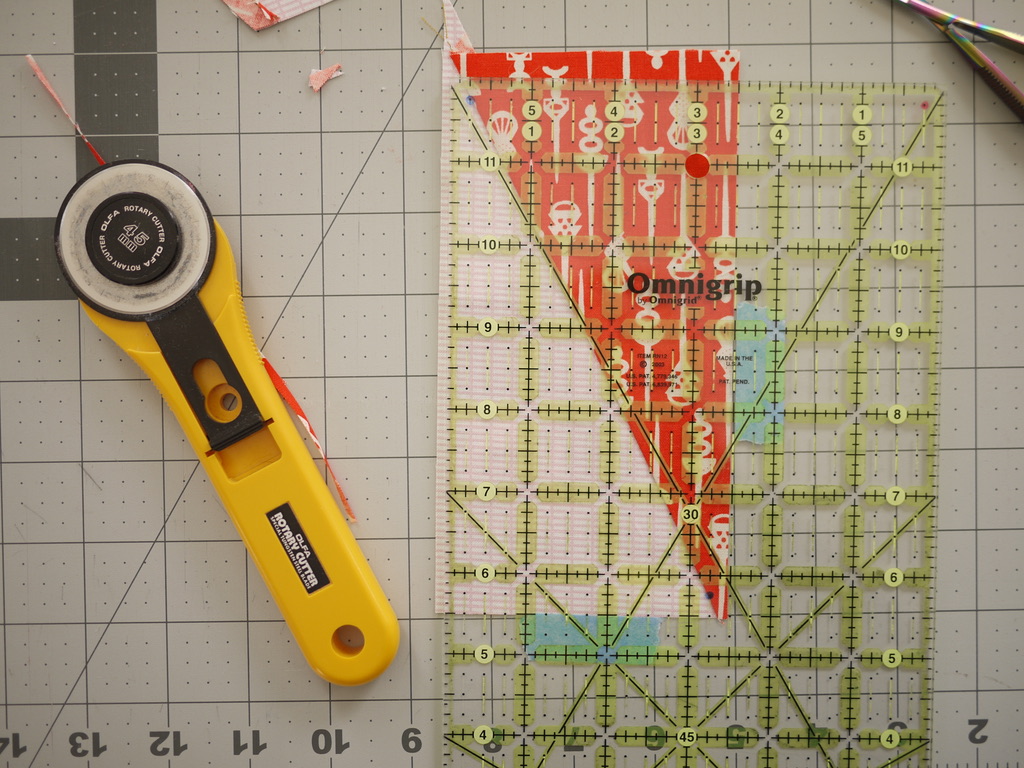
Regular quilting ruler
You’ll need to use a ruler that is larger than your trimmed block. My blocks will be trimmed to 3½” x 6½”, so I’m using a 6″ x 12″ ruler. On my ruler, I have identified the:
- ¼” x ¼” intersection
- 6¼” x 3¼” intersection
I marked them with a permanent marker, which can be wiped off later with some rubbing alcohol. I’ve also marked the 6-1/2″ and 3-1/2″ lines with tape so I can see them more easily.
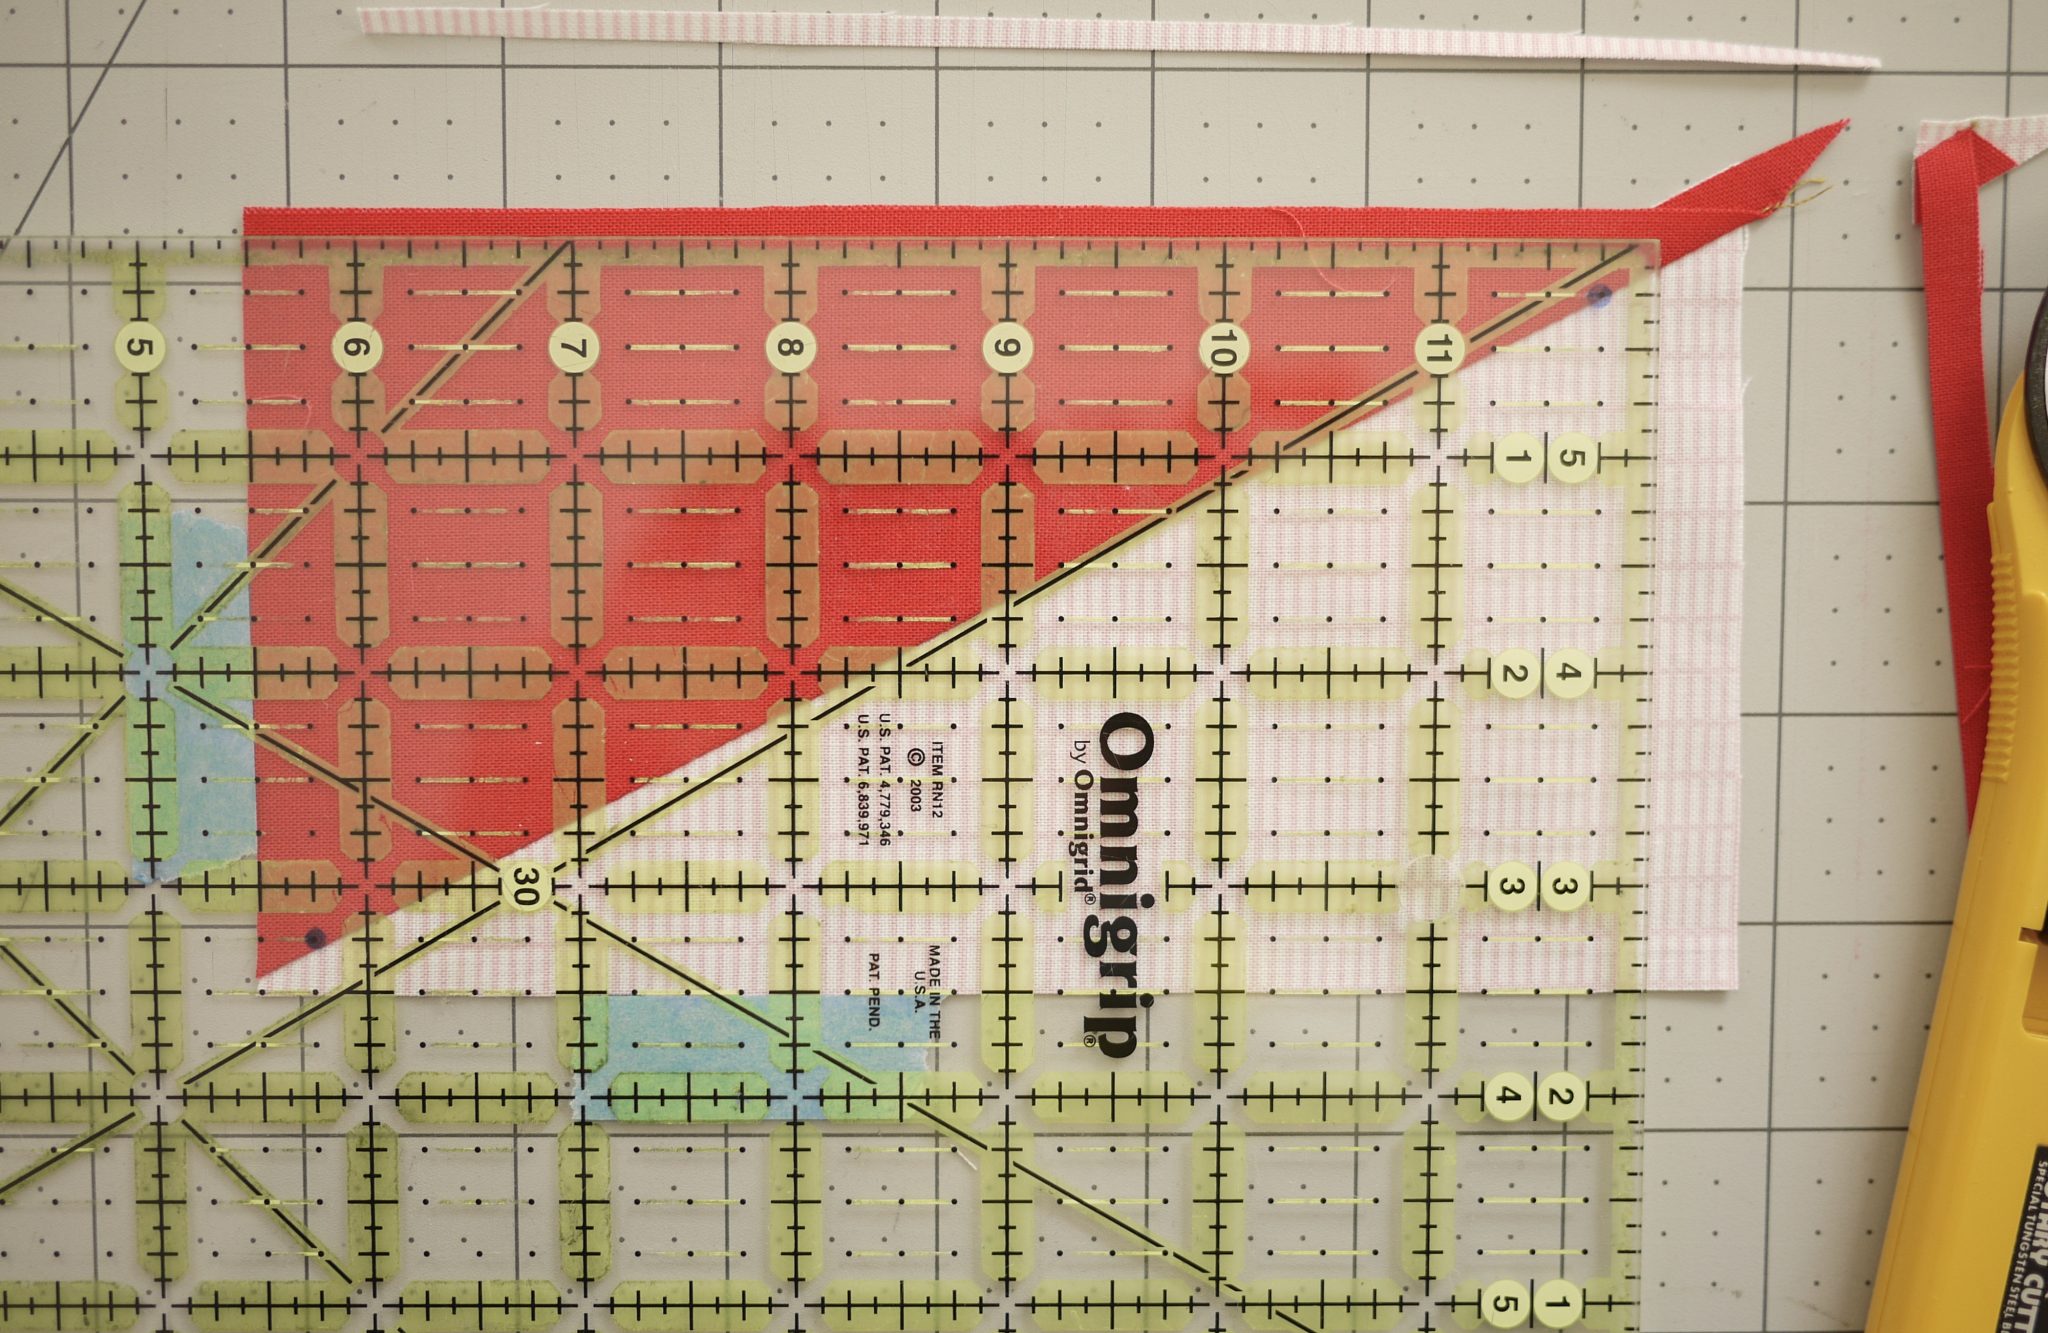
Align these markings with the diagonal seam line. Ensure that the 3½” line at the bottom is on top of the fabric. Trim excess at right and top edges.
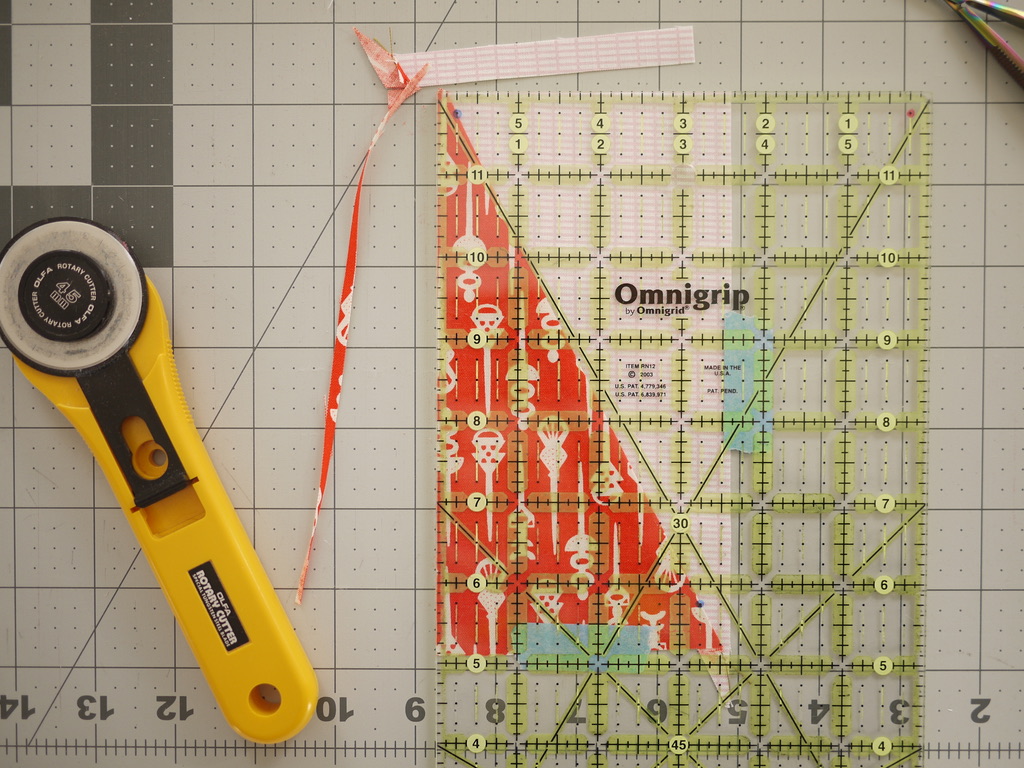
Rotate ruler and HRT unit. Again, align 6½” x 3½” line with cut edges of the block. Ensure that the ¼” intersections align with the diagonal seam line. Trim excess at right and top edges.
Left-hand sewists, this will be what trimming Set A will look like:
To trim Set B triangles, you will mark a different set of dots on a different corner of your ruler.
Bloc Loc HRT ruler

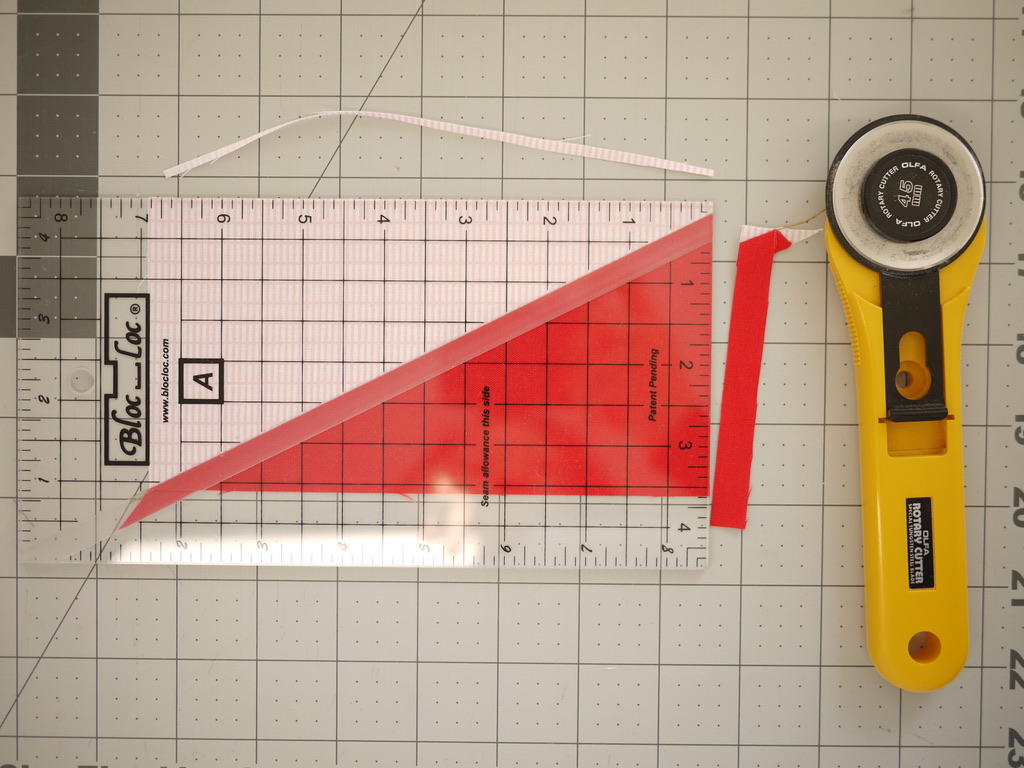
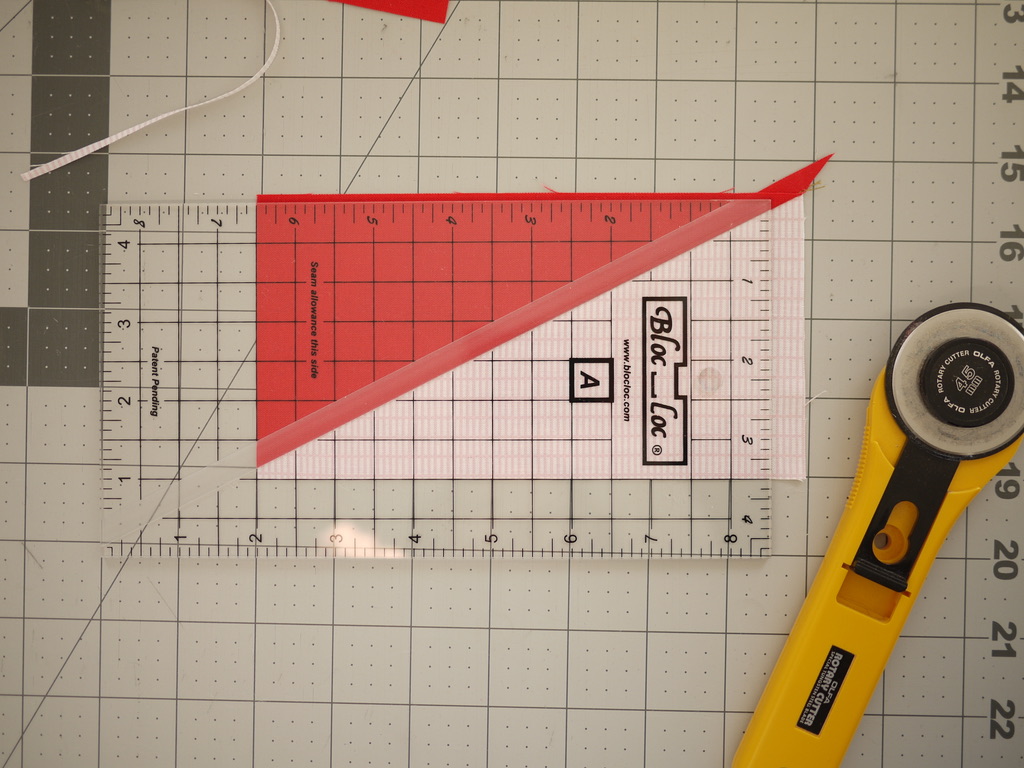
Set A with HRT Bloc Loc Ruler, for left-handed sewists:


Very clear directions for something that is not easy to describe.
Thanks, Marni! I tried my best. An in-person workshop/class would be best but this will do for some people!
Thank you so much for this! The photos helped immensely!
So glad it was helpful!!
Obrigada, eu estava procurando mesmo detalhes sobre Hrts a muito tempo.Amei
You’re welcome, Elisia! De nada.
As someone who has made more than a few HRTs, I can say this describes the process perfectly. And those Bloc Loc rulers makes the process go so smoothly.
Thanks Dena!!
Have you tried the Split Rects tool from Studio 180? I liked using that ruler so much more than the Bloc Loc one . . .
No I haven’t! I may look into it!
This past week, through my local quilt guild, I took a Zoom workshop with Andrea on making these pesky HRTs. It was an excellent workshop, and now I have this technique down pat. I can confidently recommend this workshop for guilds, which was successfully presented virtually via Zoom during this time of covid-19. Andrea even included a math lesson on how to use ratios to make HRTs with different angles.
Thank you, Marsha! I was so glad to be able to teach this technique to you and the QAQG!
Where can I find the math for the 3:1 rectangles
Hi Theresa, I don’t have that on hand for you but here is a different tutorial that should work for any proportion of HRT: http://www.quiltingapps.com/how-do-i1/half-rectangles-hrt-the-ultimate-solution
Awesome! Cannot wait to try this method for my current project.
Woohoo! Send me a pic when it’s done; I’d love to see it: hello@3rdstoryworkshop.com.
This is the best explanation of all the triangle patterns I’ve been searching for. Precise and easy to follow. Thank you Andrea!
So glad it’s helpful, Audrey!