If you’re still working on your quilting or binding, keep plugging away! Or if you want to play… this week is also our improv challenge. We’ve got some lovely offcuts to work with and some leftover fabric, so what don’t we make something to complement the quilt like a pillow? Or just experiment for no good reason other than to do it? Let’s have a look at what we can achieve this week with our improv challenge:
#1 / Have fun
This is the most important element of the improv challenge. I love that I can just sit down and sew without measuring anything. Just do it. Put to pieces of fabric together and sew! Trim and then add more.
#2 / Lay it out
Lay out your piece and see what you’ve got. You’ll see some angles that will come together well. You’ll see where you might want to contrast light and dark, or put two similar tones together. You can try and line up your strip sets or you can say, “I’ve already done this precisely for the quilt, so this time I don’t care this time!”

#3 / Trim as you go
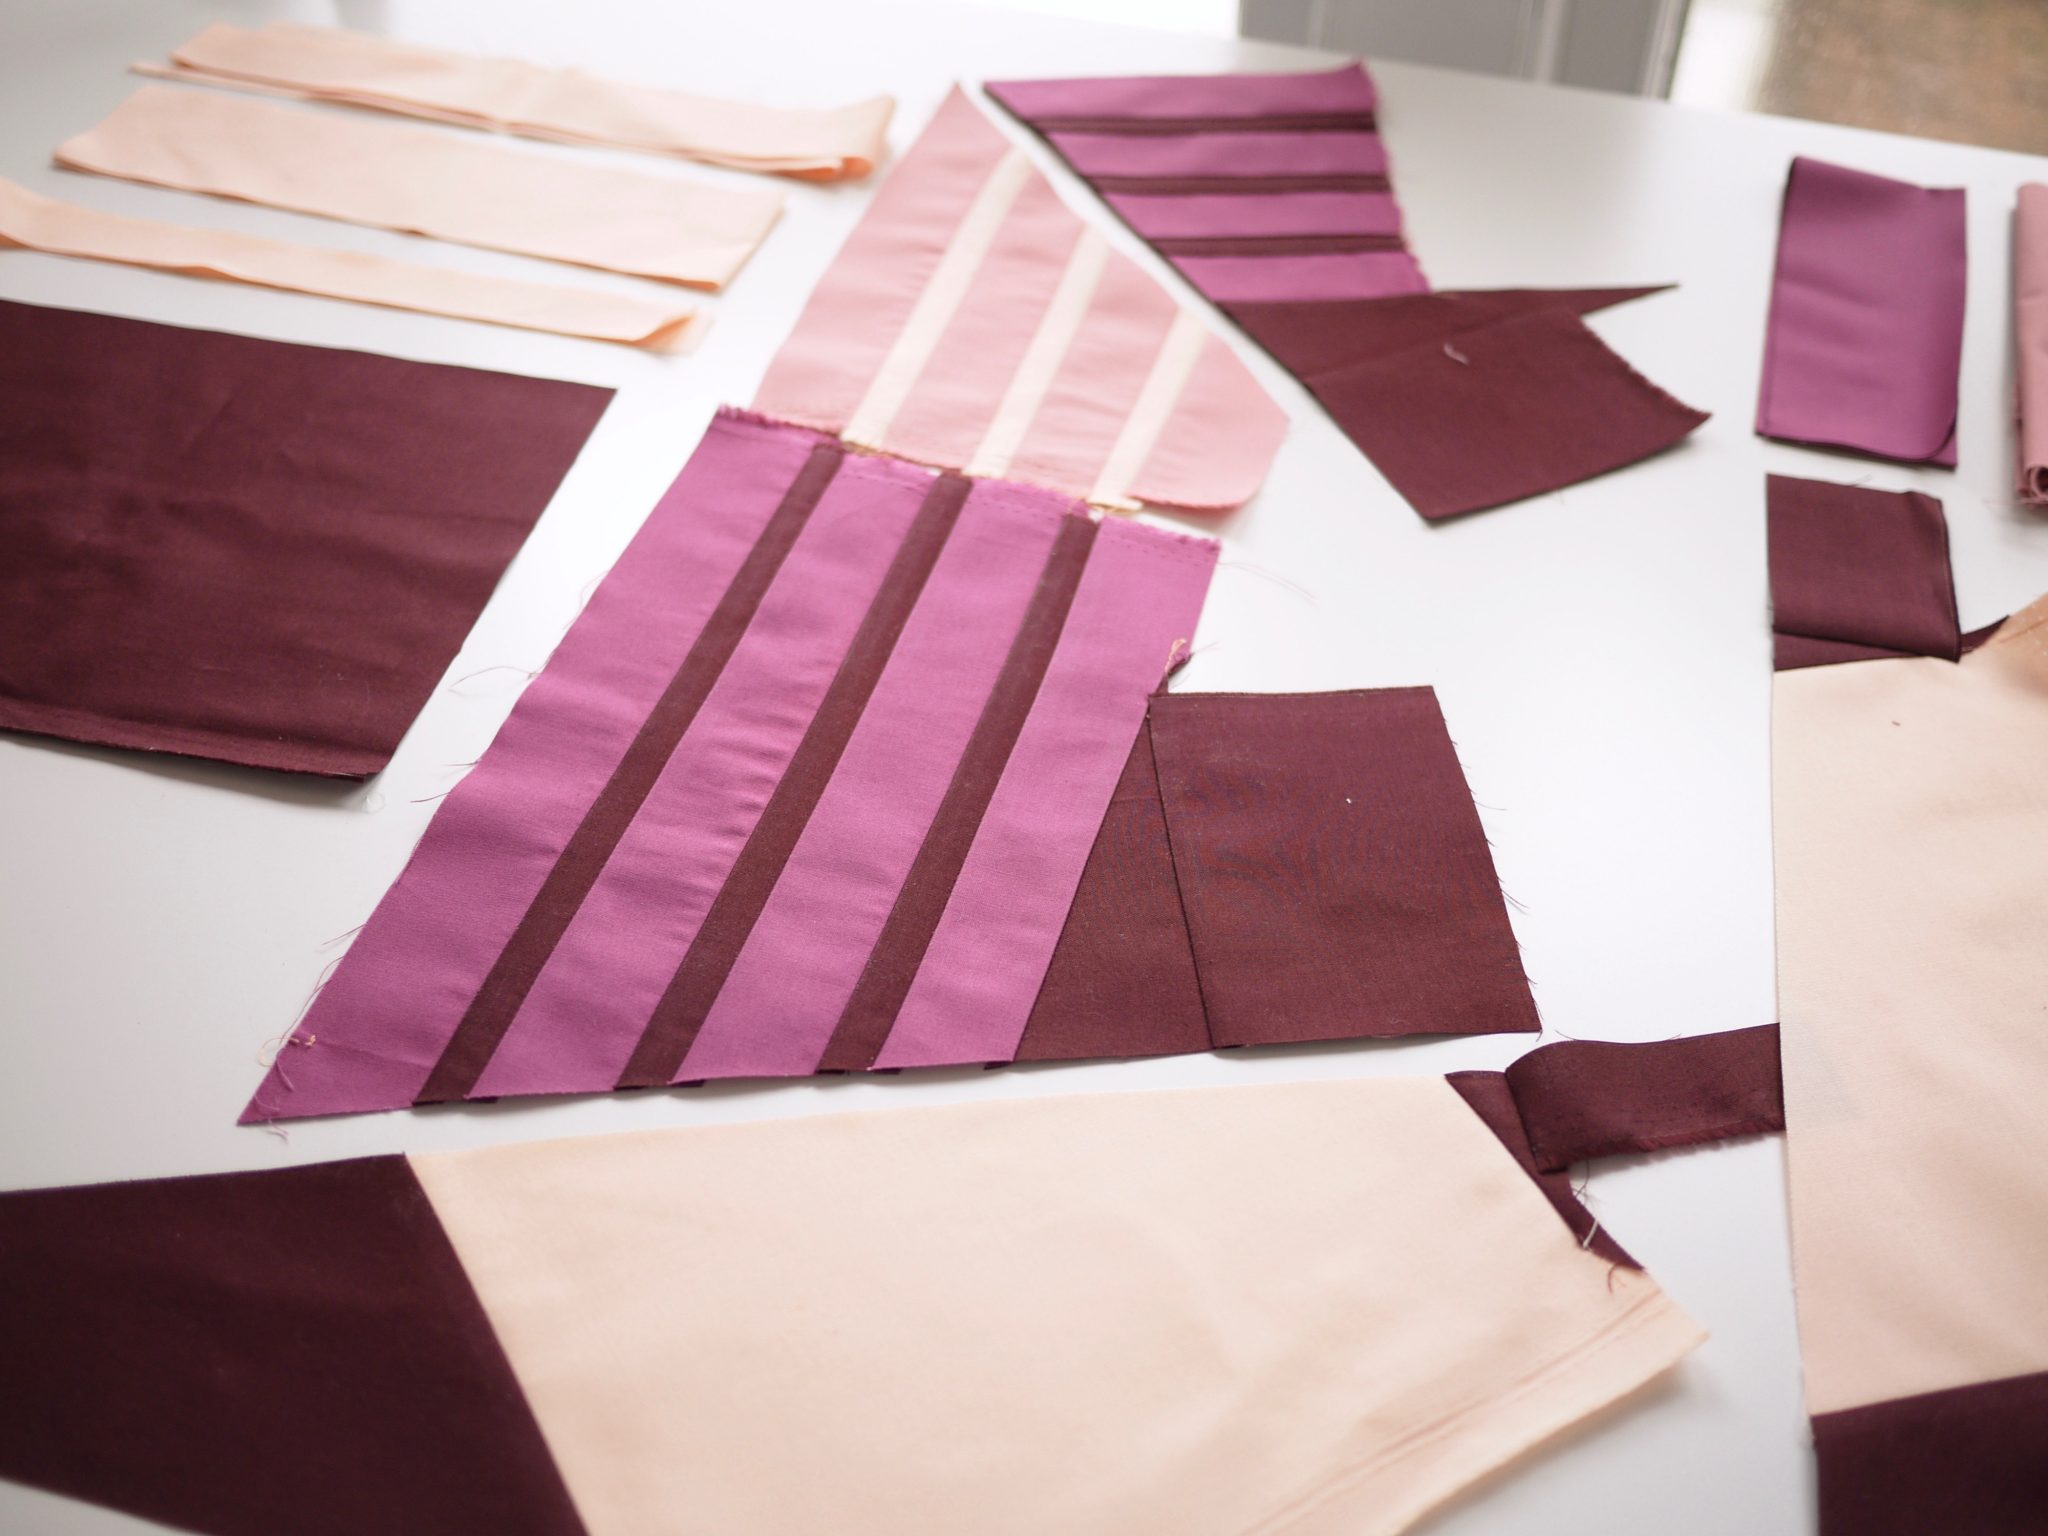
As you put your pieces together trim any funny bits off so you can add your next straight seams. You might have some groups of shapes that go well together. In this case put a few ‘slabs’ together and then join those slabs to make a bigger piece.
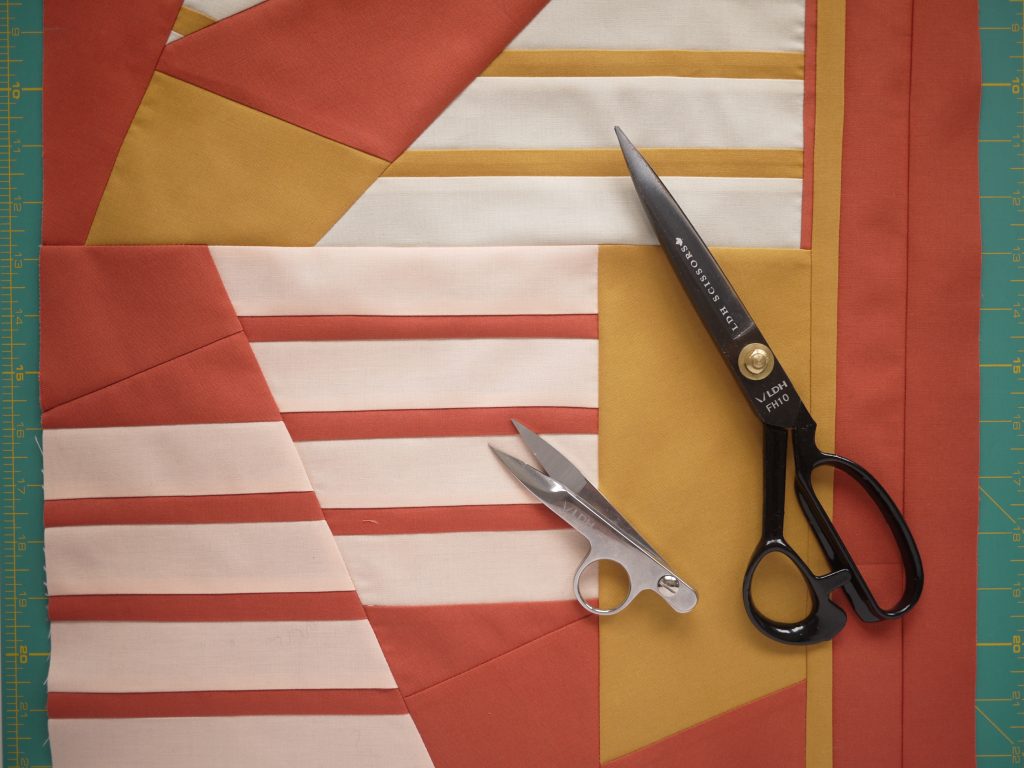
Improv with slabs above (ignore the scissors in photo for now). There are three slabs joined together:
- Rectangle with yellow stripes at top
- Rectangle at the bottom with peach stripes
- Three longs strips at the right.
#4 / Experiment
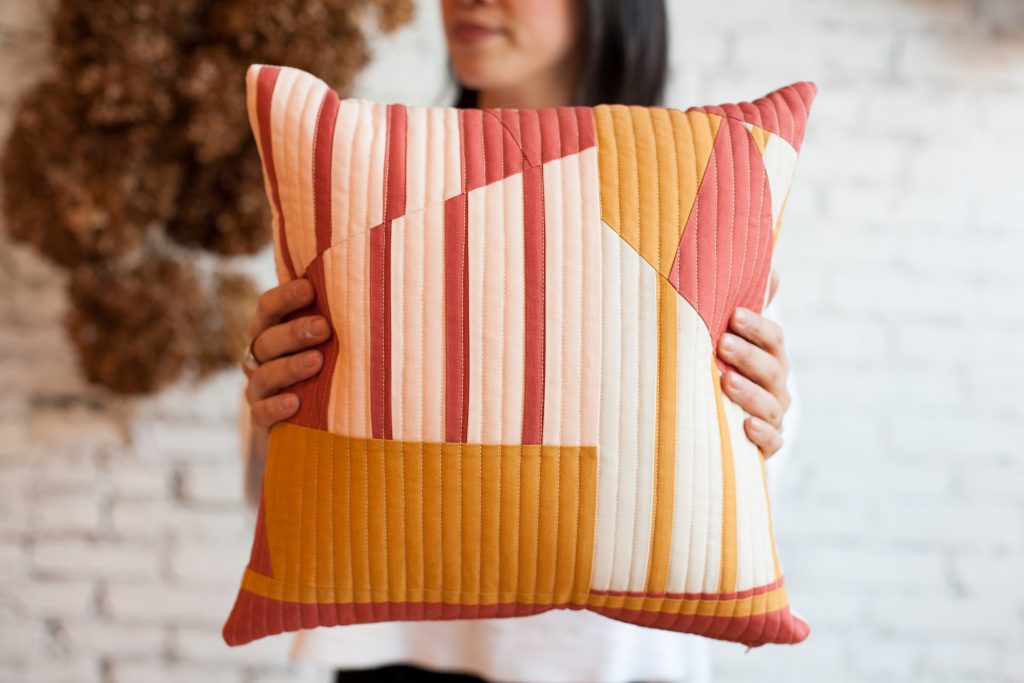
With a lap size, you can easily get one 20″ x 20″ improve piece and with a baby quilt, you can get a 16″ x 16″ piece. Probably more! With this size of work — because it’s small and not too time consuming, feel free to try something new! If you mess up, the investment of time and fabric is low. Don’t even take out the seam you don’t like, just CUT IT OUT and use the fabric again. Take the opportunity to try a new quilting technique, some hand work or embroidery or pieces some improv curves together (see next point).
#5 / Try improv curves
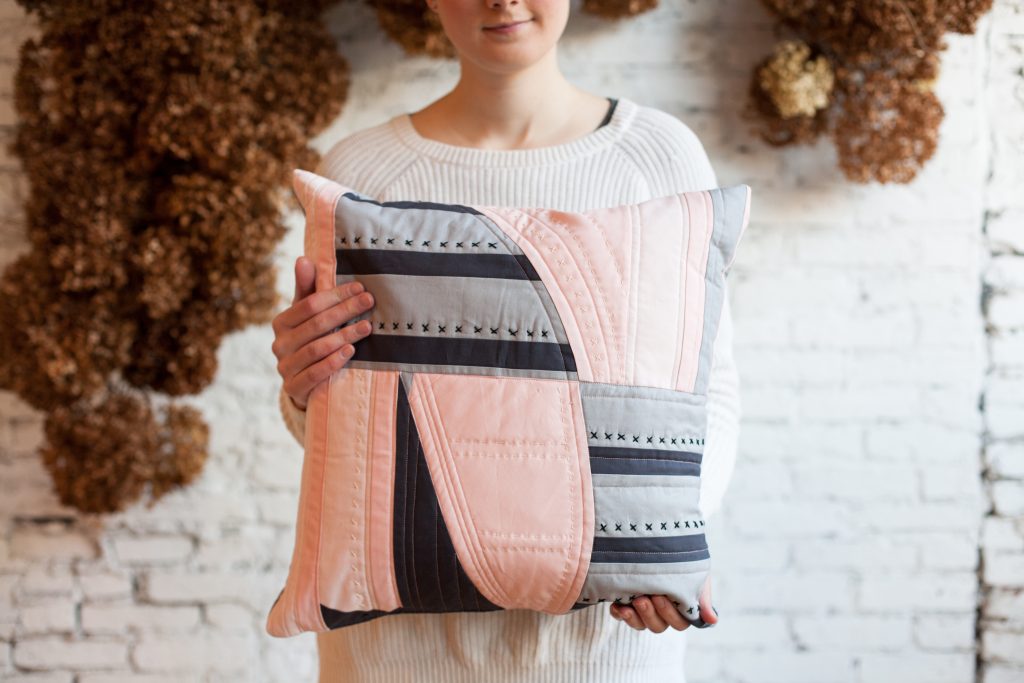
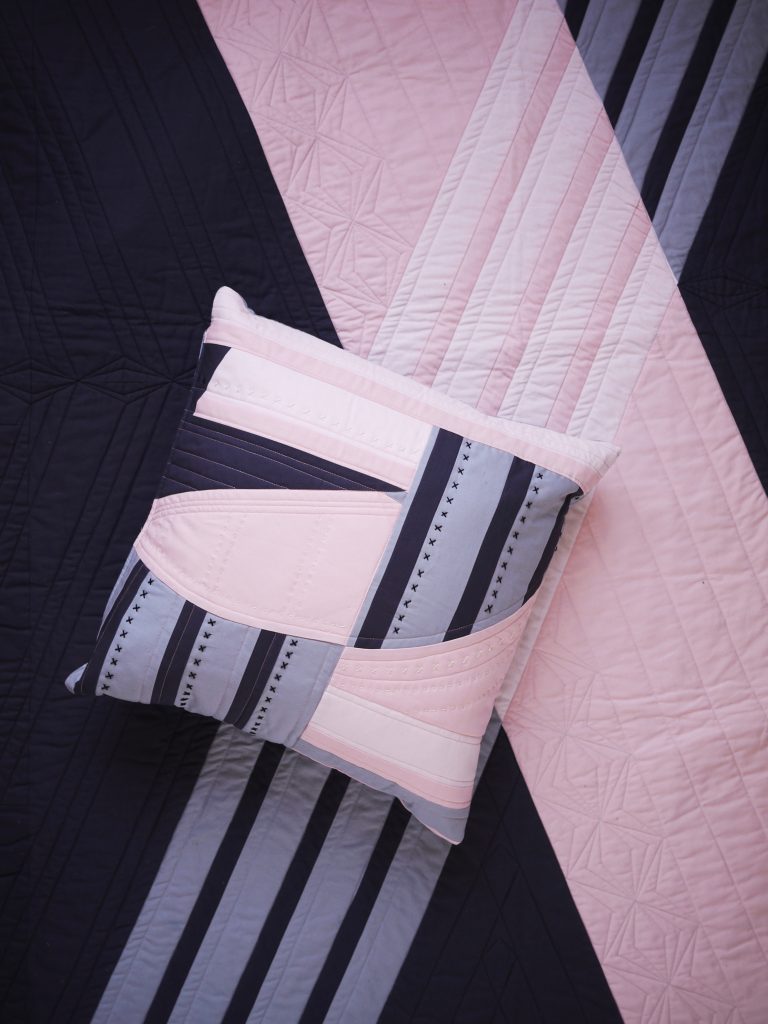
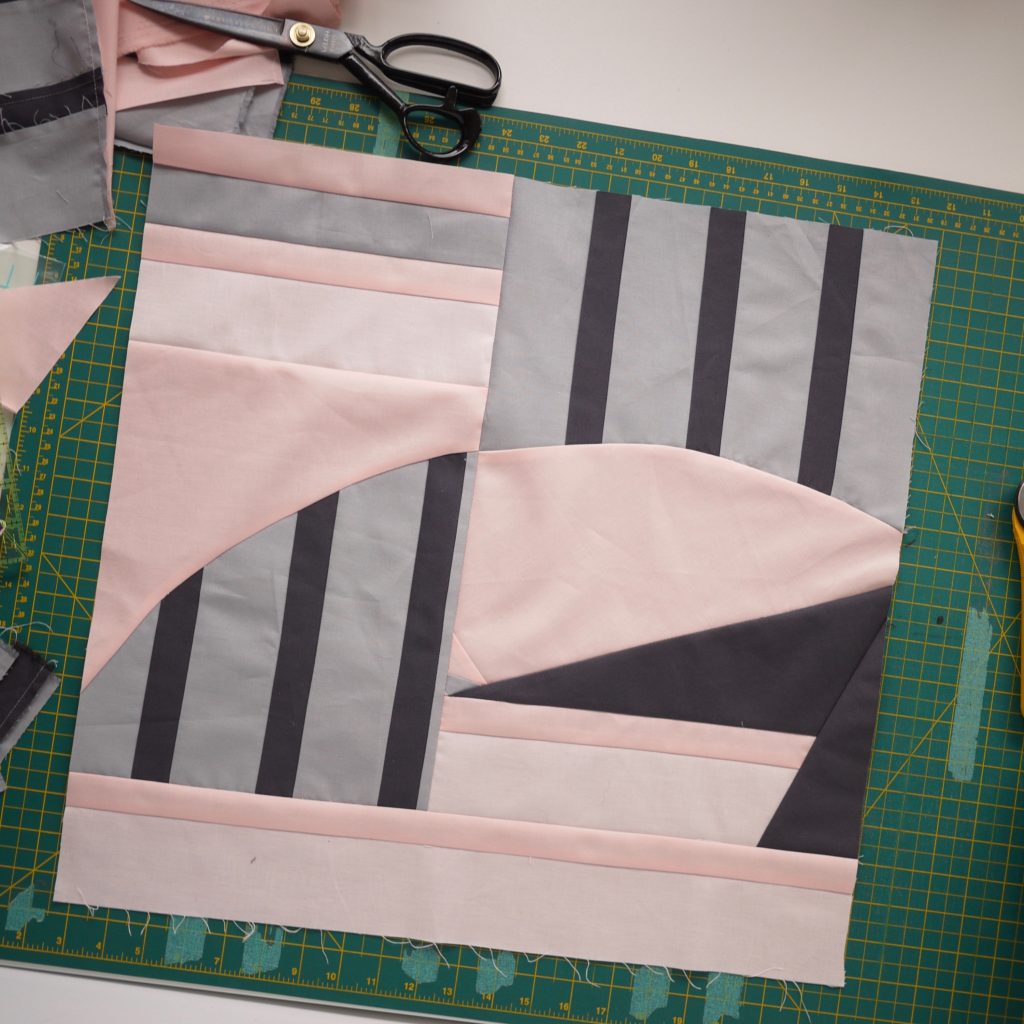
I did an improv curve on this one pink and charcoal pillow. I overlapped two pieces of fabric and cut a random curve in the overlapped area with my rotary cutter. Then sewed them together without too much pinning or care. Again, If it doesn’t work out, take your scissors and cut the seam out and use the fabric again. If you want to try these out, start with them and then move on to other more straightforward seams. That way, if it doesn’t work, you haven’t spent a whole bunch of time on the improv only to “mess it up” with a curve that just isn’t quite right.
Ready… set… play!