This is a sponsored conversation written by me on behalf of Cricut. The opinions and text are all mine.

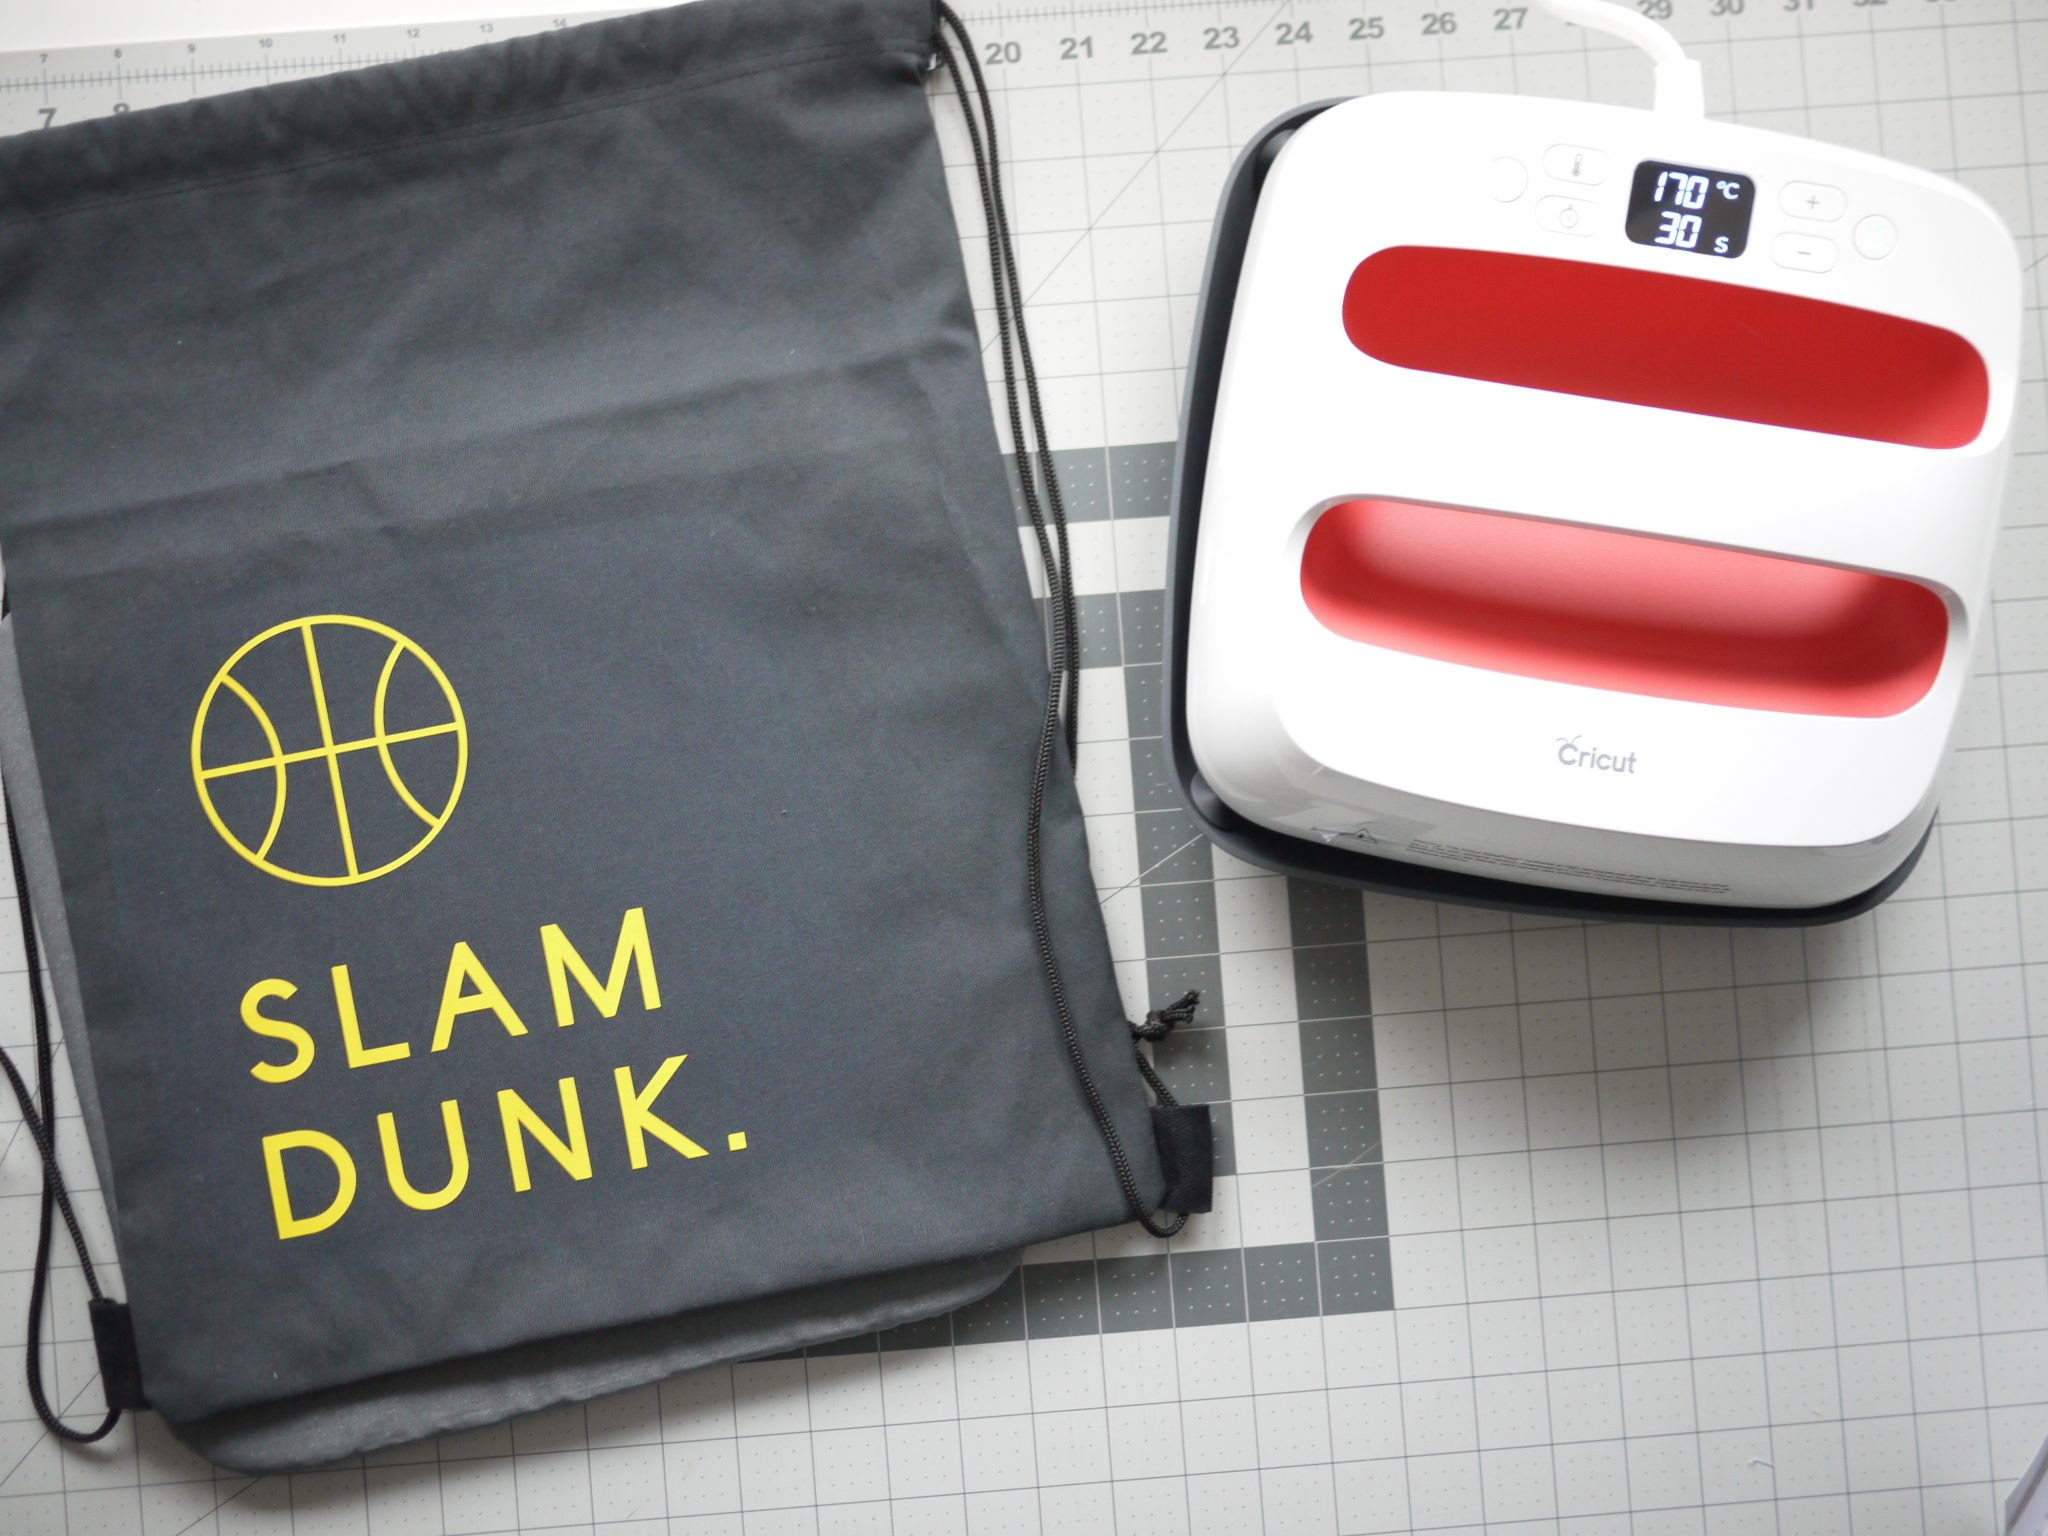
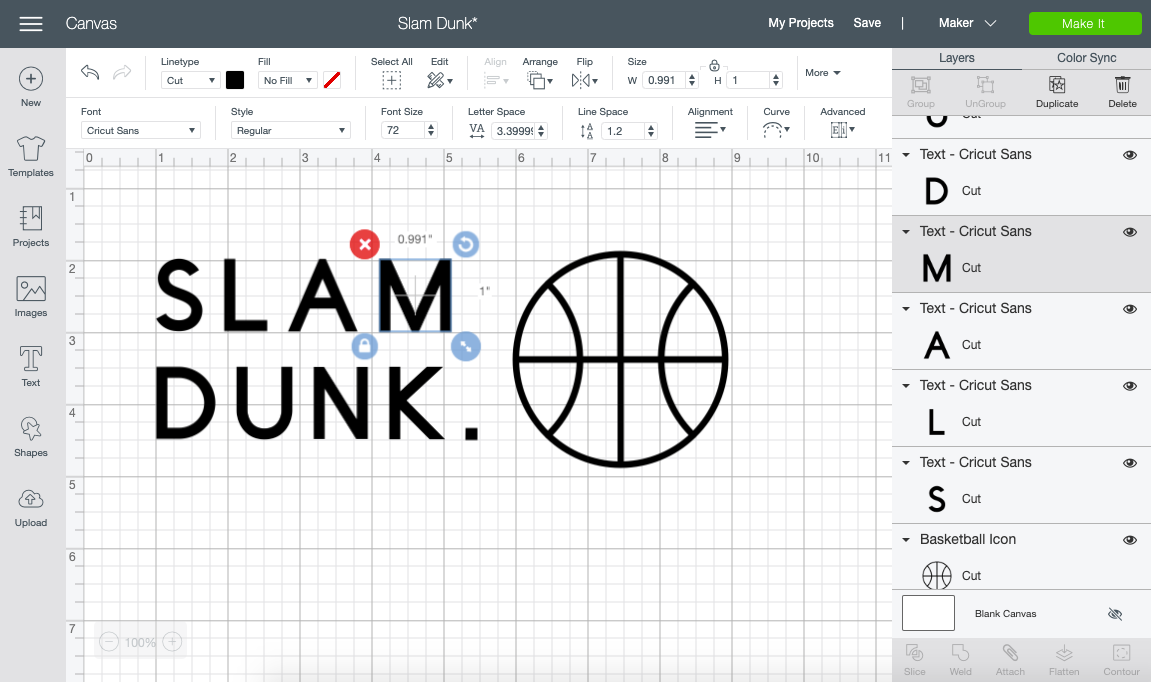
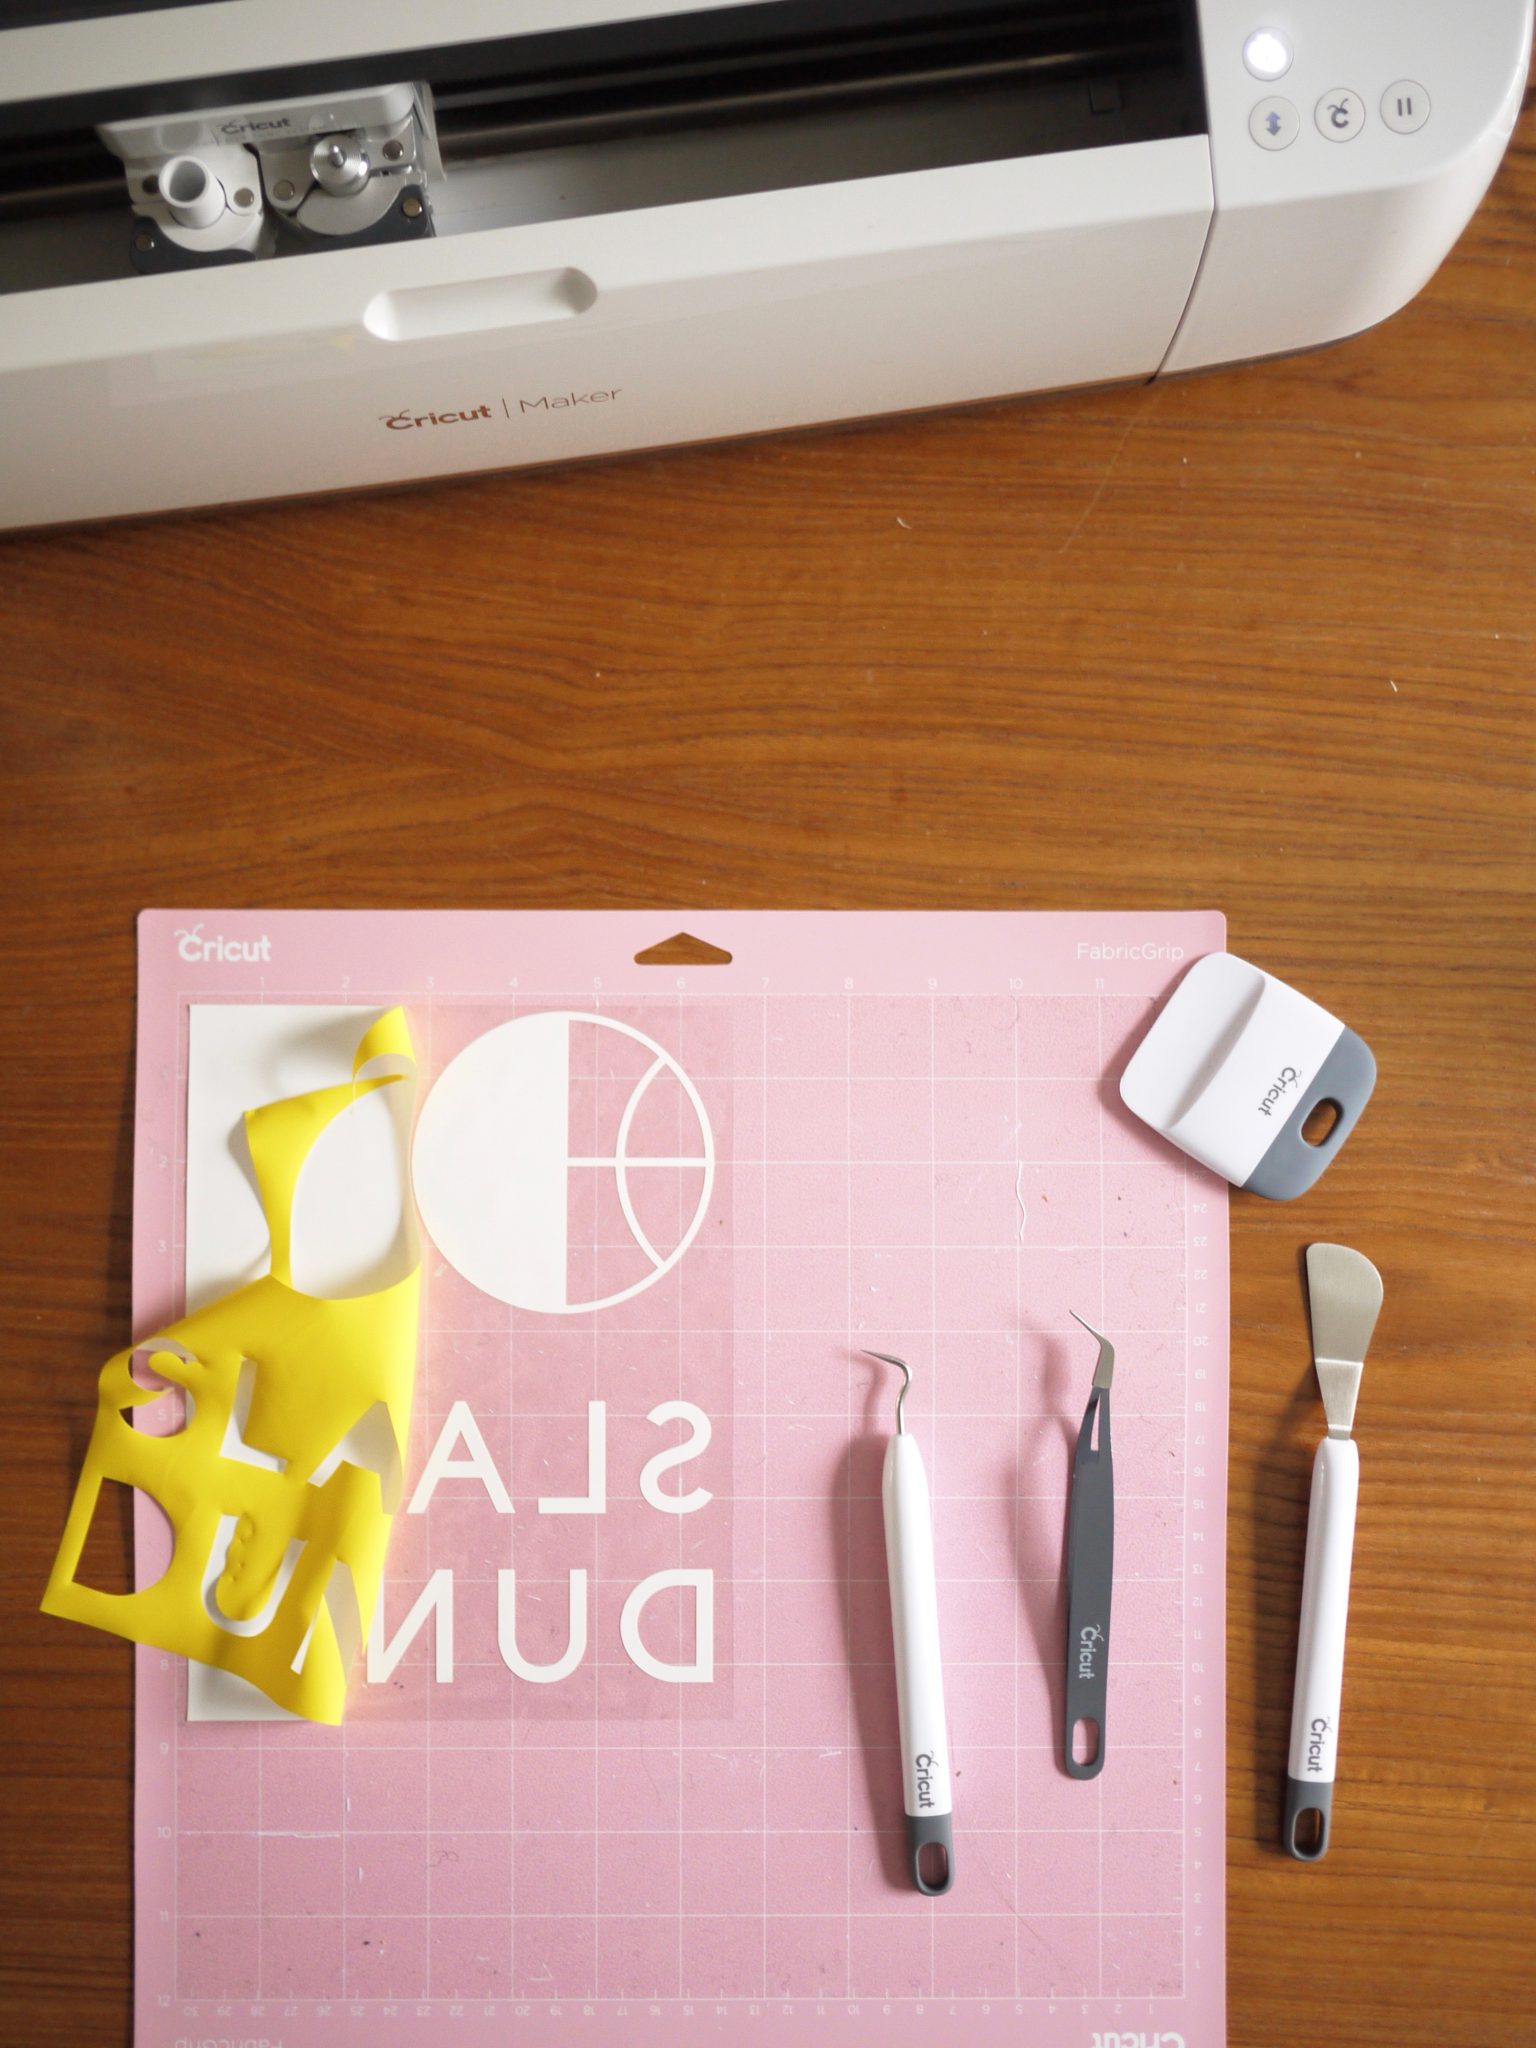
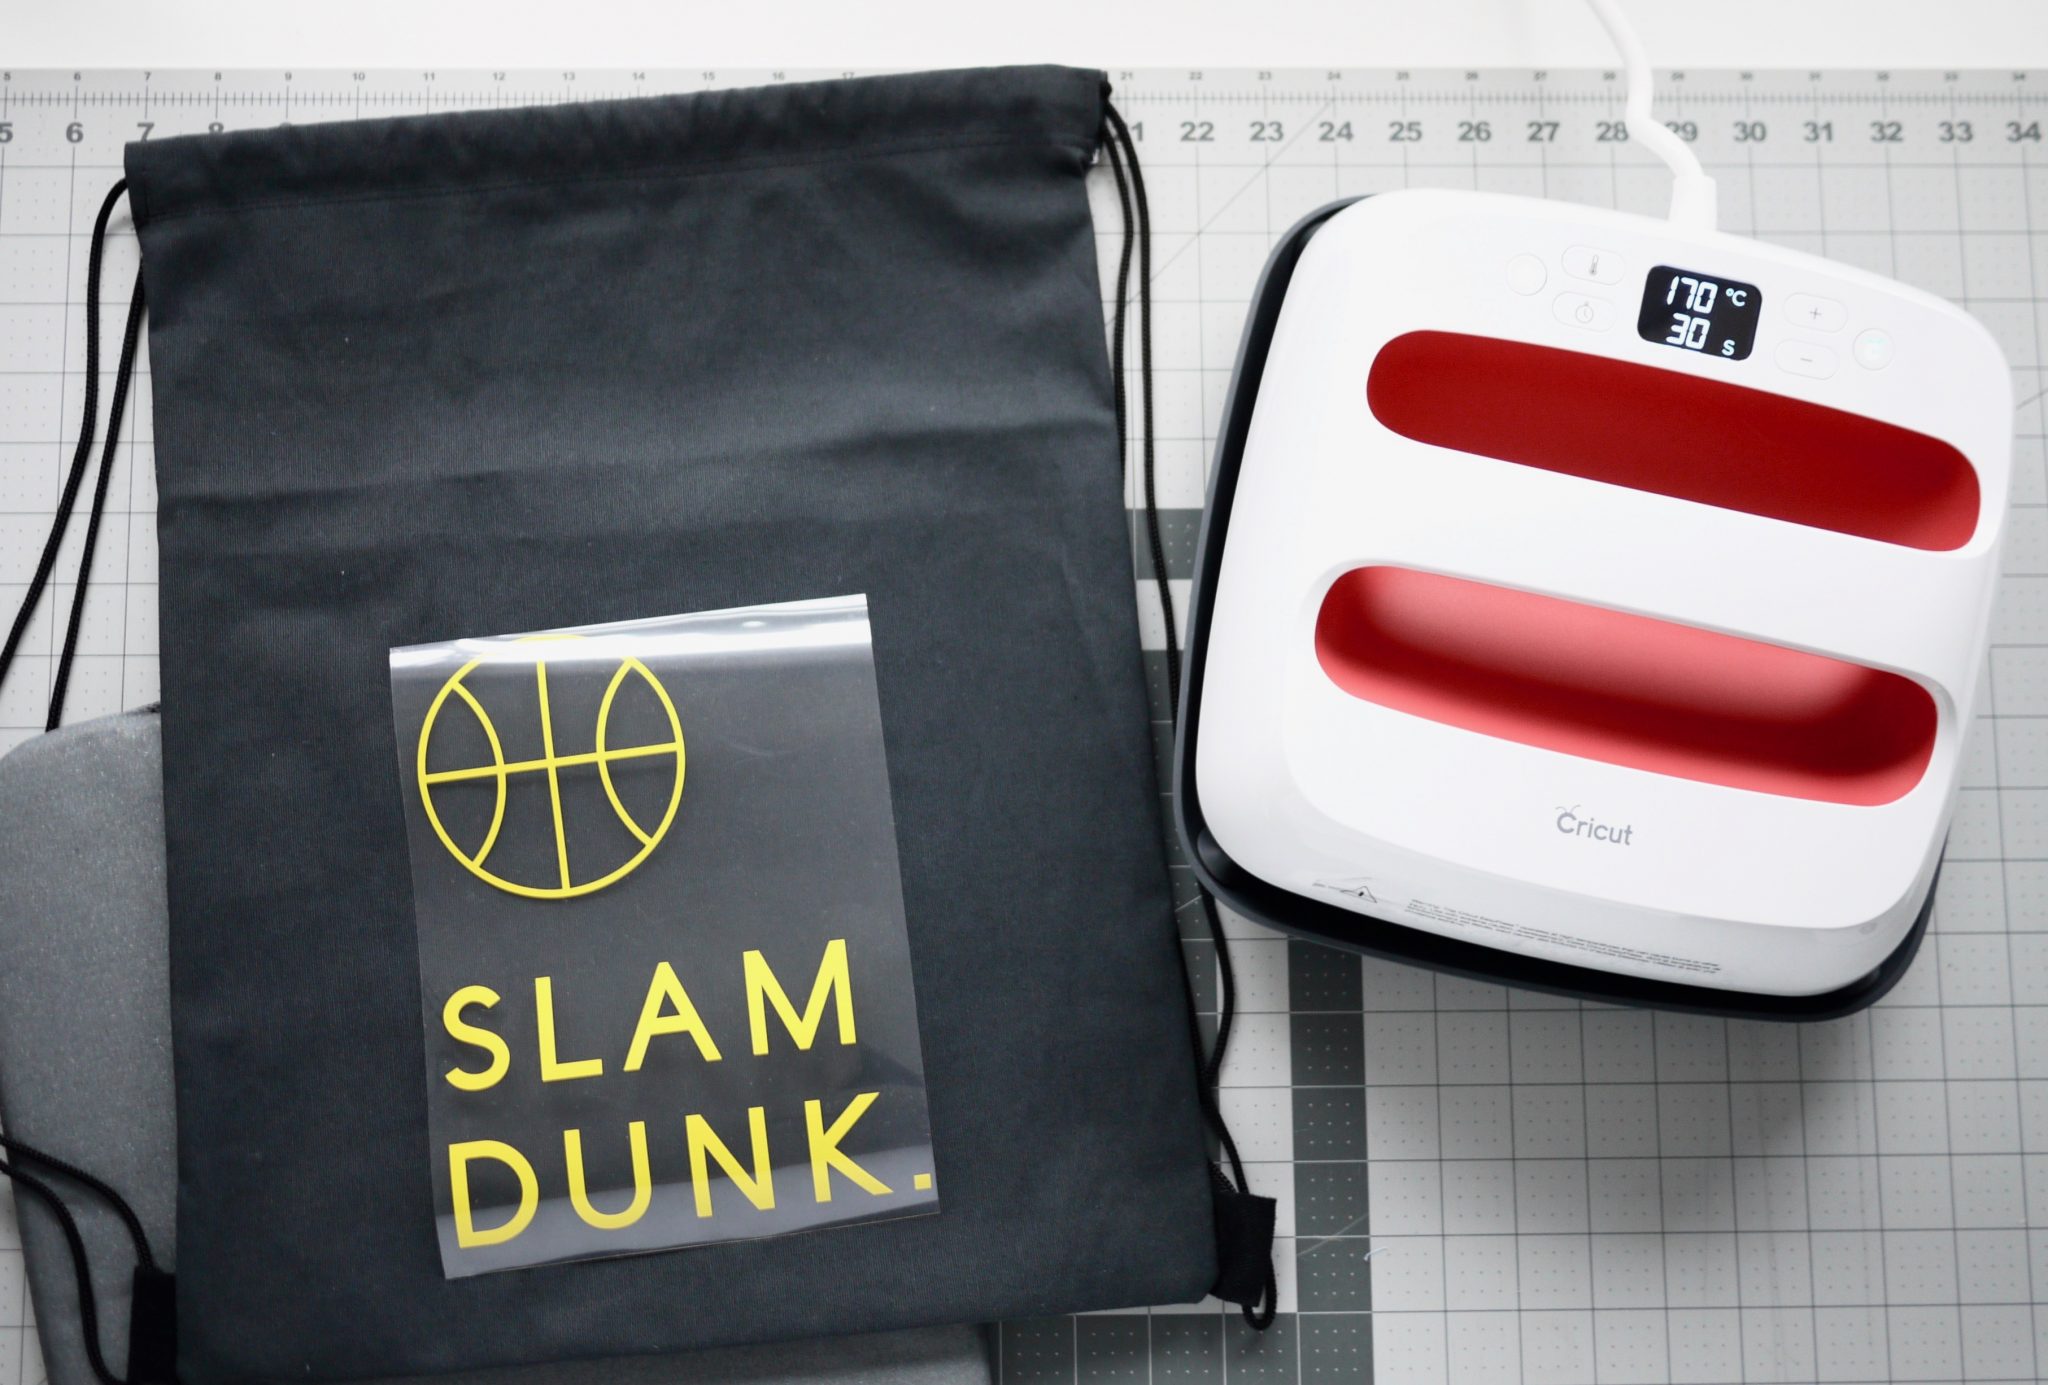
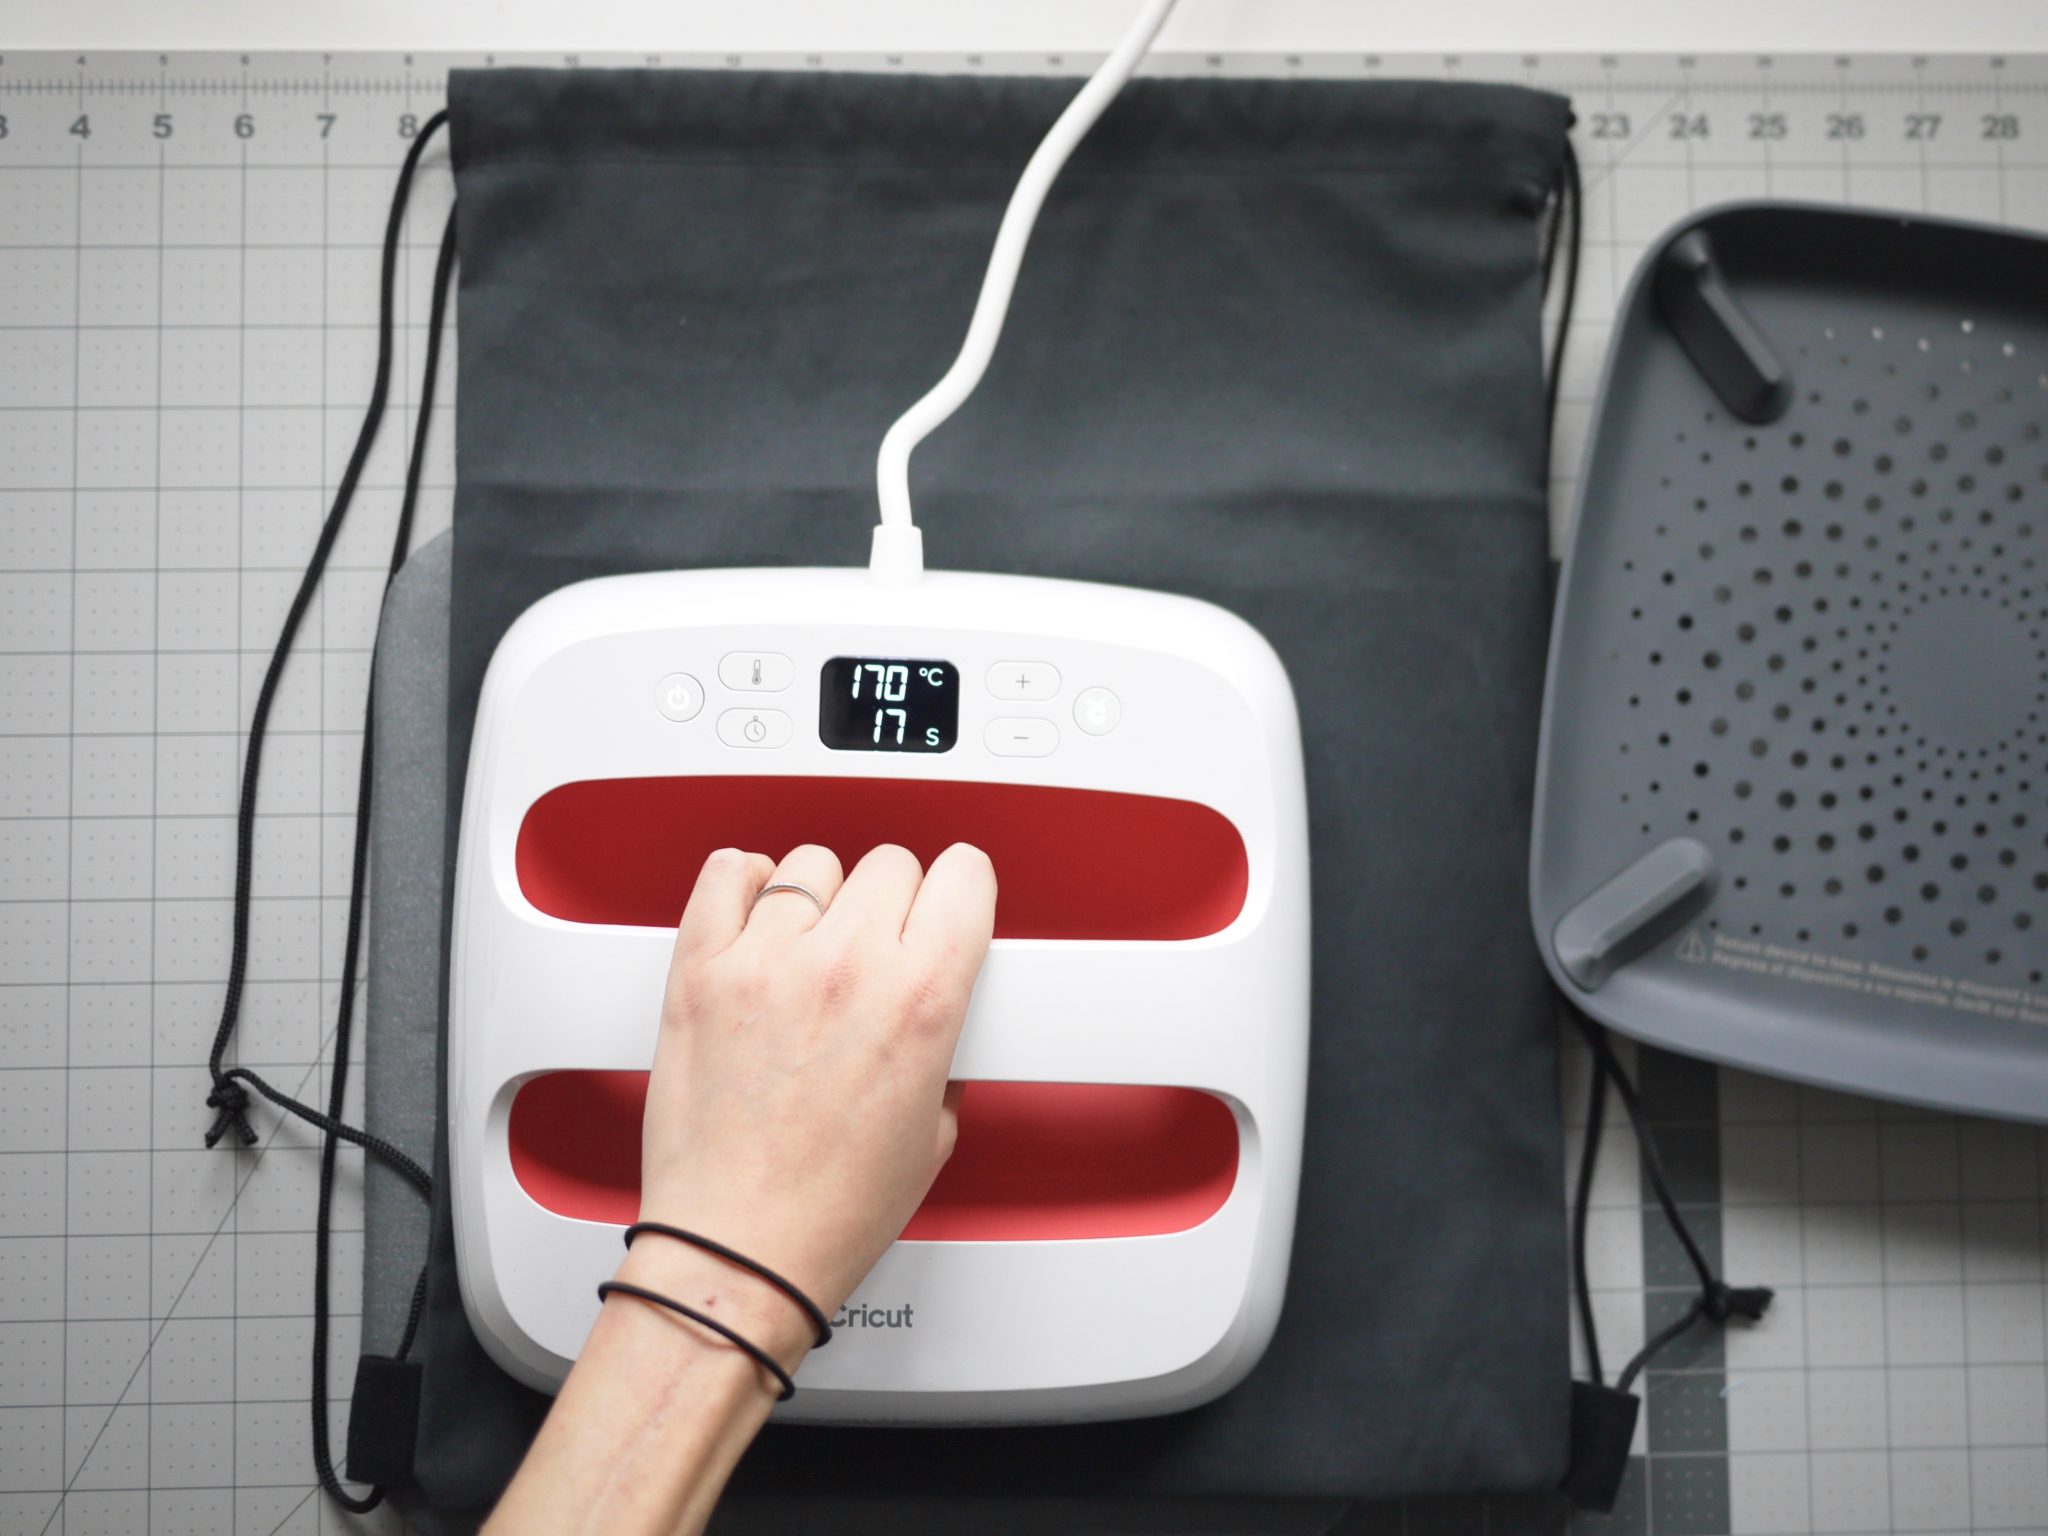
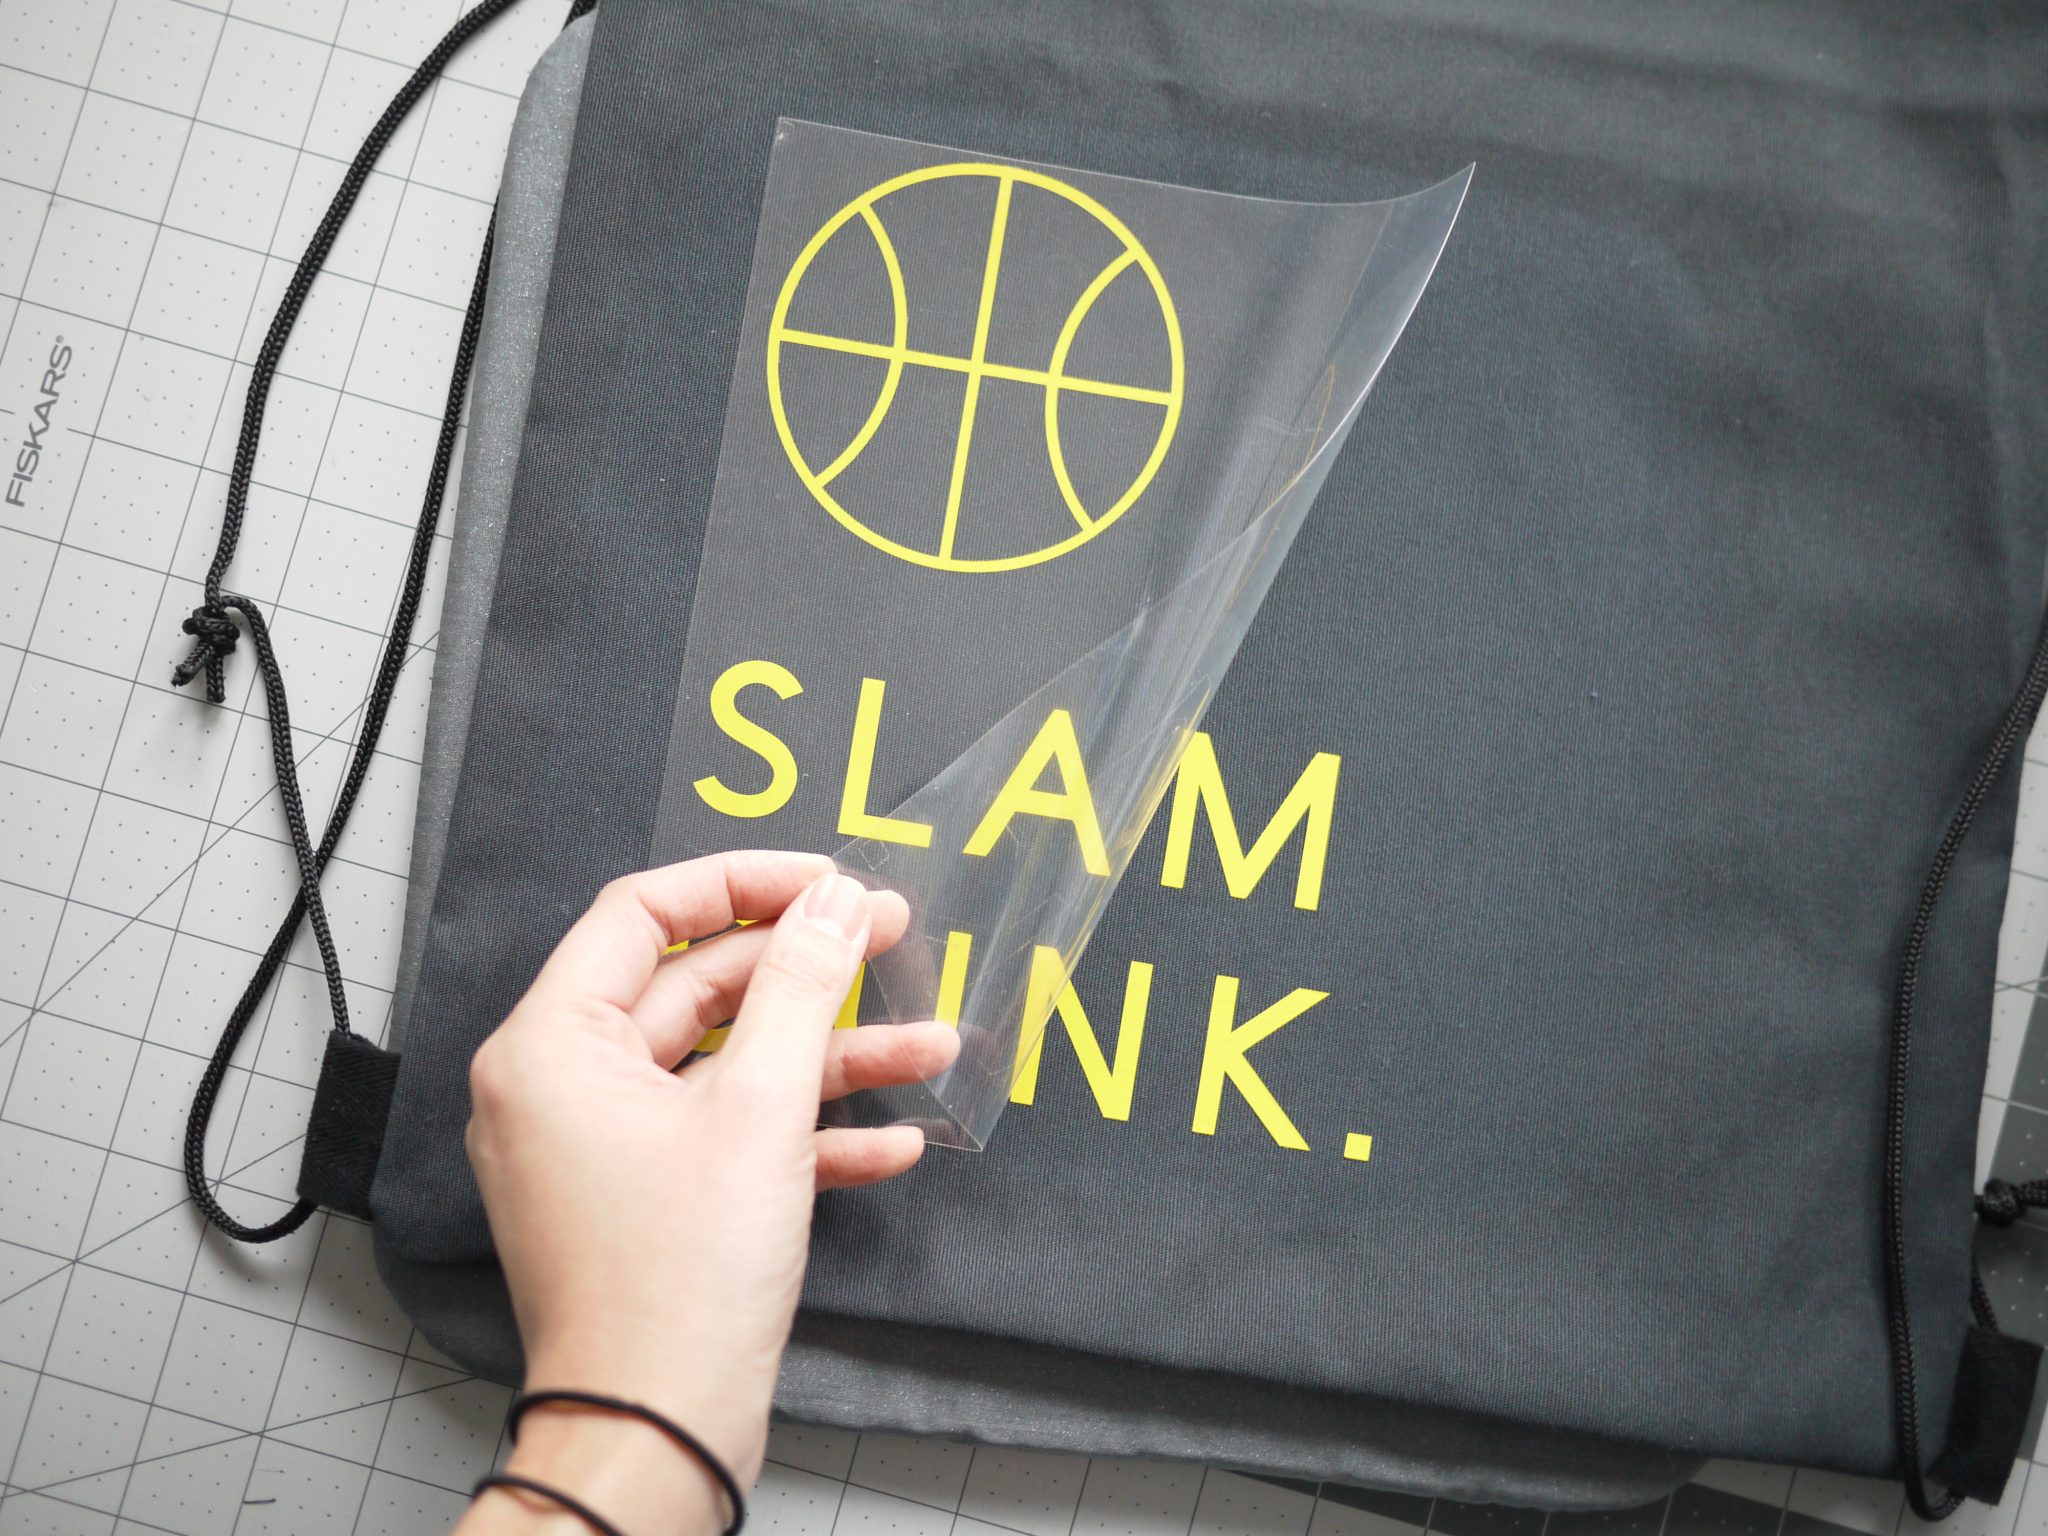
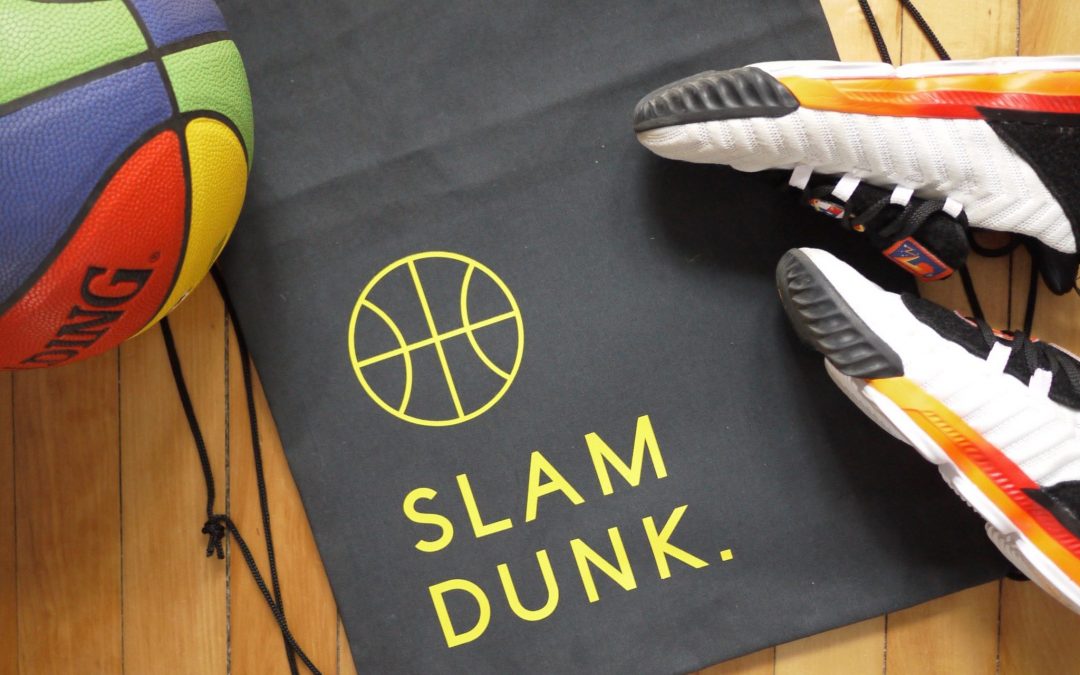
After a busy year, I often take December to do some creative things just for fun. I’m using my new Cricut Maker to play around with and for once, get my family in on the goodness. One thing that my kids love -- other than sports -- is technology. The machine is mesmerizing for them to watch. For this project, I decided to try my hand at the Cricut EasyPress 2 iron with its EasyPress Mat. Enter the design for SLAM DUNK.

[/et_pb_text]

They recently got a tiny bit more serious about basketball -- which means, at their young age, they play twice a week. I'm grateful that it feels manageable at this point in time! One thing that is great about basketball is its low equipment needs. Just shoes and a water bottle. I whipped up a small drawstring bag modelled after the freebie from the registration process.

True to my aesthetic, this design is made with a minimal font (Cricut Sans) and a clean, non-fussy basketball icon found in the Cricut Design Space image library. The left-justified alignment makes the design appear effortless, but considered. You can make your own Slam Dunk project here.
I adjusted the kerning -- that is, the space between the letters -- by ungrouping the text and manually readjusting the spacing. I then grouped the letters back together. When I finished playing with the letters, I sized the letters and basketball by drawing a temporary rectangle the size/colour of my bag, laying the text and icon on top for the prefect layout. Then I welded the letters and basketball together to keep them in place.
I chose a yellow Everyday Iron-on vinyl to contrast against the black background. Placing the vinyl facedown on the mat and then turning on the "mirror" setting is crucial (guess how I know...!). As you can see here, the weeding tool is very helpful to get all of the negative space out of the way.
The EasyPress 2 with the EasyPress Mat is aptly named because it's easy to use. I set my EasyPress Mat on a firm surface and set the iron to the recommended settings in the Heat Guide for Everyday Iron-on on cotton canvas: 170 degrees Celsius . I waited for the press to heat up, pressed the bag without the vinyl to flatten it and warm it up, put my vinyl in place and held the EasyPress 2 on the the vinyl for 30 seconds as recommended.
I then flipped over the whole bag and heated the back to set the vinyl further. While it was still warm, I peeled back the clear transfer and voilà!
The simple two-colour design has a modern feel. The yellow makes it kid-friendly, but not kiddy. I hope my son likes this as much as I do! Such is always the hope for the few things that I get to make for them!