This is a sponsored conversation written by me on behalf of Cricut. The opinions and text are all mine.
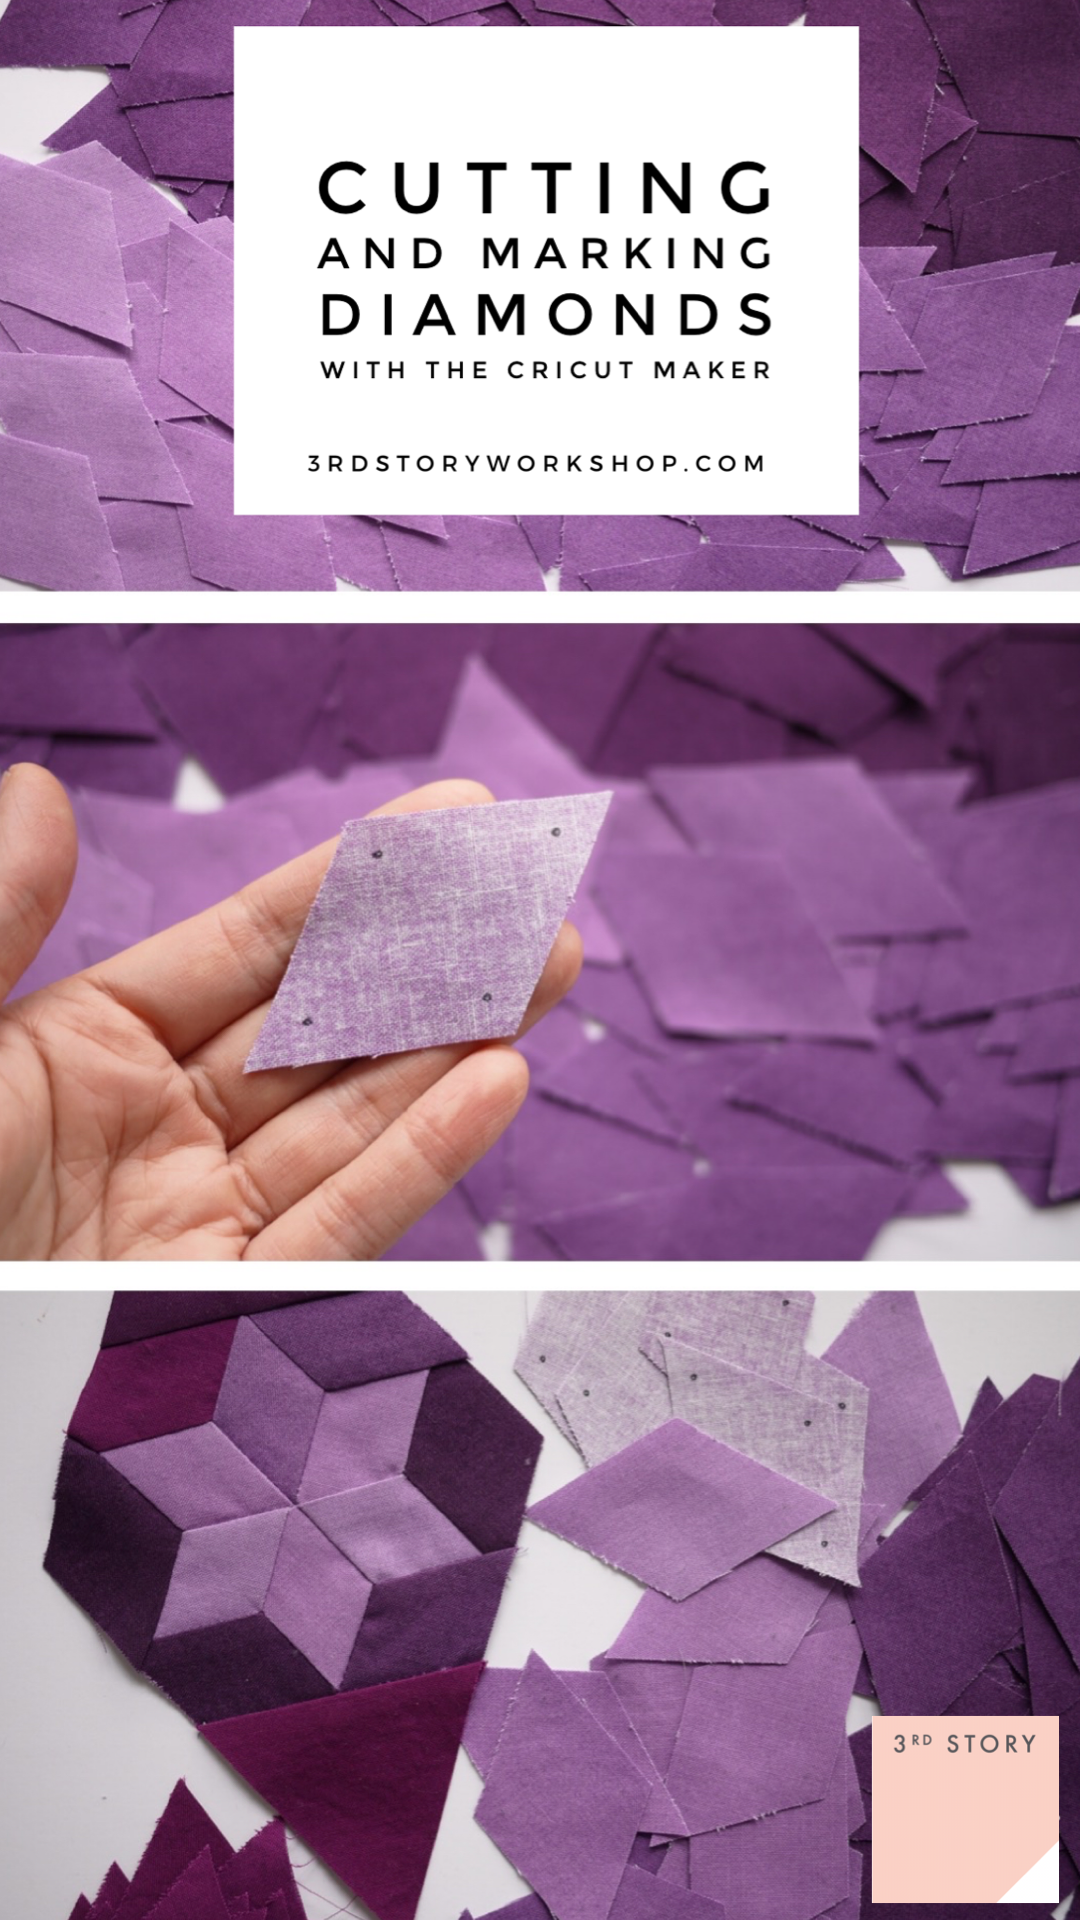
I love making diamond quilts. They are dynamic and just the right amount of challenging. Though I have made a few lonestar-type quilts, I’ve never tried a 60° diamond quilt much before. And I know why. It’s not the Y-seams. It’s the tedious marking of the fabric to achieve those Y-seams. Enter my new Cricut Maker.
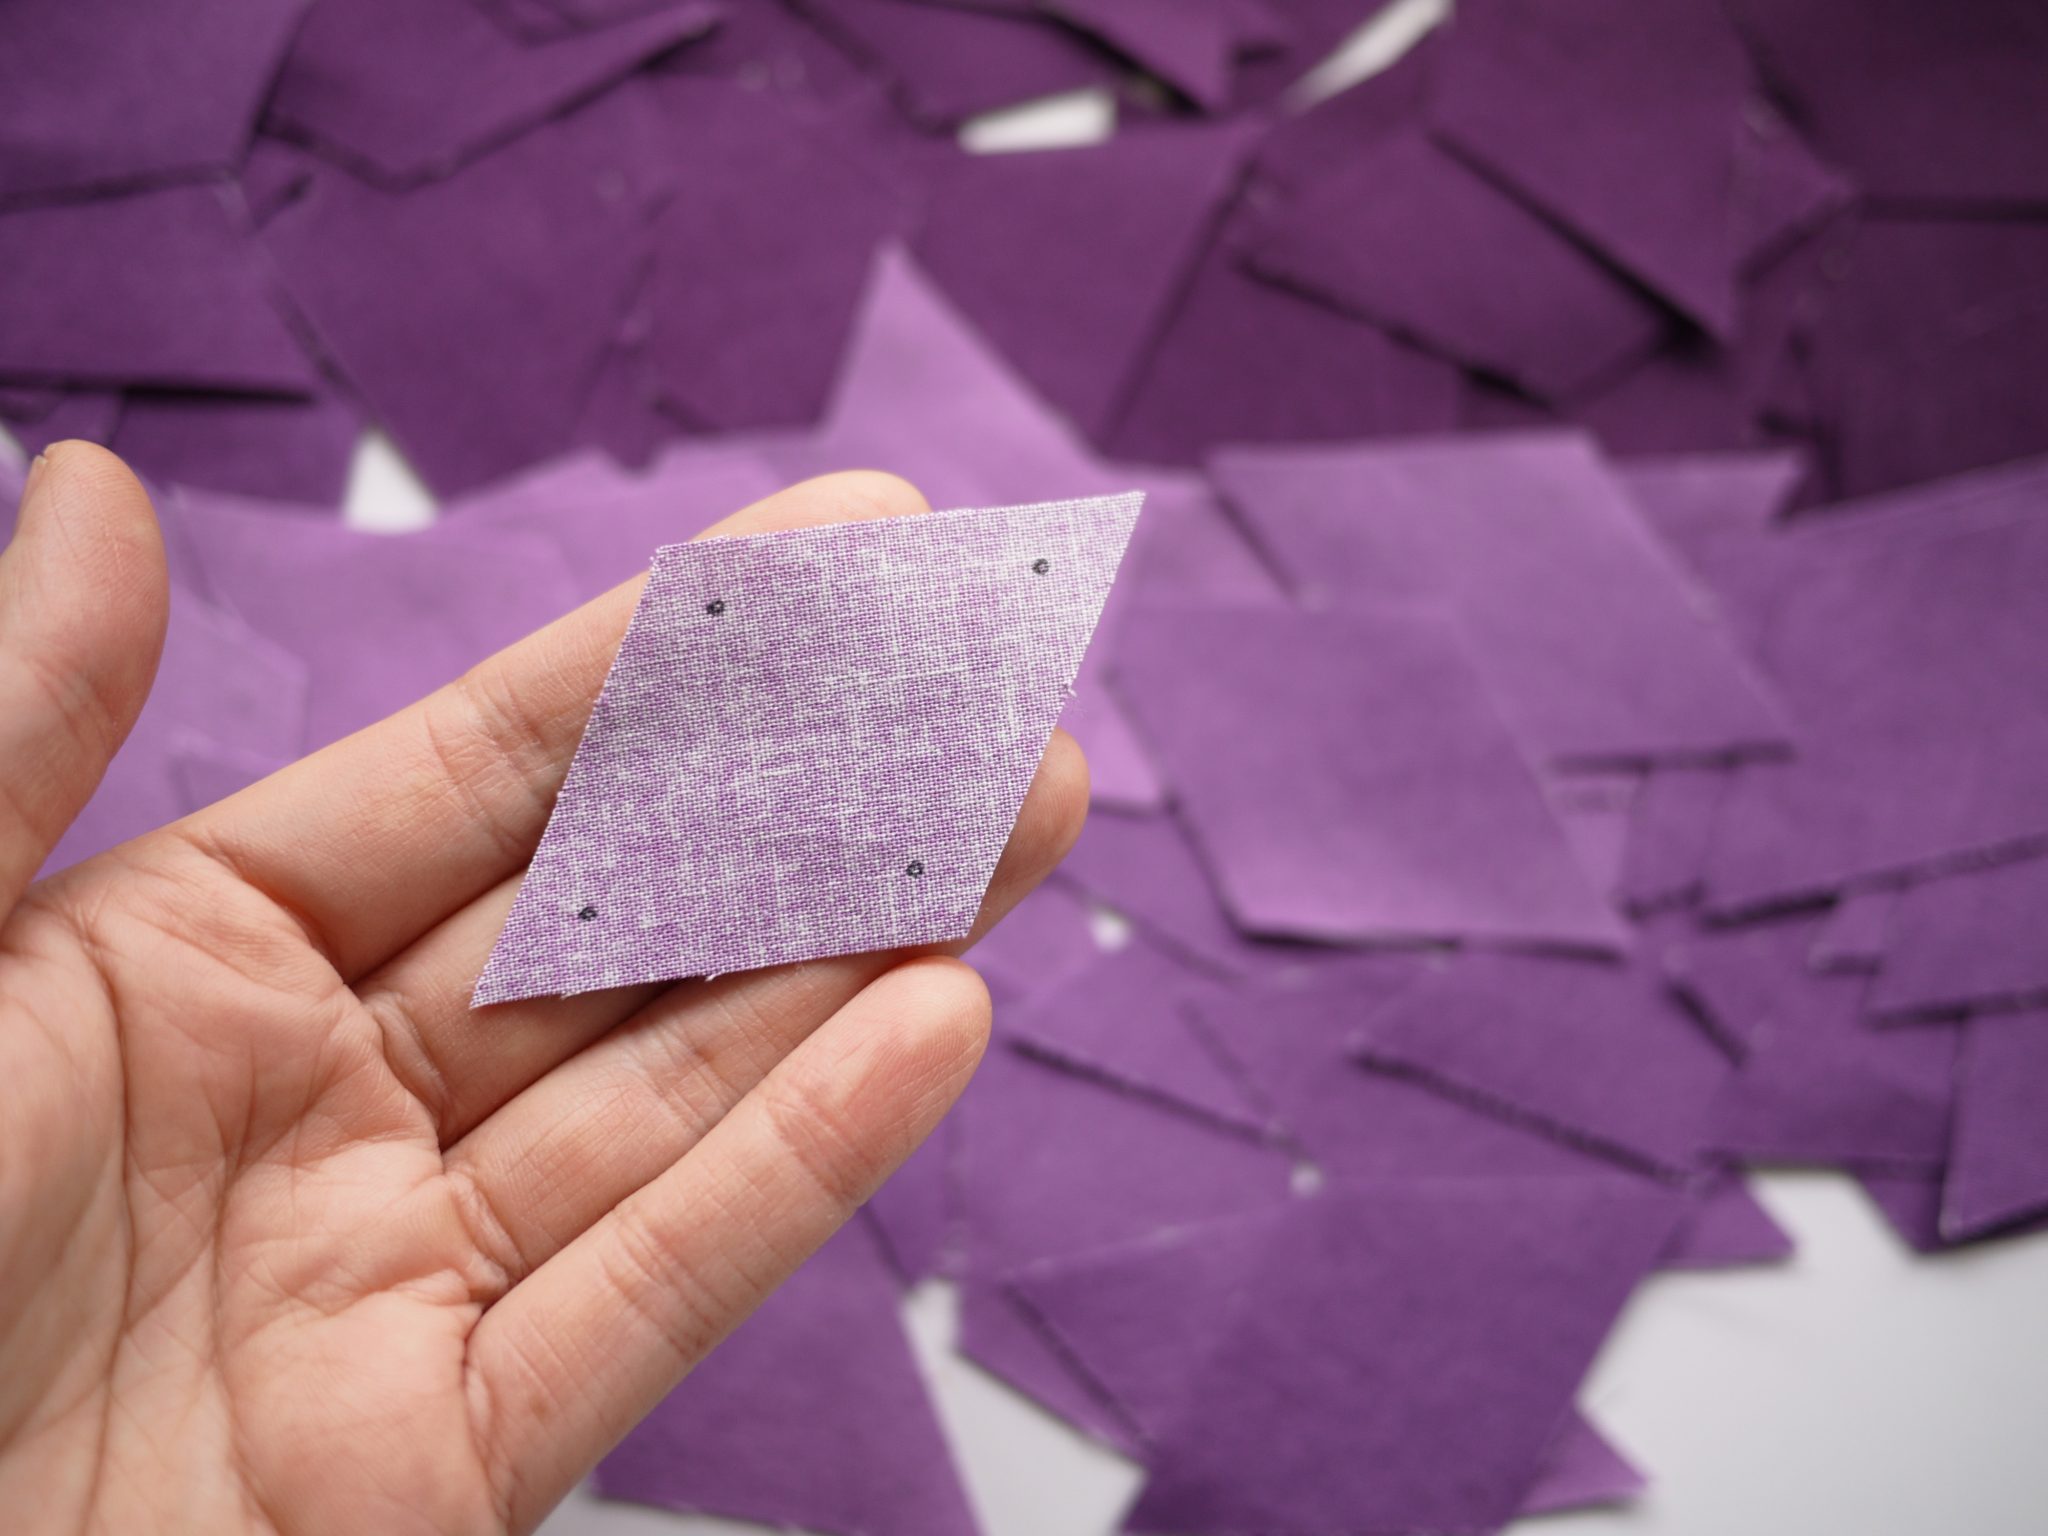
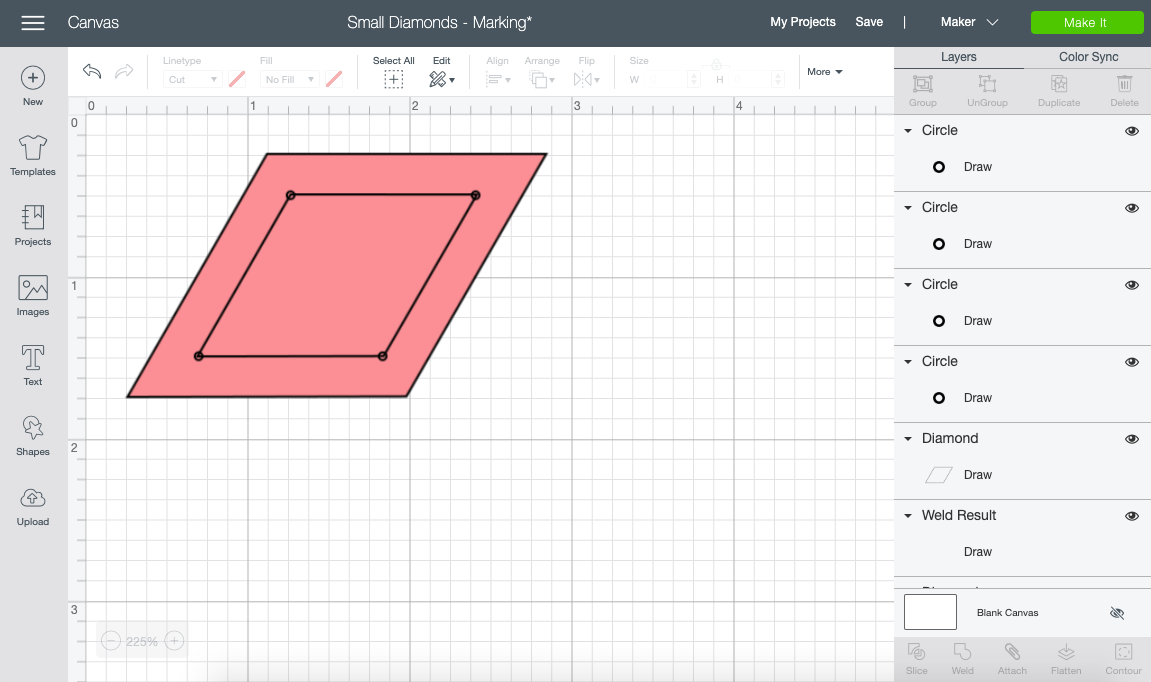
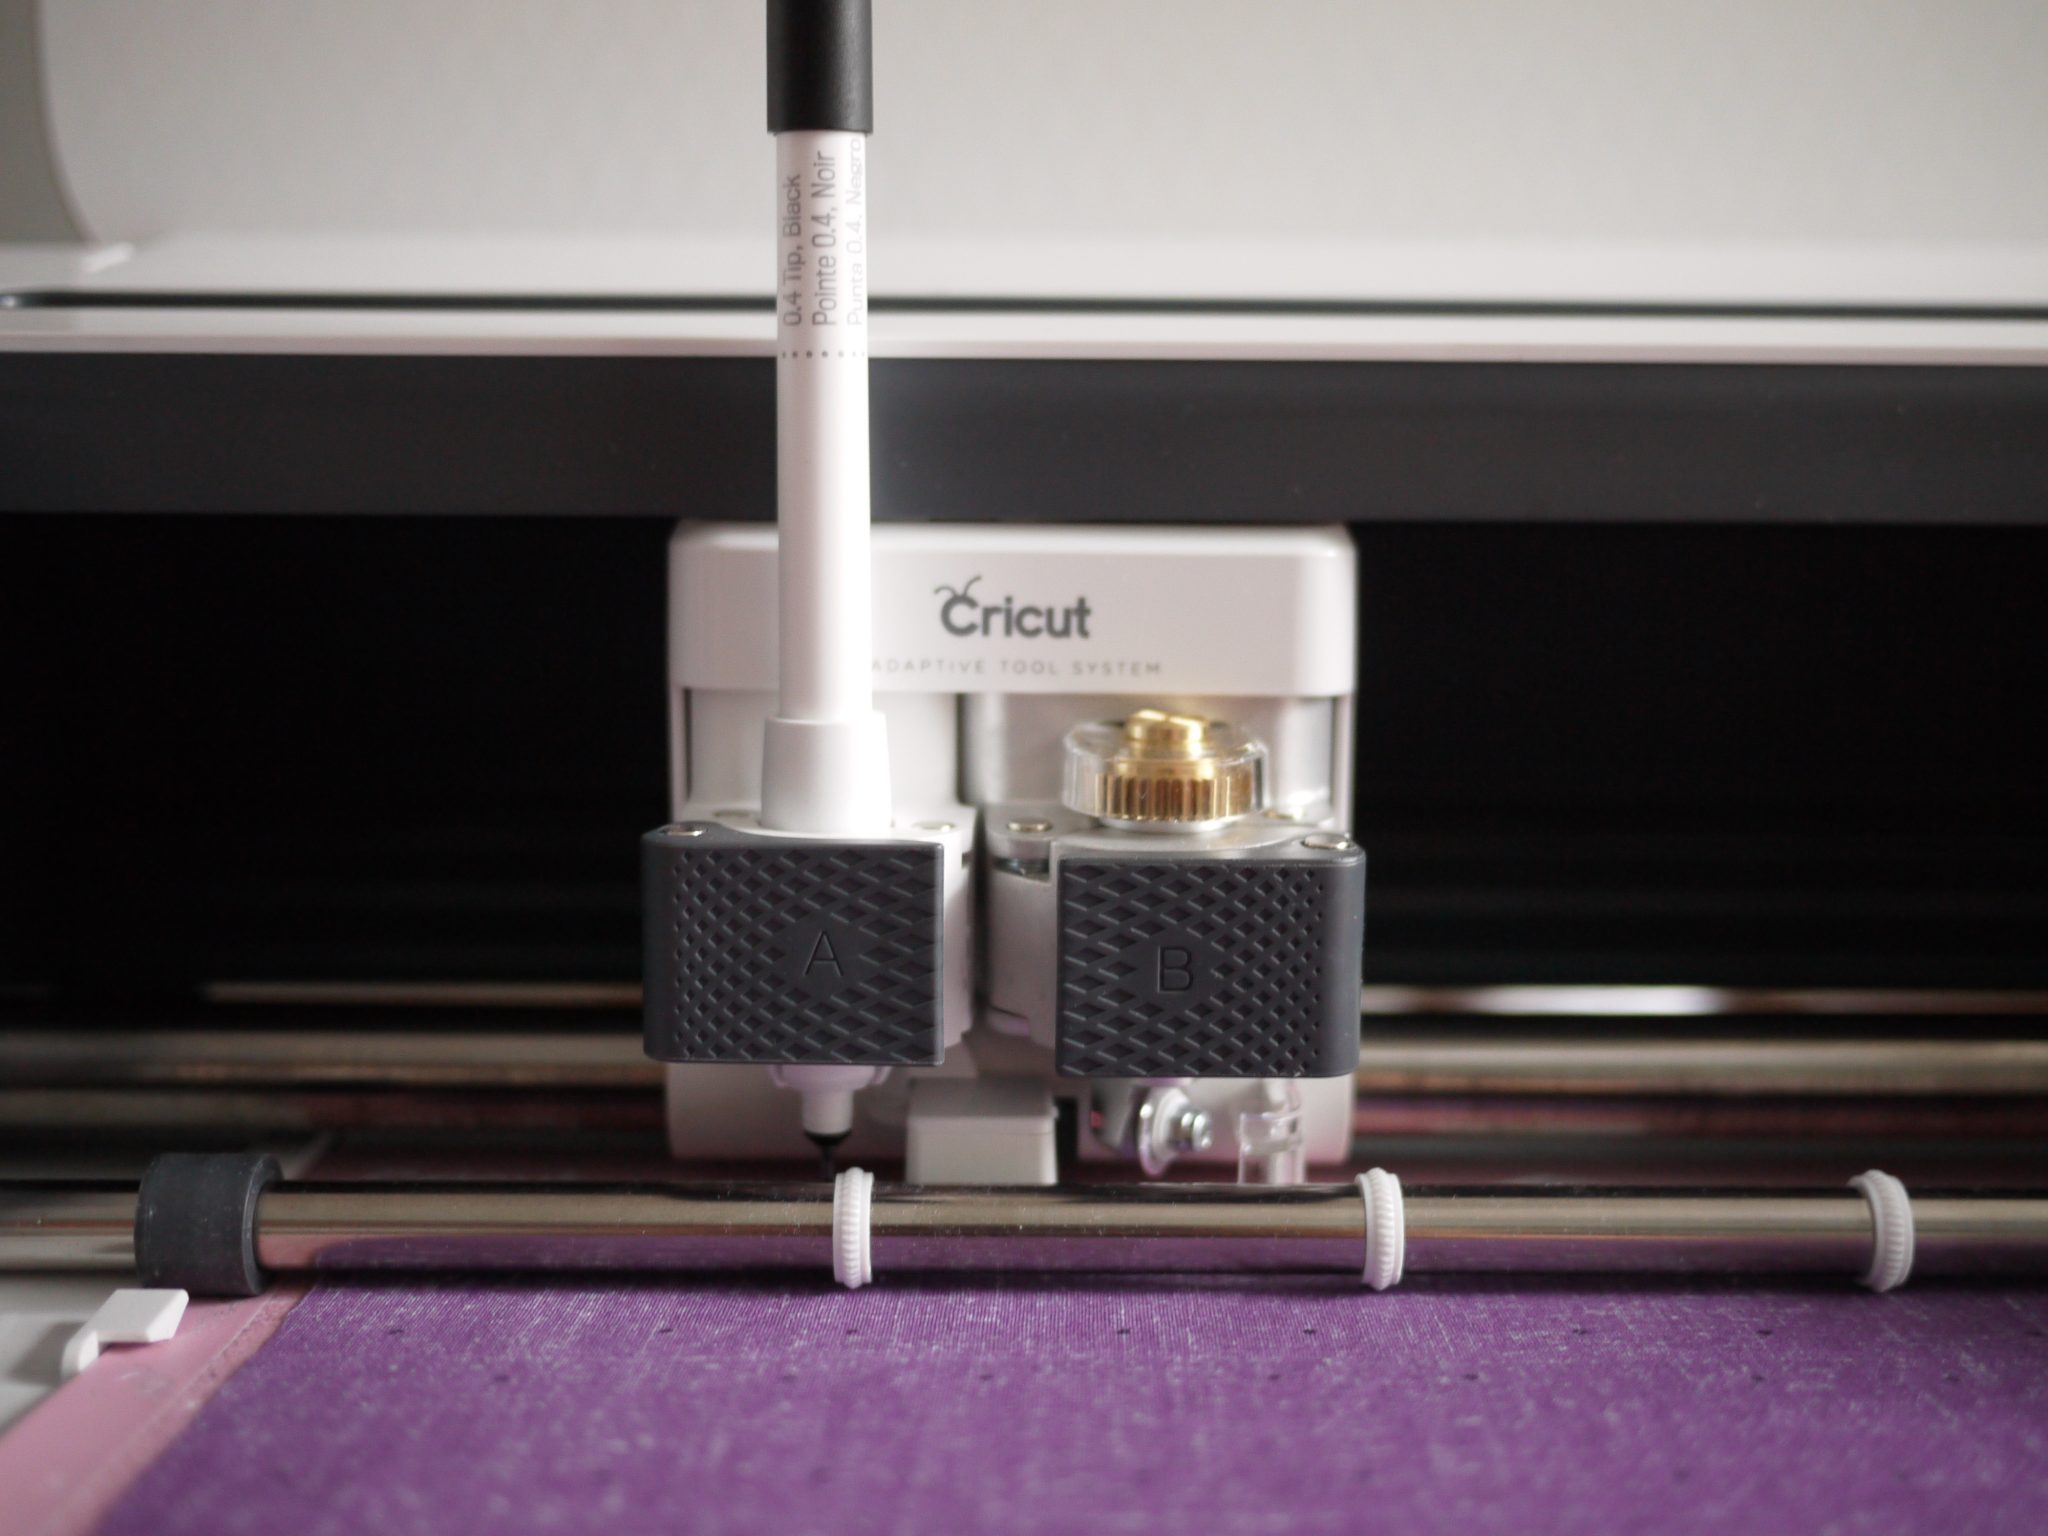
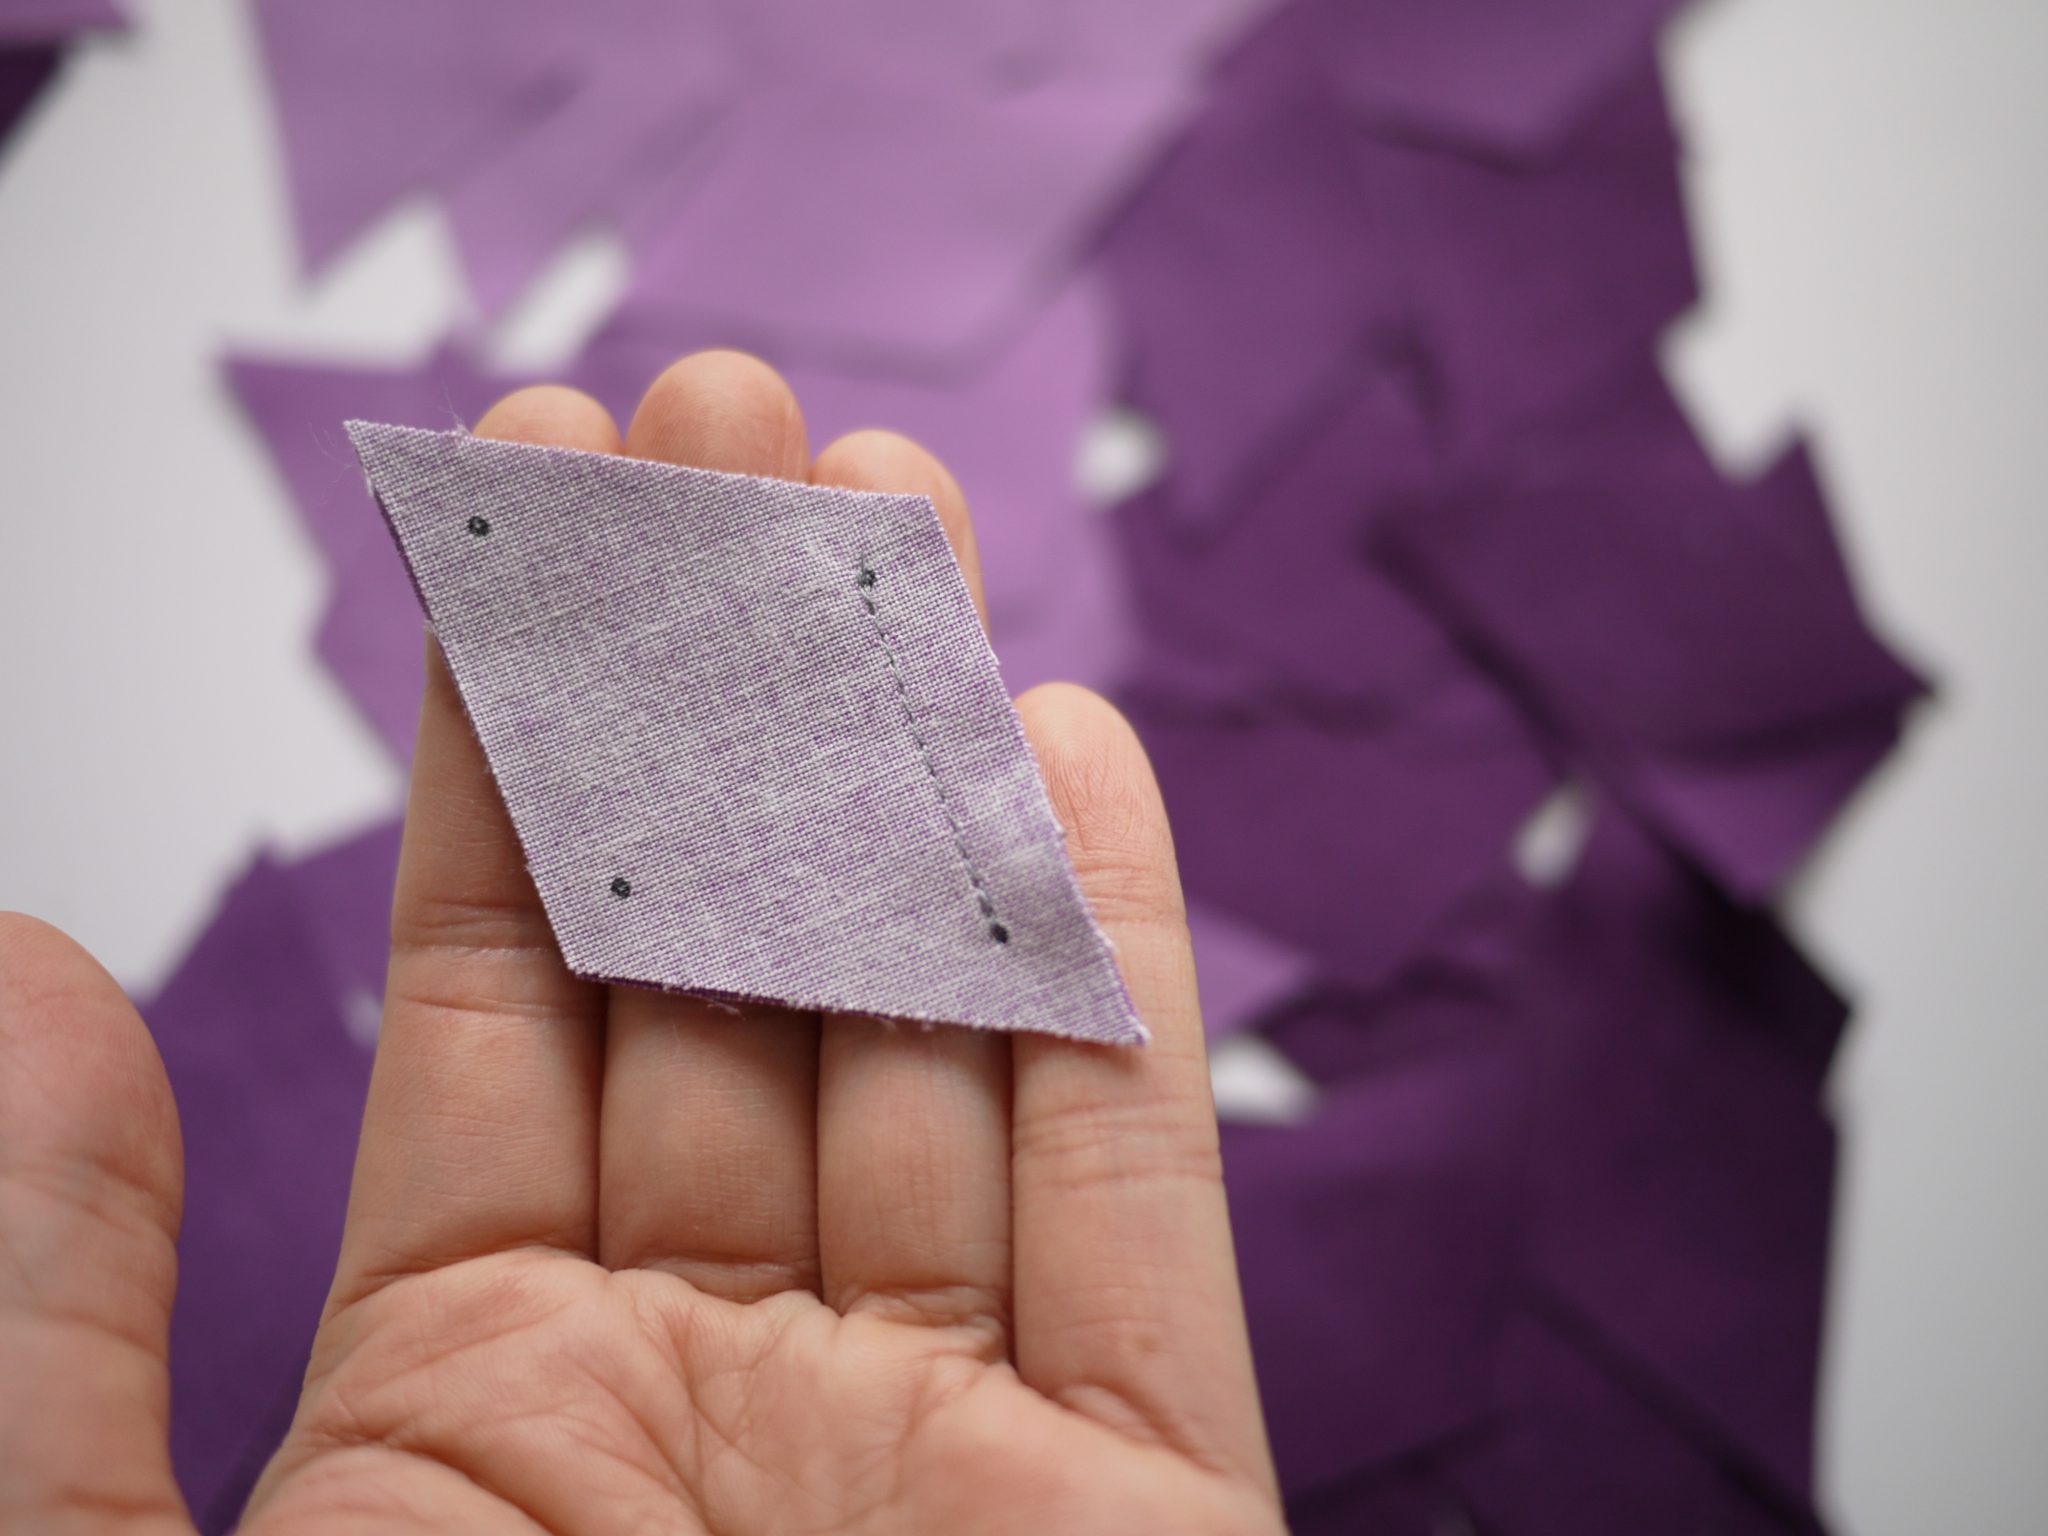
The Cricut Maker can both cut AND mark fabric, so I thought I’d do both with this project. The diamond shape in the shapes palette of the Cricut Design Space is a 60° diamond. I simply used that and resized it to a 1 1/2″ width to yield a wee 1″ finished diamond. I drew the finished diamond size, which is 1/4″ smaller all the way around, then marked each corner with a tiny circle. These tiny circles are on a “Draw” setting. Find the project in the Cricut Design Space here!
The two tools that I use here are the Cricut Fine Point Pen and the Cricut Rotary Blade. I didn’t have the Cricut Washable Fabric Pen, but I did a test first and the Fine Point Pen marked on the back of quilting cotton didn’t bleed through. The Rotary Blade is rotated by a gear system to cut your fabric at any which angle – pretty neat!
Once my design was ready, these are the steps I followed to get my 24 diamonds:
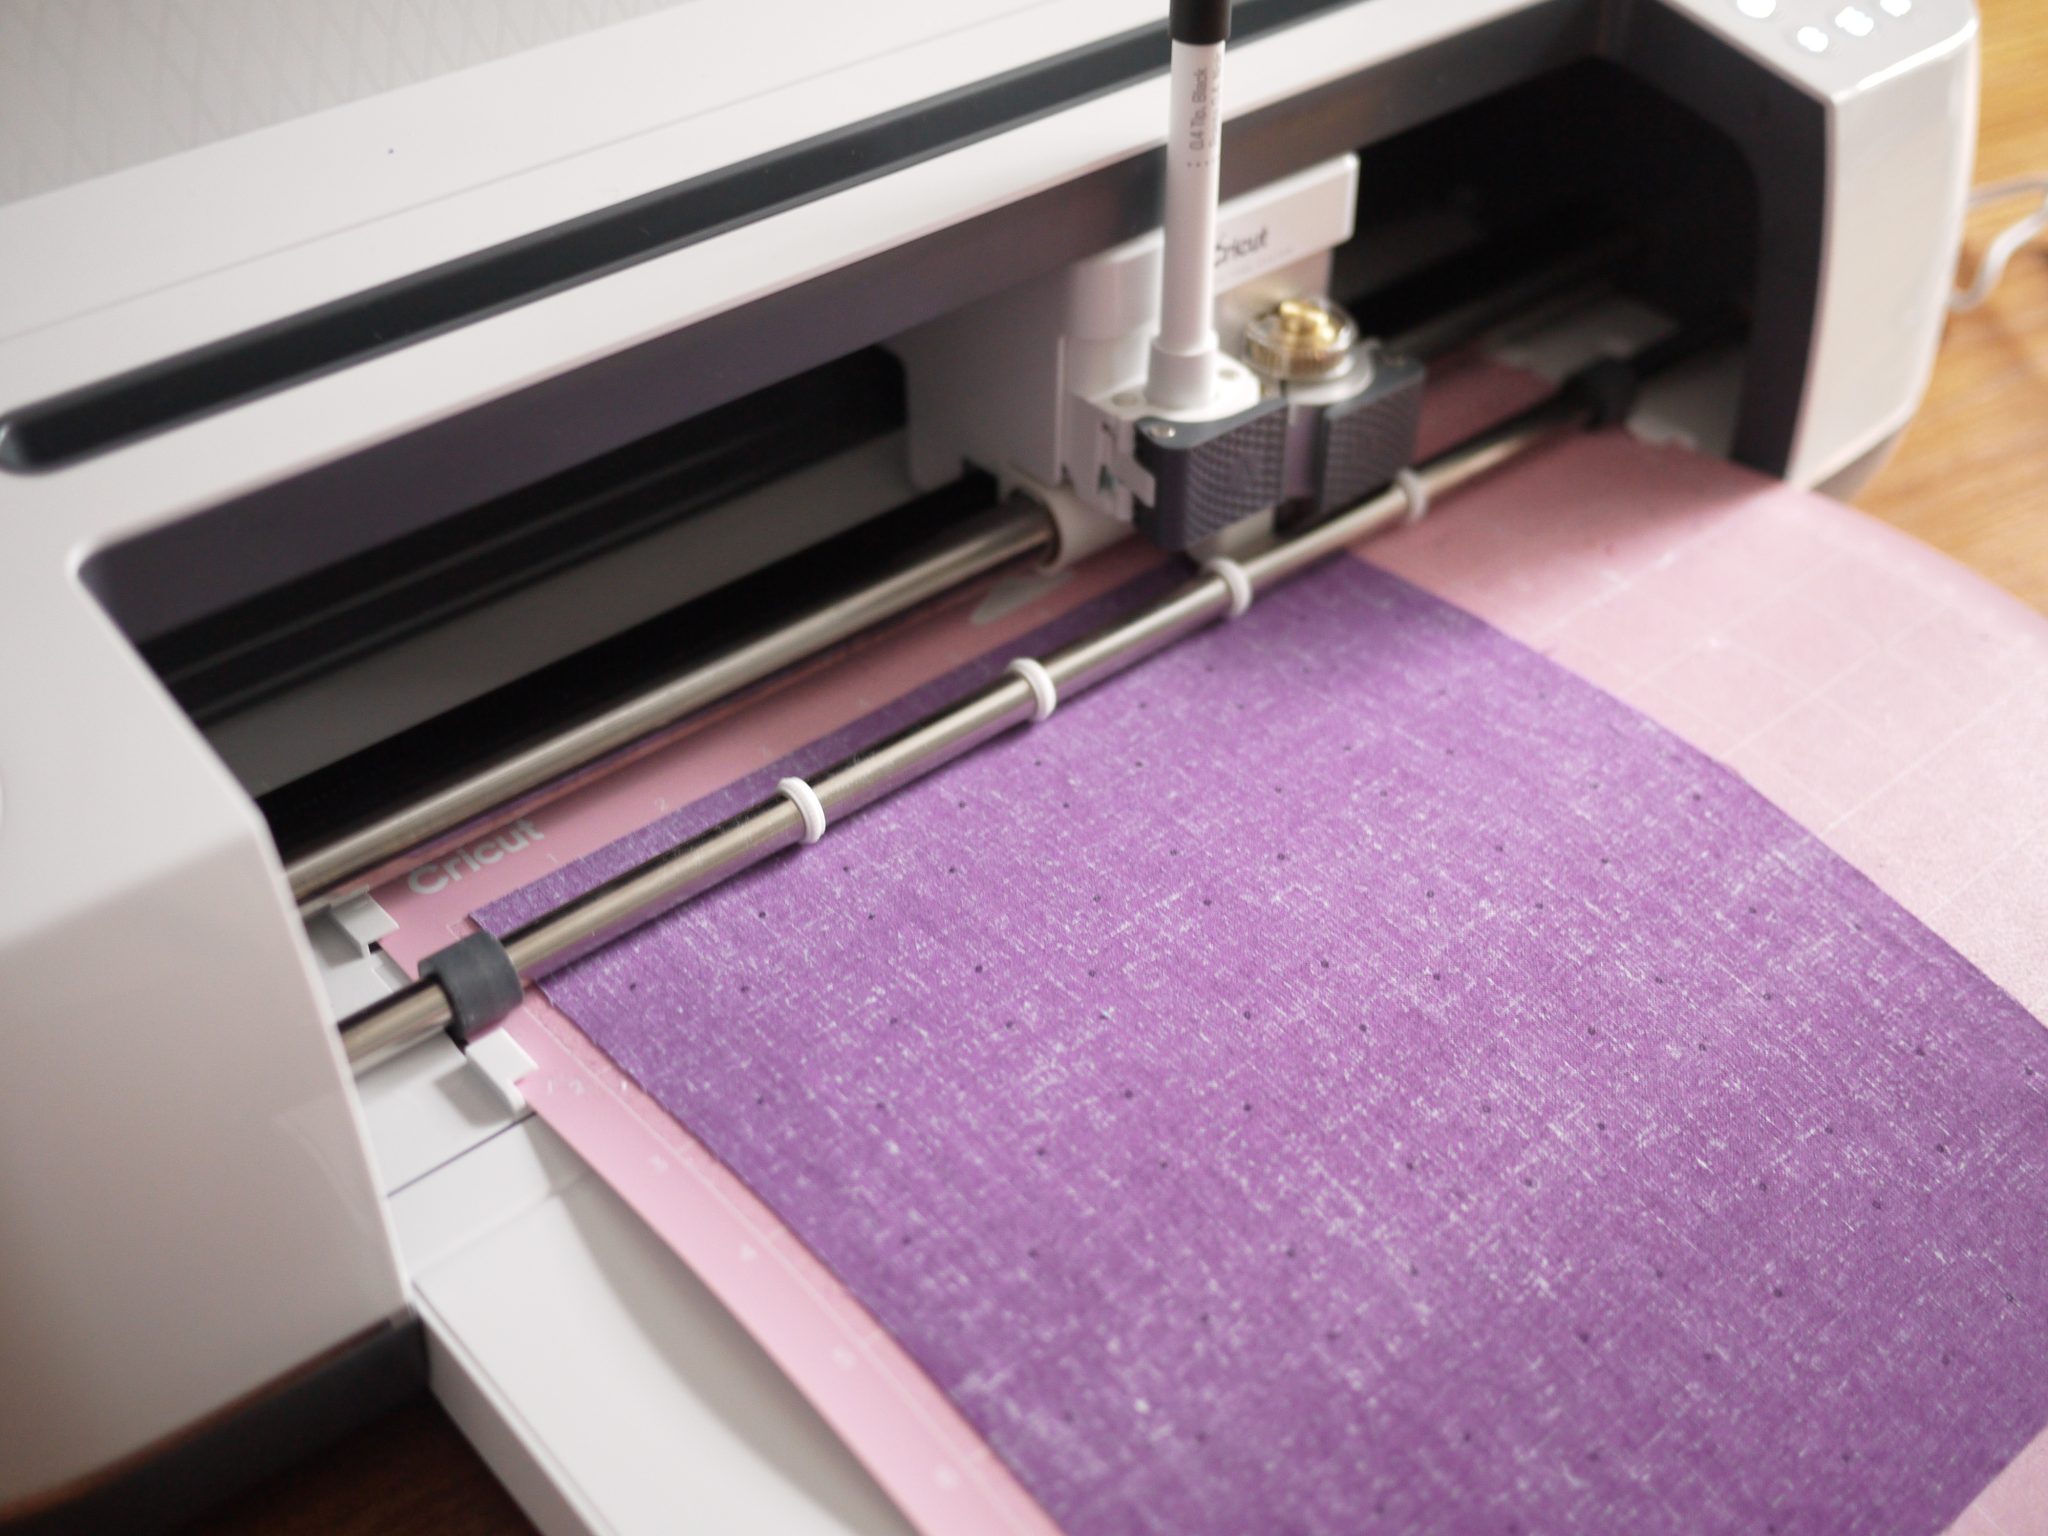
- Start with a 9“ x 10“ piece of fabric. This is perfect for a 1/4 yard increments. I used V and Co Ombre that has been in my stash for awhile.
- Starch the fabric to make sure that the bias of the diamonds don’t distort too much when handled them later on.
- Place the fabric right side down on the FabricGrip Mat, so that the pen could mark the backside of the fabric.\\
- Make sure to firmly place the fabric down and removed any bubbles, so that the grip can keep the fabric in place as the rotary cutter and pen passed over it.
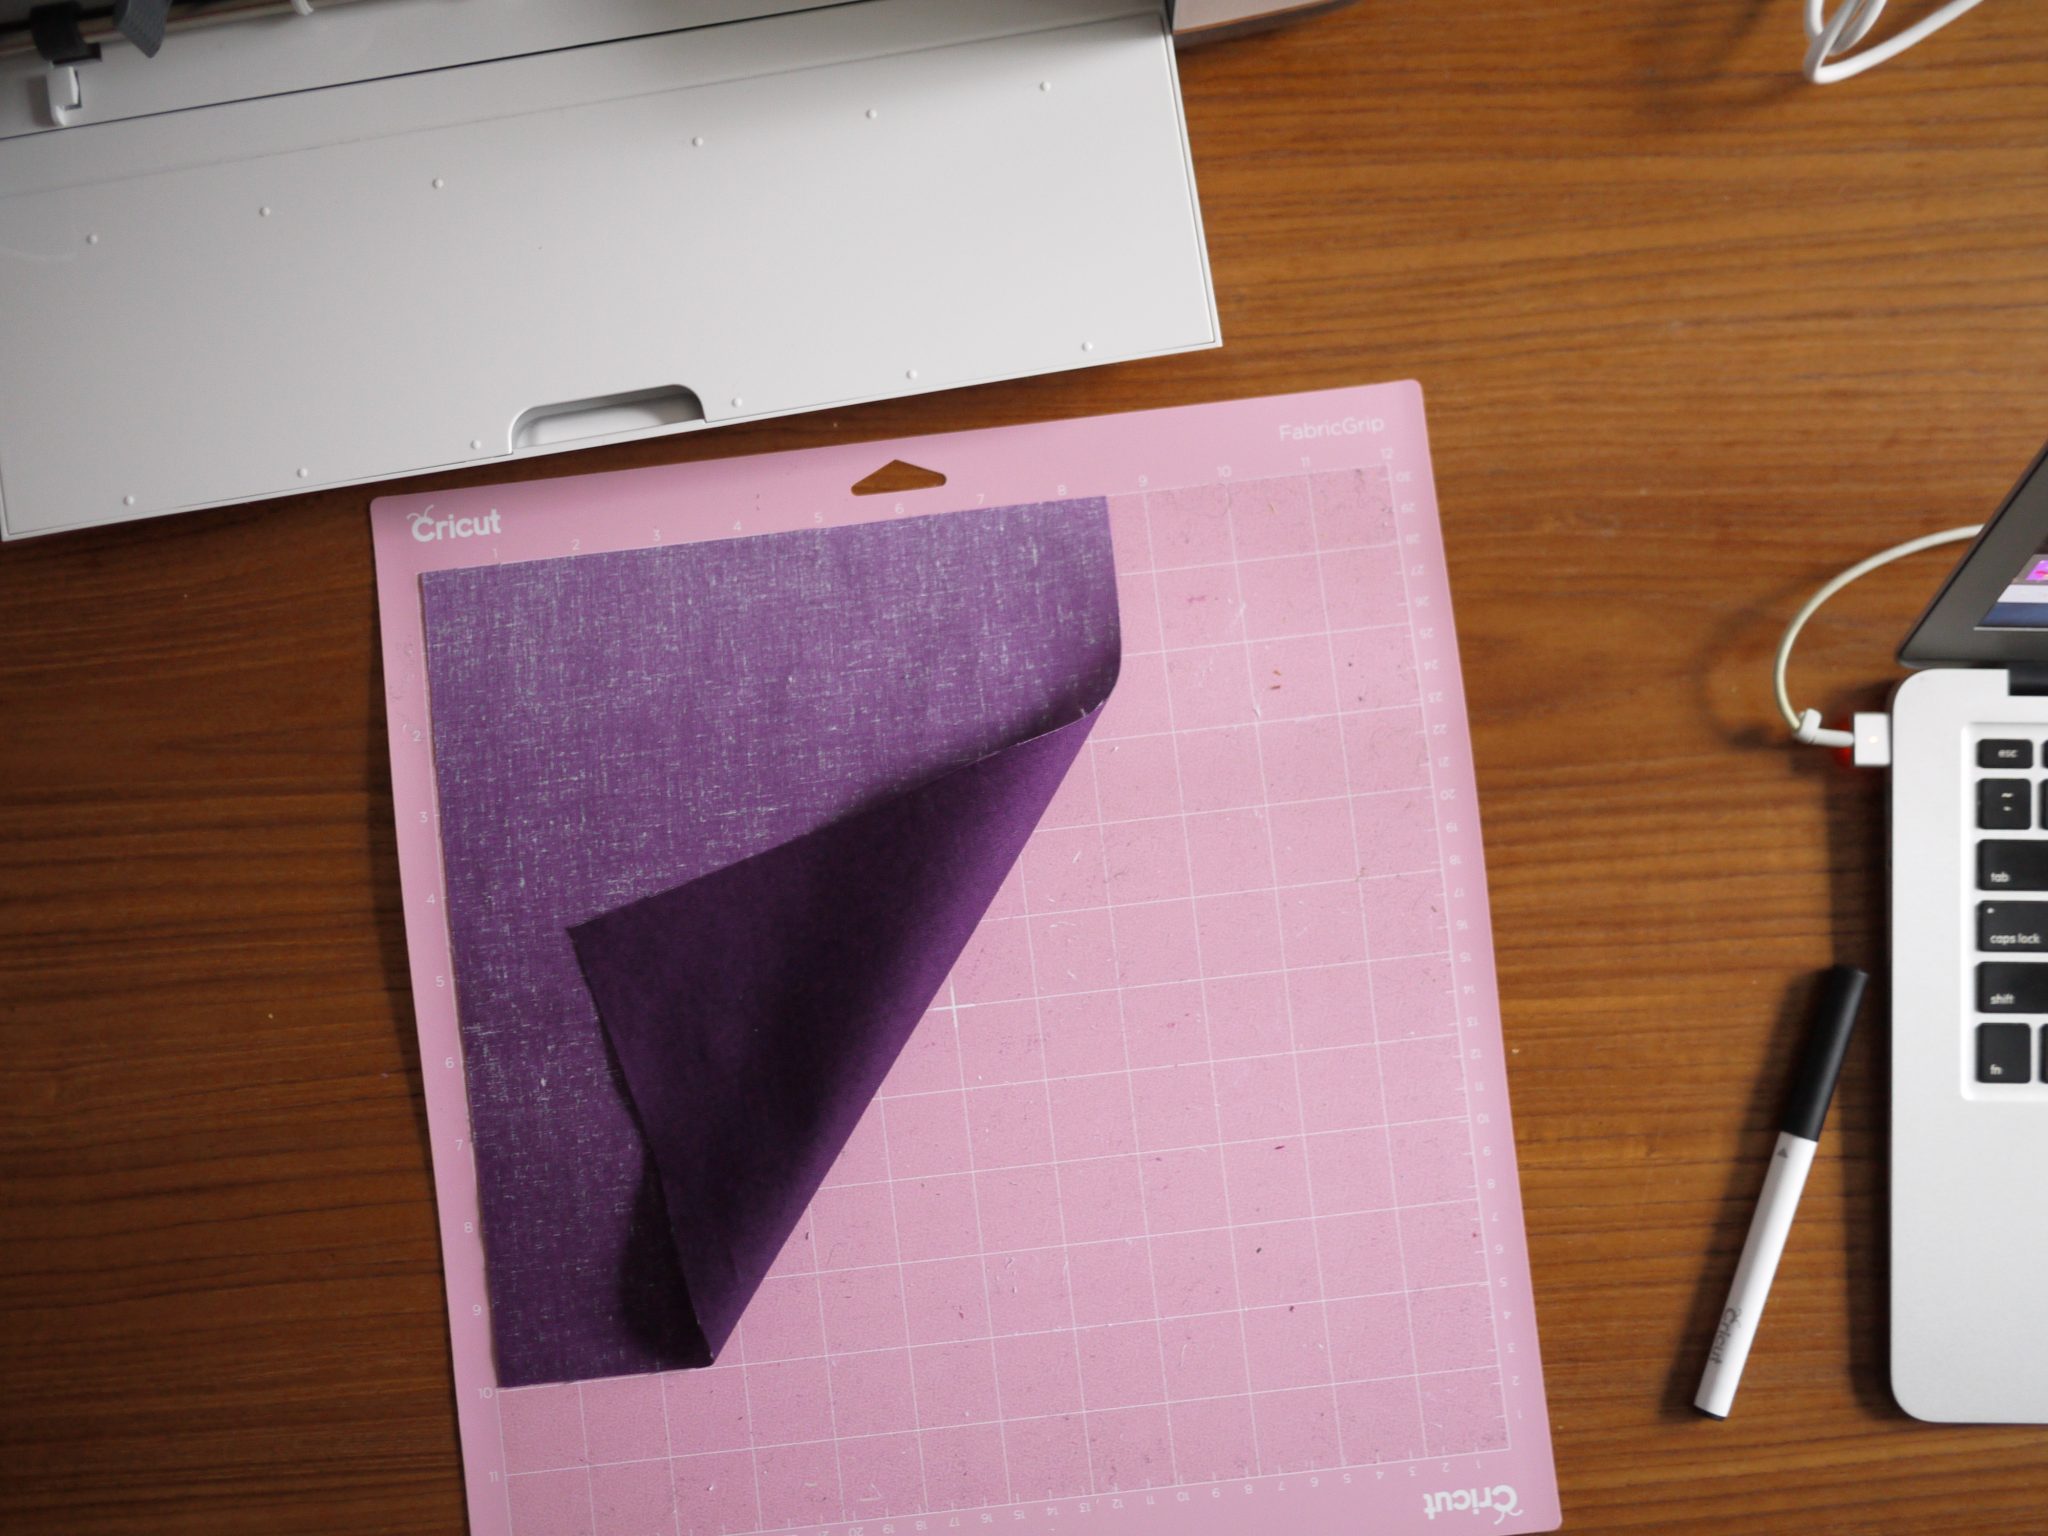
To get the fabric off the FabricGrip Mat:
- Peel away the negative space.
- Carefully lift up the diamonds with the Cricut spatula and peel away gently from the mat. Since the fabric is starched, handle with care but don’t worry too much about stretching them.


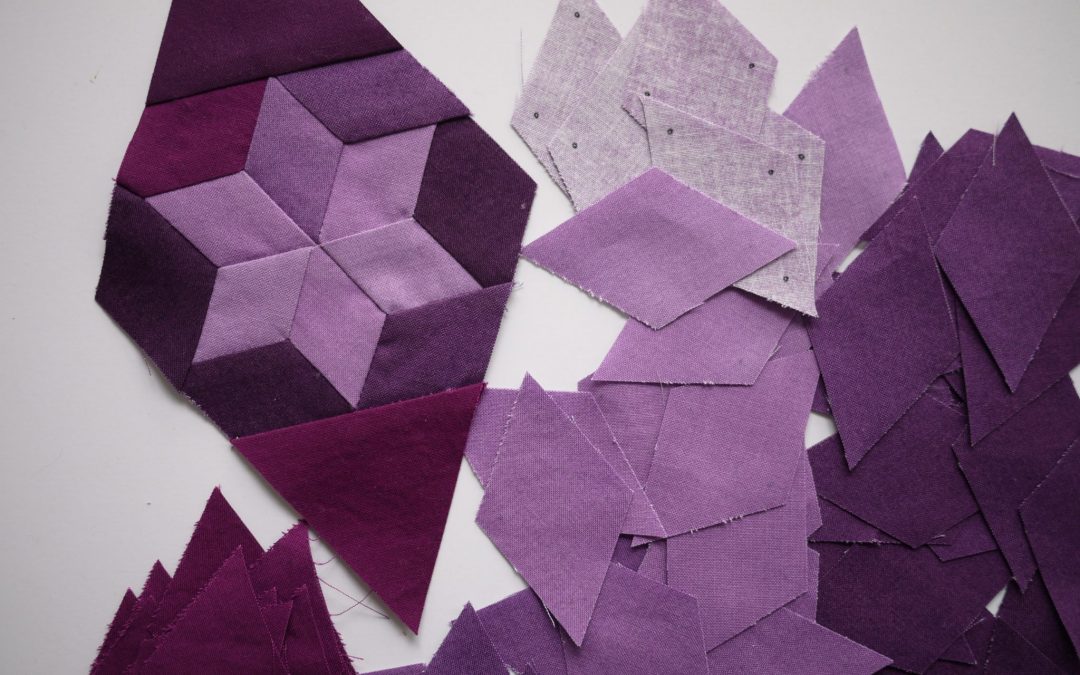
24 diamonds, cut and marked in this simple process; I ended up cutting/marking 120 in less than an hour! Then, I started on my fun assembling these into “tumbling blocks” — the traditional term for these 3D looking cubes.
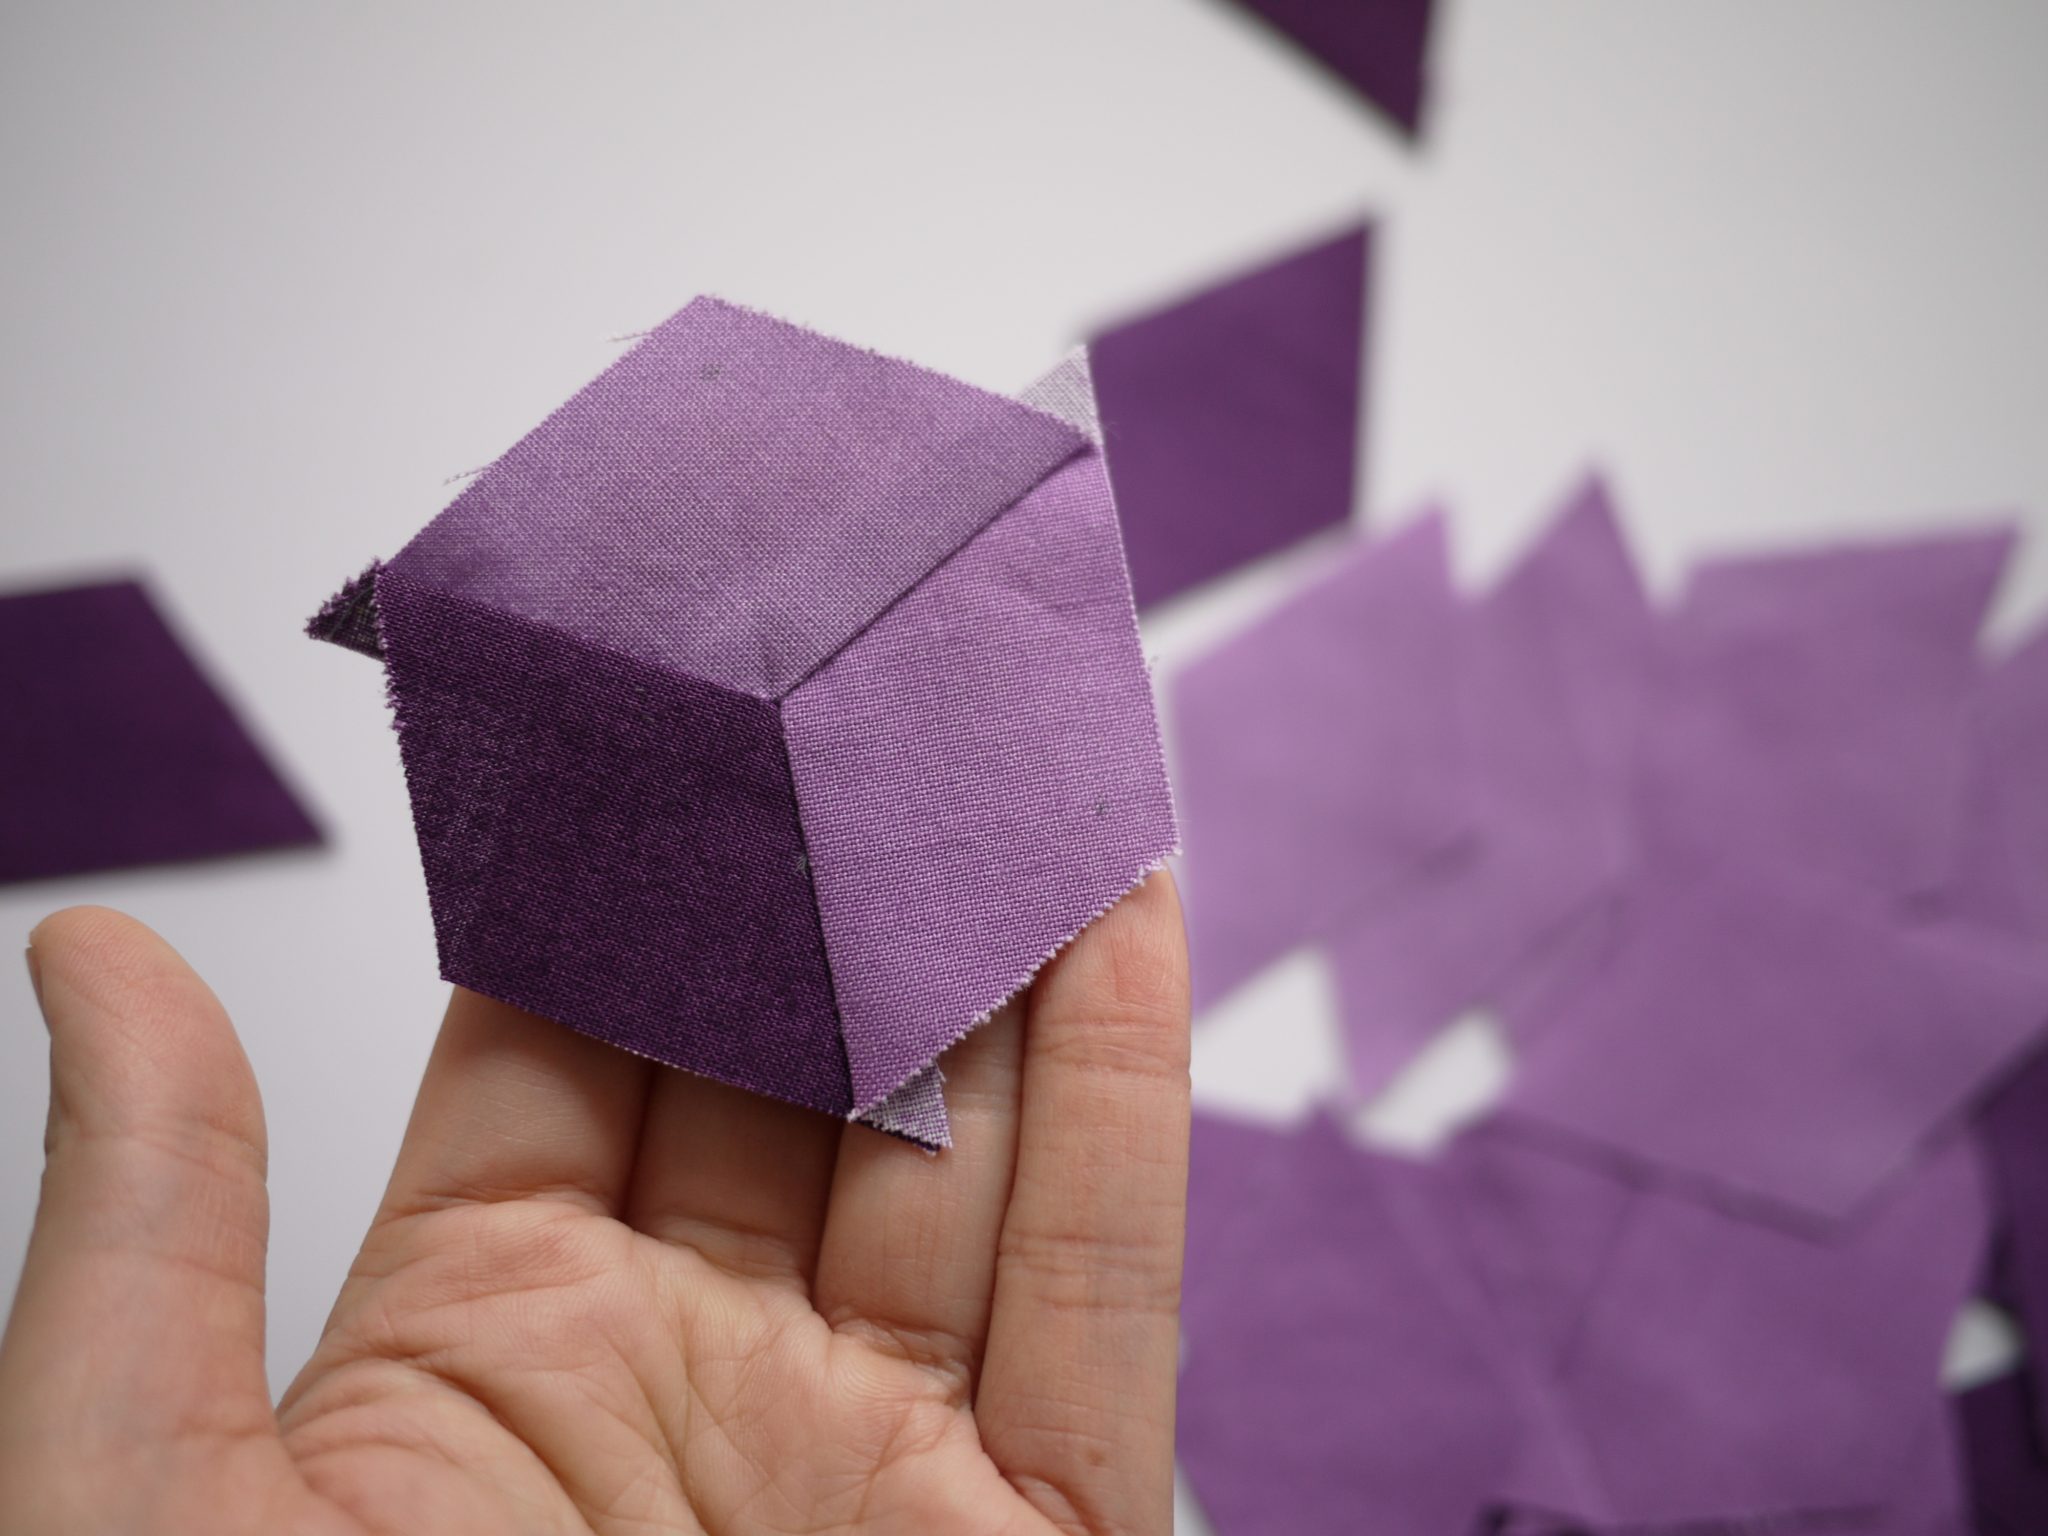
The markings let me know exactly where to start and stop my seam for perfect points!

Look at those twirled seams on the back! Colour me pleased.
I arranged these tumbling blocks into a six-pointed star shape. I backstitched at every point, this made for very secure and precise points. You can cut your own 1″ finished 60° diamonds with your Cricut Maker here!