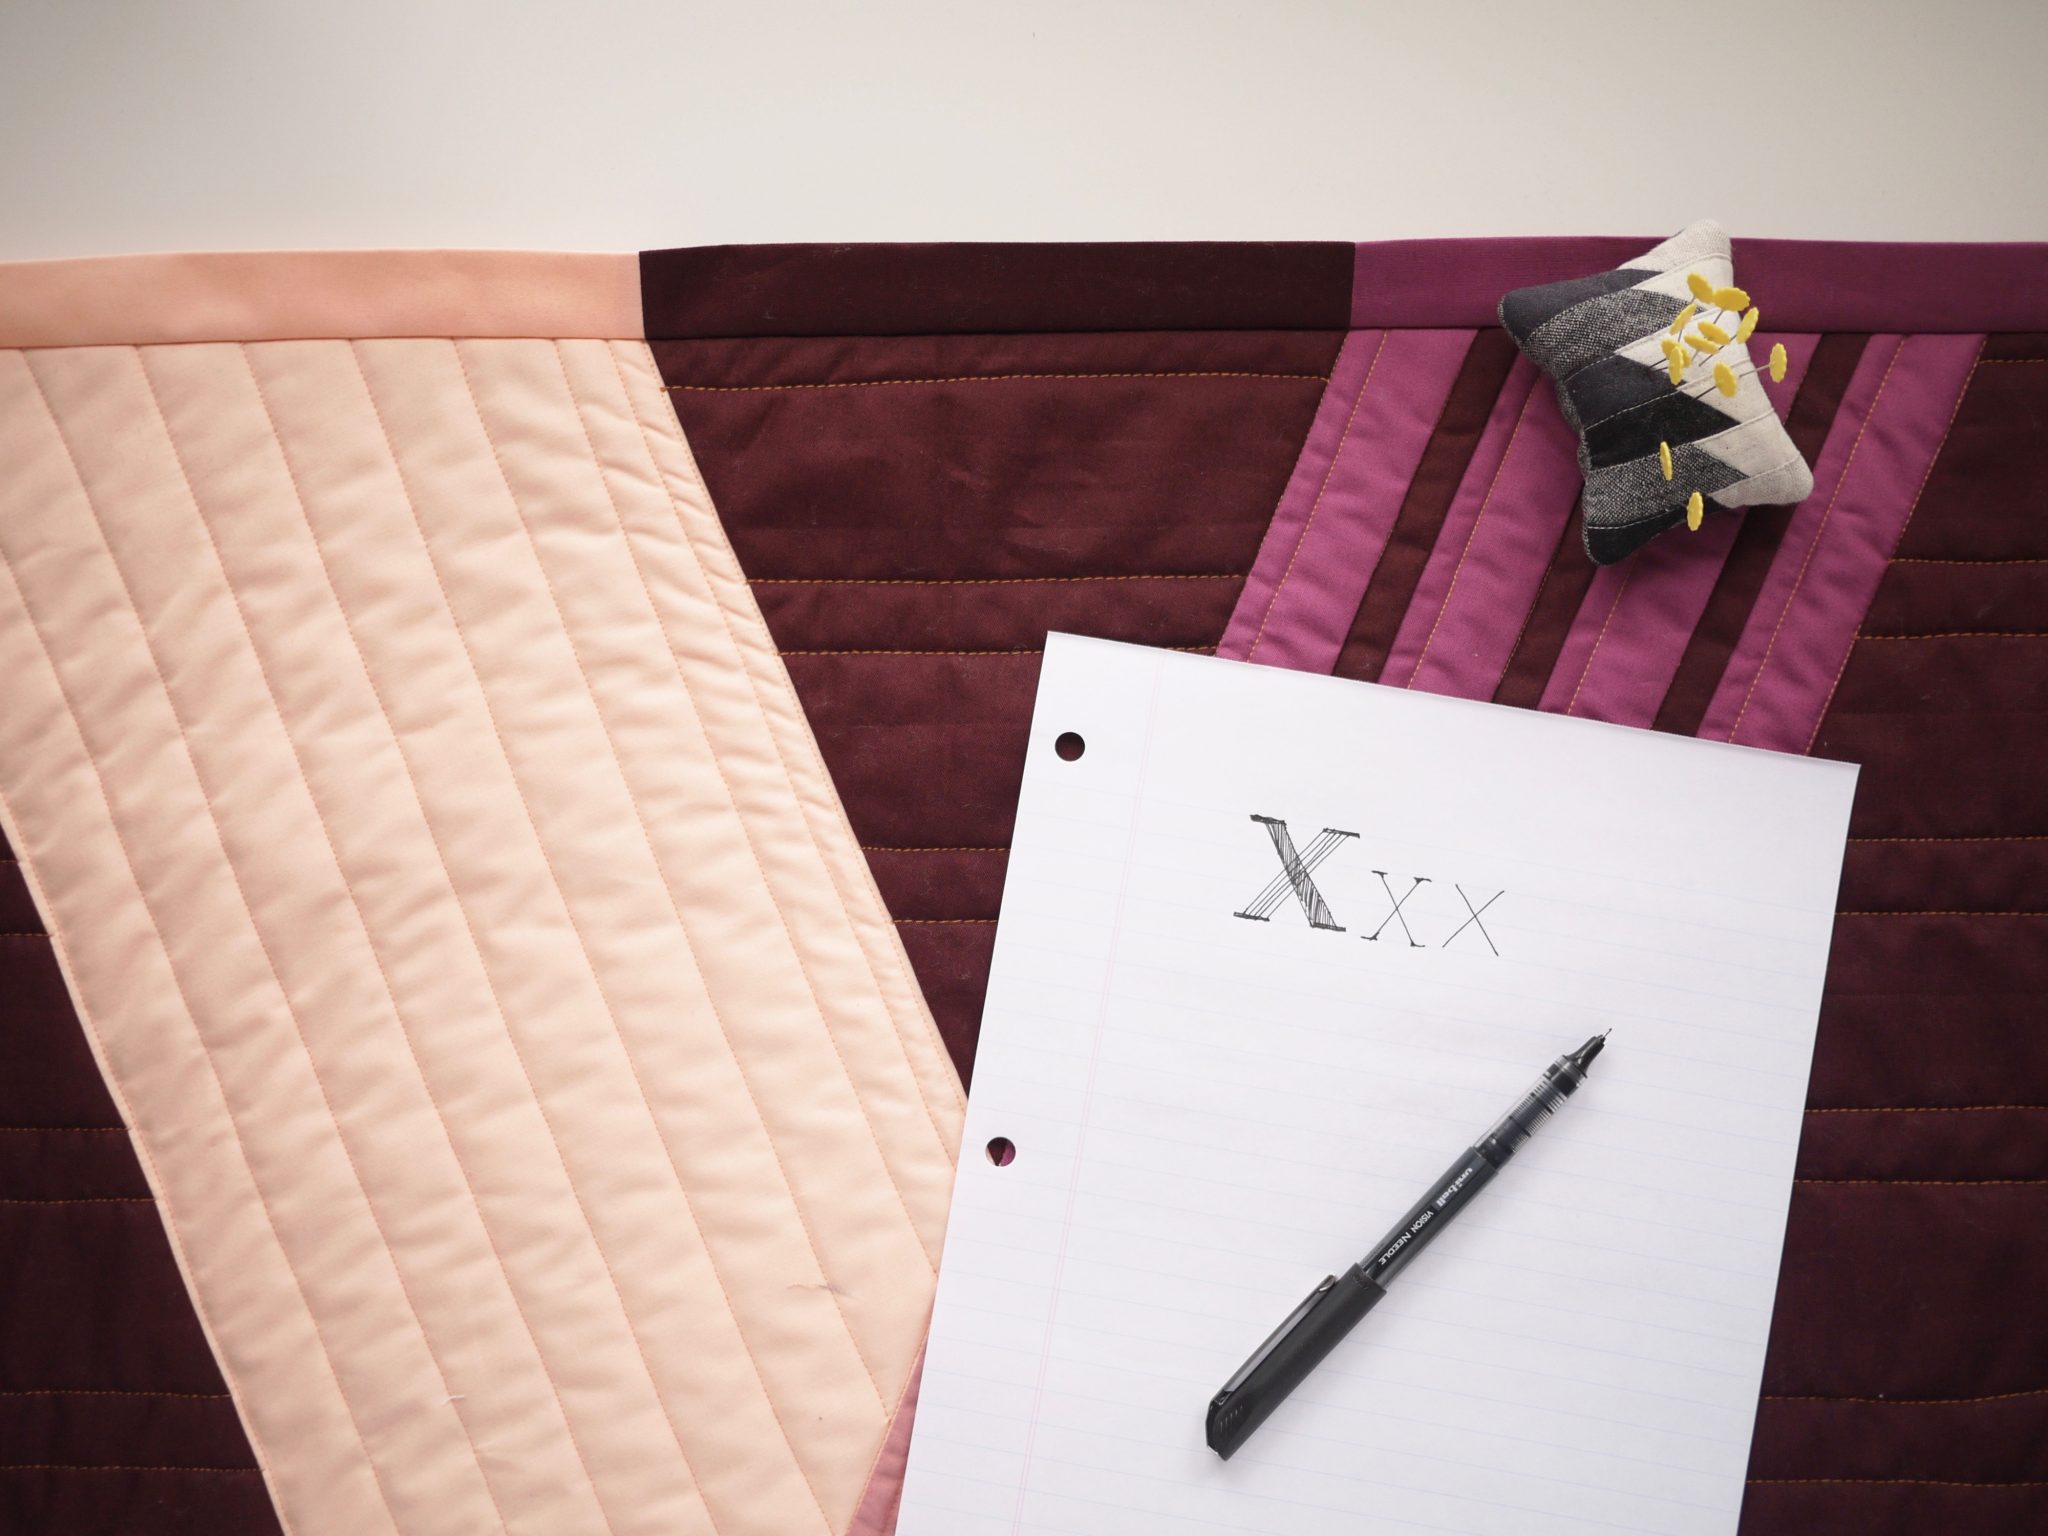
The binding is a shining feature of the design of Everyone’s Got an X. It adds serifs to the top and bottom of the X, like a serifed typeface such as Garamond or Linotype Didot. It’s totally optional to do a piecing binding, but if want to give it a go, here are some things to keep in mind.
The method I use is attached the binding to the front of the quilt by machine and then hand-stitching it to the back. You could try machine-binding all the way, but this way, you can see that everything aligns well on the front.
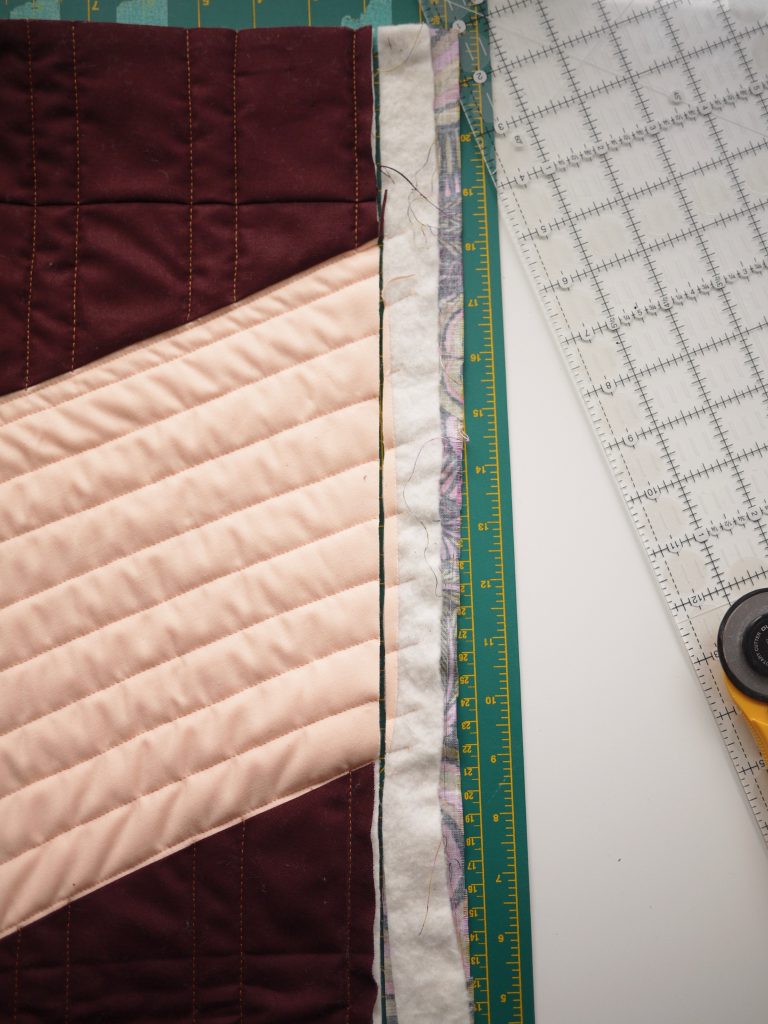
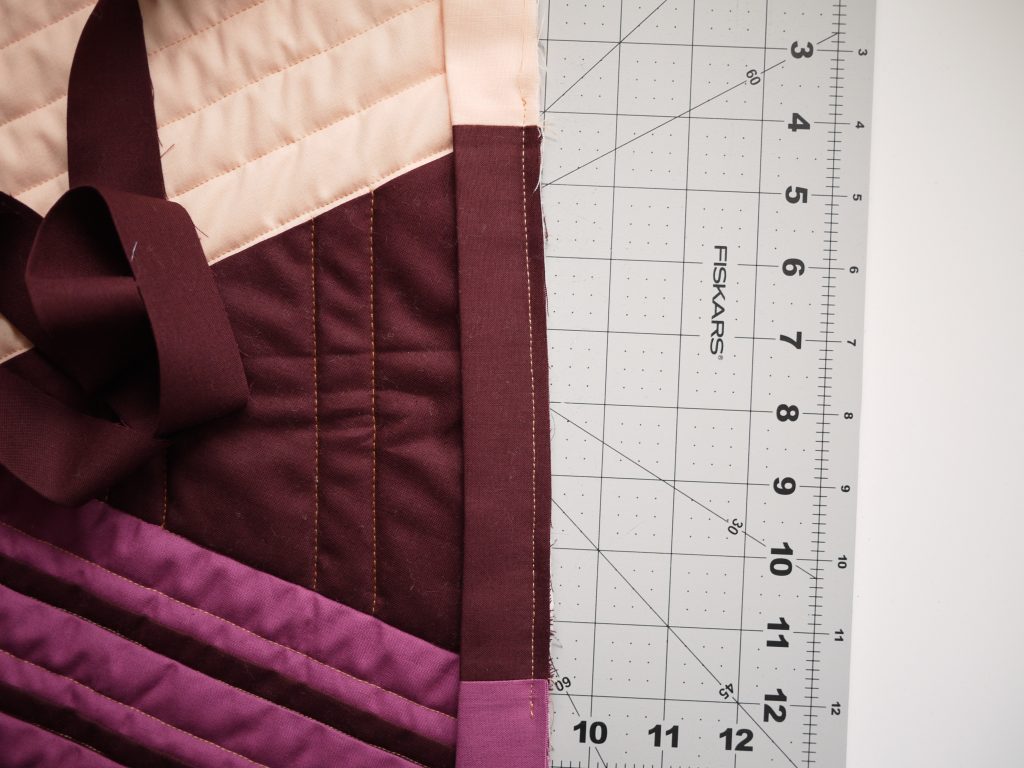
Squaring up
When your X is all quilted, we first need to trim off the excess batting and backing. You’ll notice that the bar or the stripes may have bubbled outward a bit. This is because the edge is on a bias and has some stretch. Don’t worry, we can carefully trim it off, using the seam of your side borders as the reference for “true” right angles. Make sure your cut is perpendicular to those seams and you should be good to go. Don’t trim off much, just a tiny bit to correct the bulge. You should not need to trim off any of your background fabric (Fabric A).
Serifs

What are serifs anyway? According to Wikipedia: “In typography, a serif is a small line or stroke regularly attached to the end of a larger stroke in a letter or symbol within a particular font or family of fonts. A typeface or “font family” making use of serifs is called a serif typeface (or serifed typeface), and a typeface that does not include them is a sans-serif one. We will be adding serifs to our X using the binding.
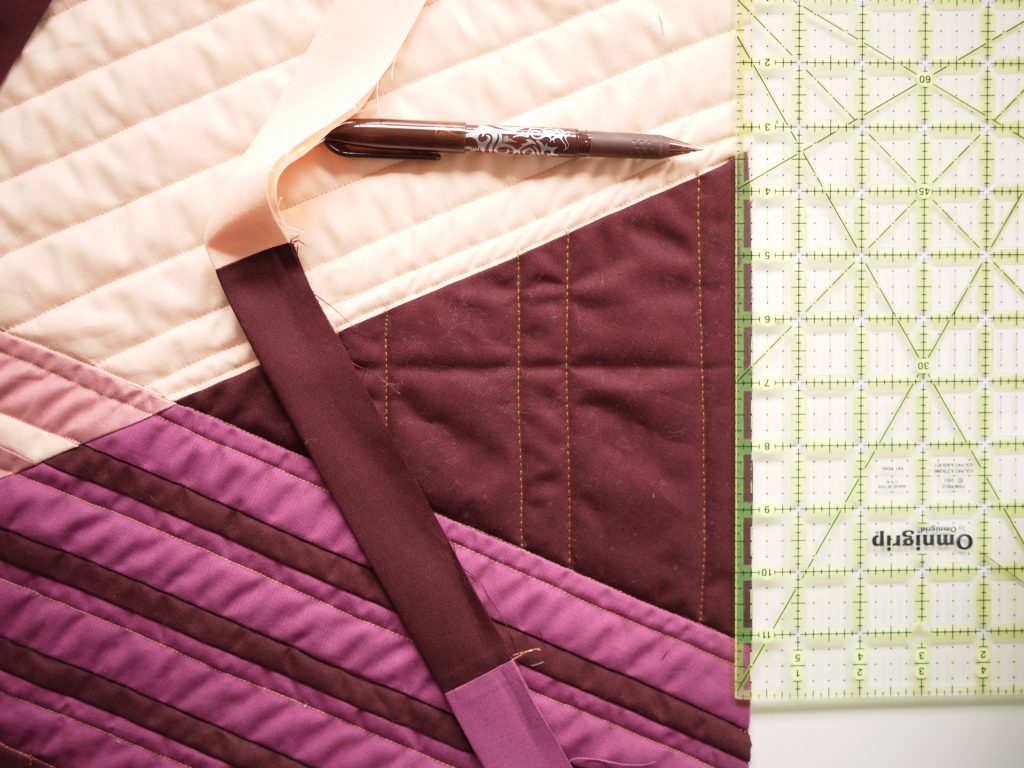
Pieced binding
Time to piece the binding. Follow the directions in the pattern to join your binding pieces. Here are some tips:
- Use a scant 1/4″ seam allowance to keep your measurements true or else you may find that they don’t line up with your X.
- Press your seams open. This will prevent extra bulk at each of the joins.
- Use a shorter stitch length, like 1.2 or 1.5. This will hide any visible stitching as the binding gets tugged on.

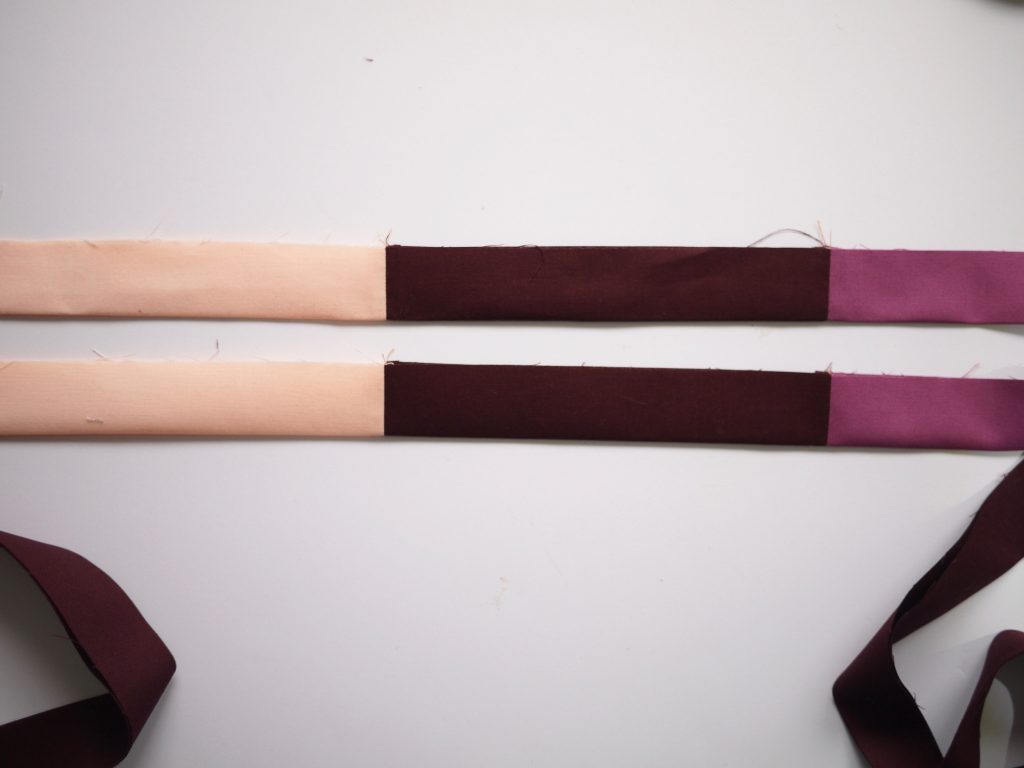
You will have two identical strips of pieced binding. After they are pieced, fold and press them in half along the length of it:
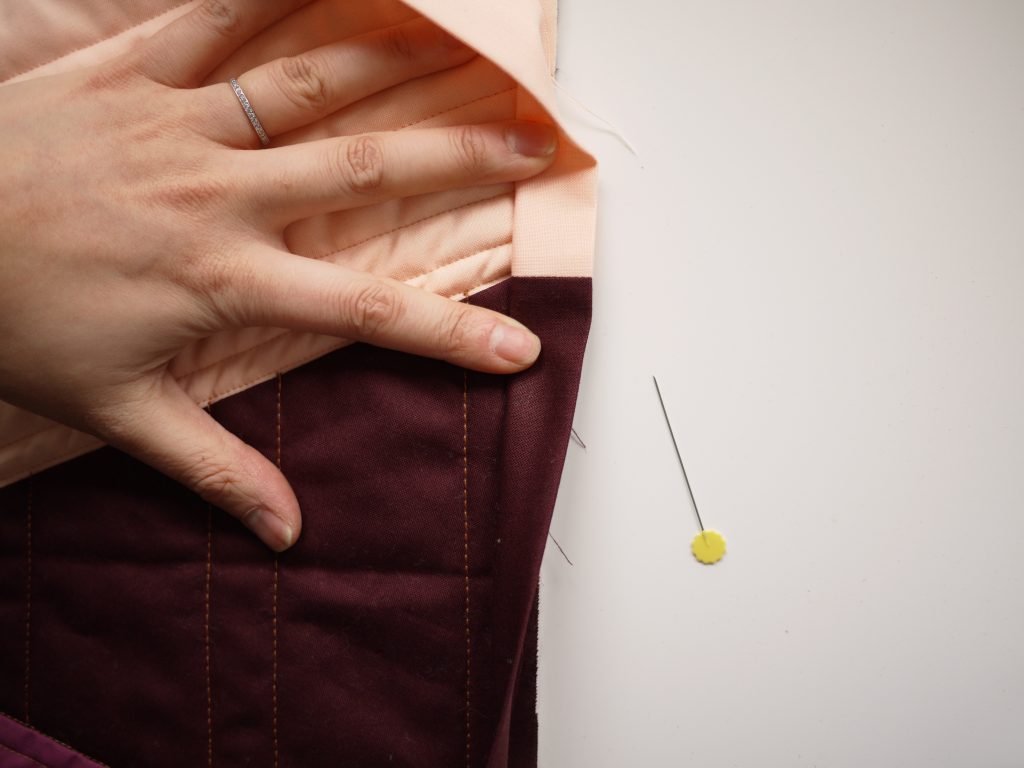
Lining up
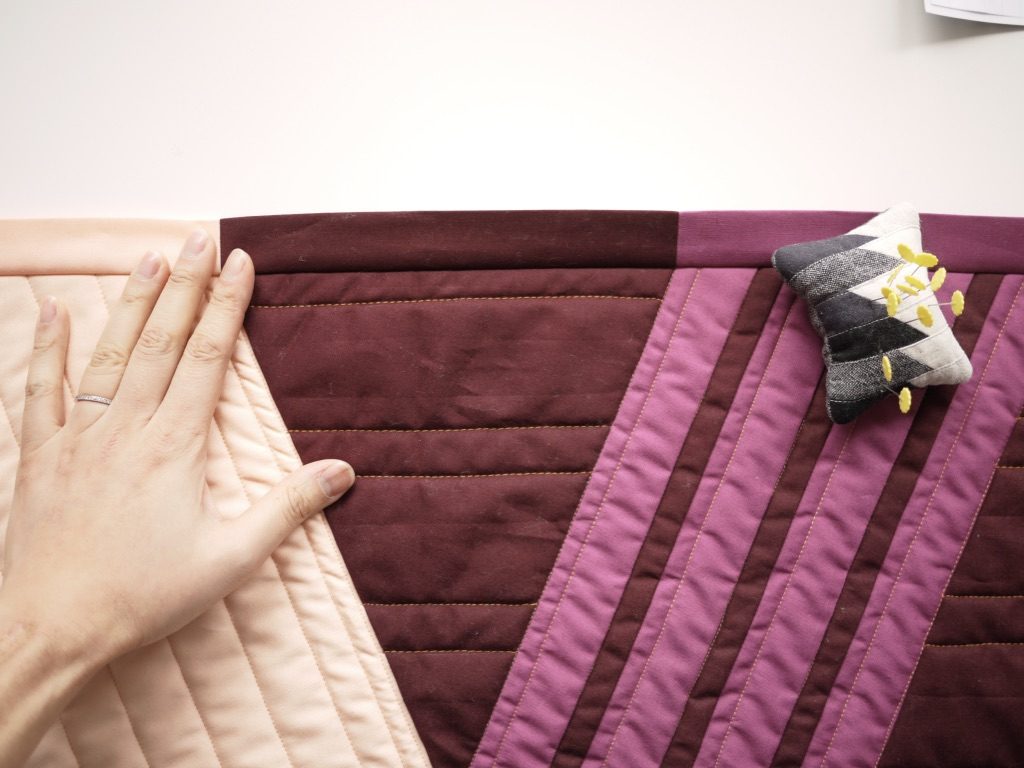
There are only two places where we need to line up each binding strip with the quilt: In-between the arms of the X. Mark a 1/4″ from the edge of your quilt top.
Align your binding with the quilt, raw edges together; estimate where it should lie. Fold back the binding and check to see if the edges align at the 1/4″ mark. If not, fiddle until it does, then pin in place. Repeat with other point.
At first, sew only across those points and check to see if you are satisfied with your work. If not, you’ll only have to “unsew” a small section and redo it.
When you’ve got it right enough, sew in either direction and turn the corner as you would normally. One side you will have to do with the quilt back facing up, but you can find out how to do that here! Leave a generous tail for you to join the binding later. Repeat with the other binding strip.
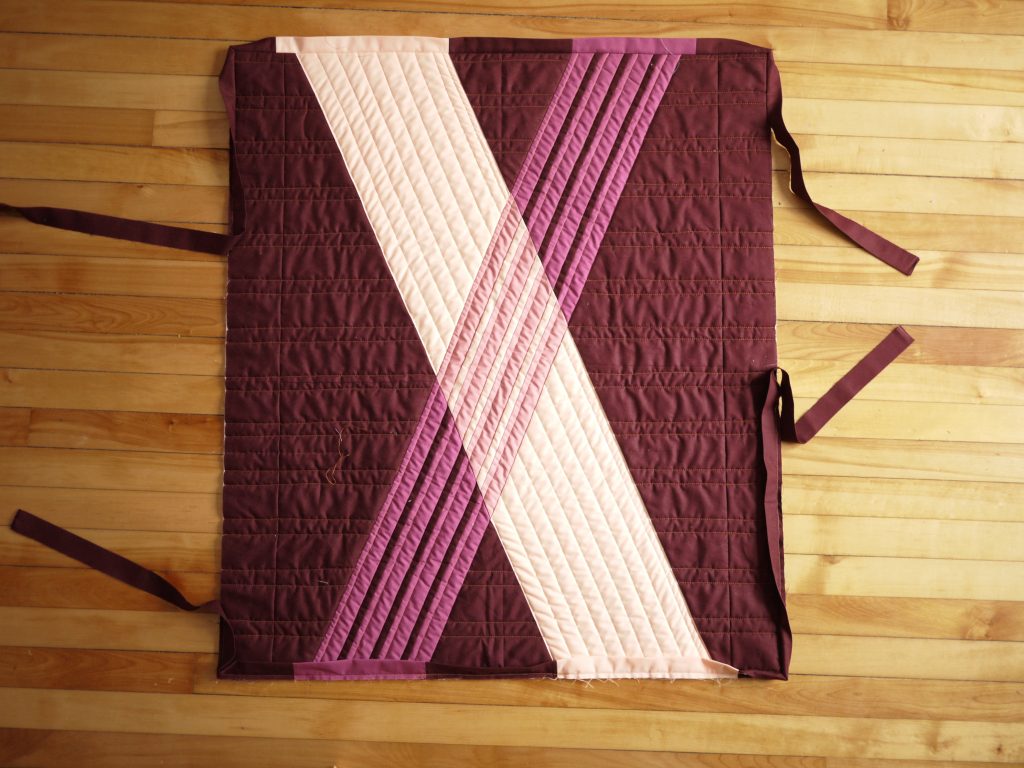
It should look something like this! Join your tails as you would normally. And now sit down the couch, put on a show or a podcast and stitch that binding down on the back.